3rd October, 2026
i’ll tell you about my sound cart. the frame is a server rack, 15 units about three feet tall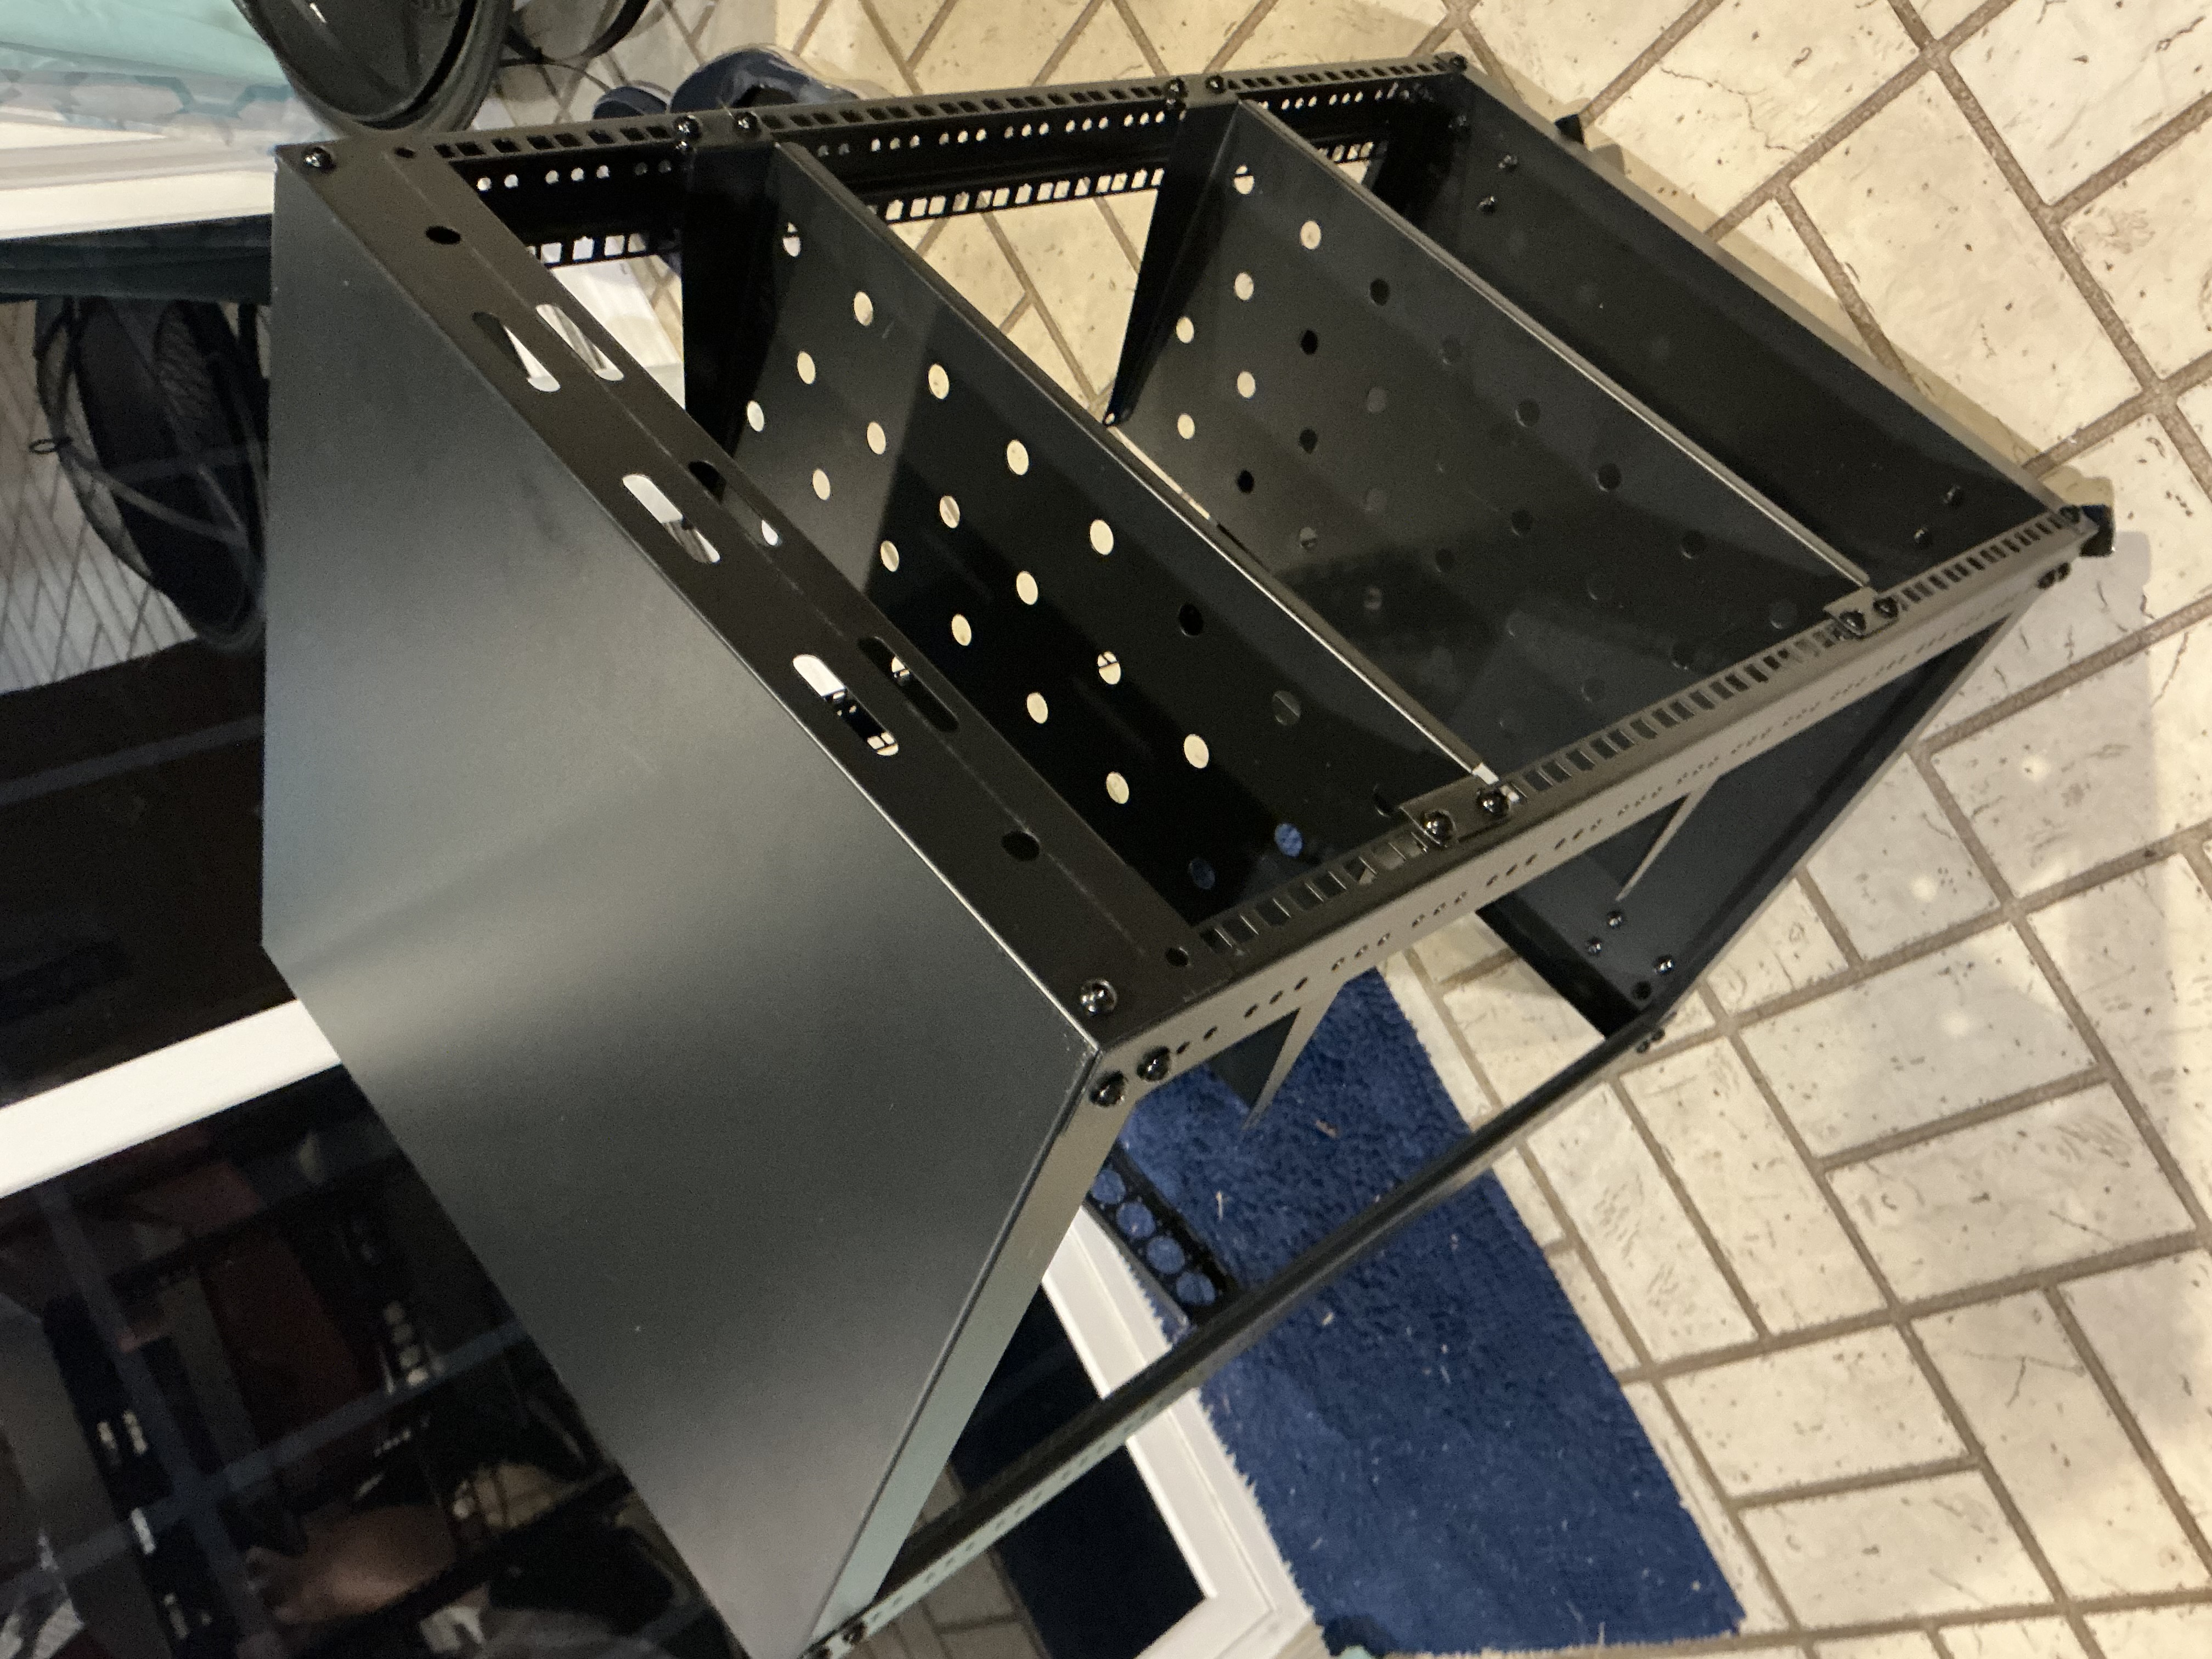
it’ll be lifted up on some 5” polyurethane casters in front, big 16” wheelbarrow wheels on the back, airless, never flat. here are the original tiny wheels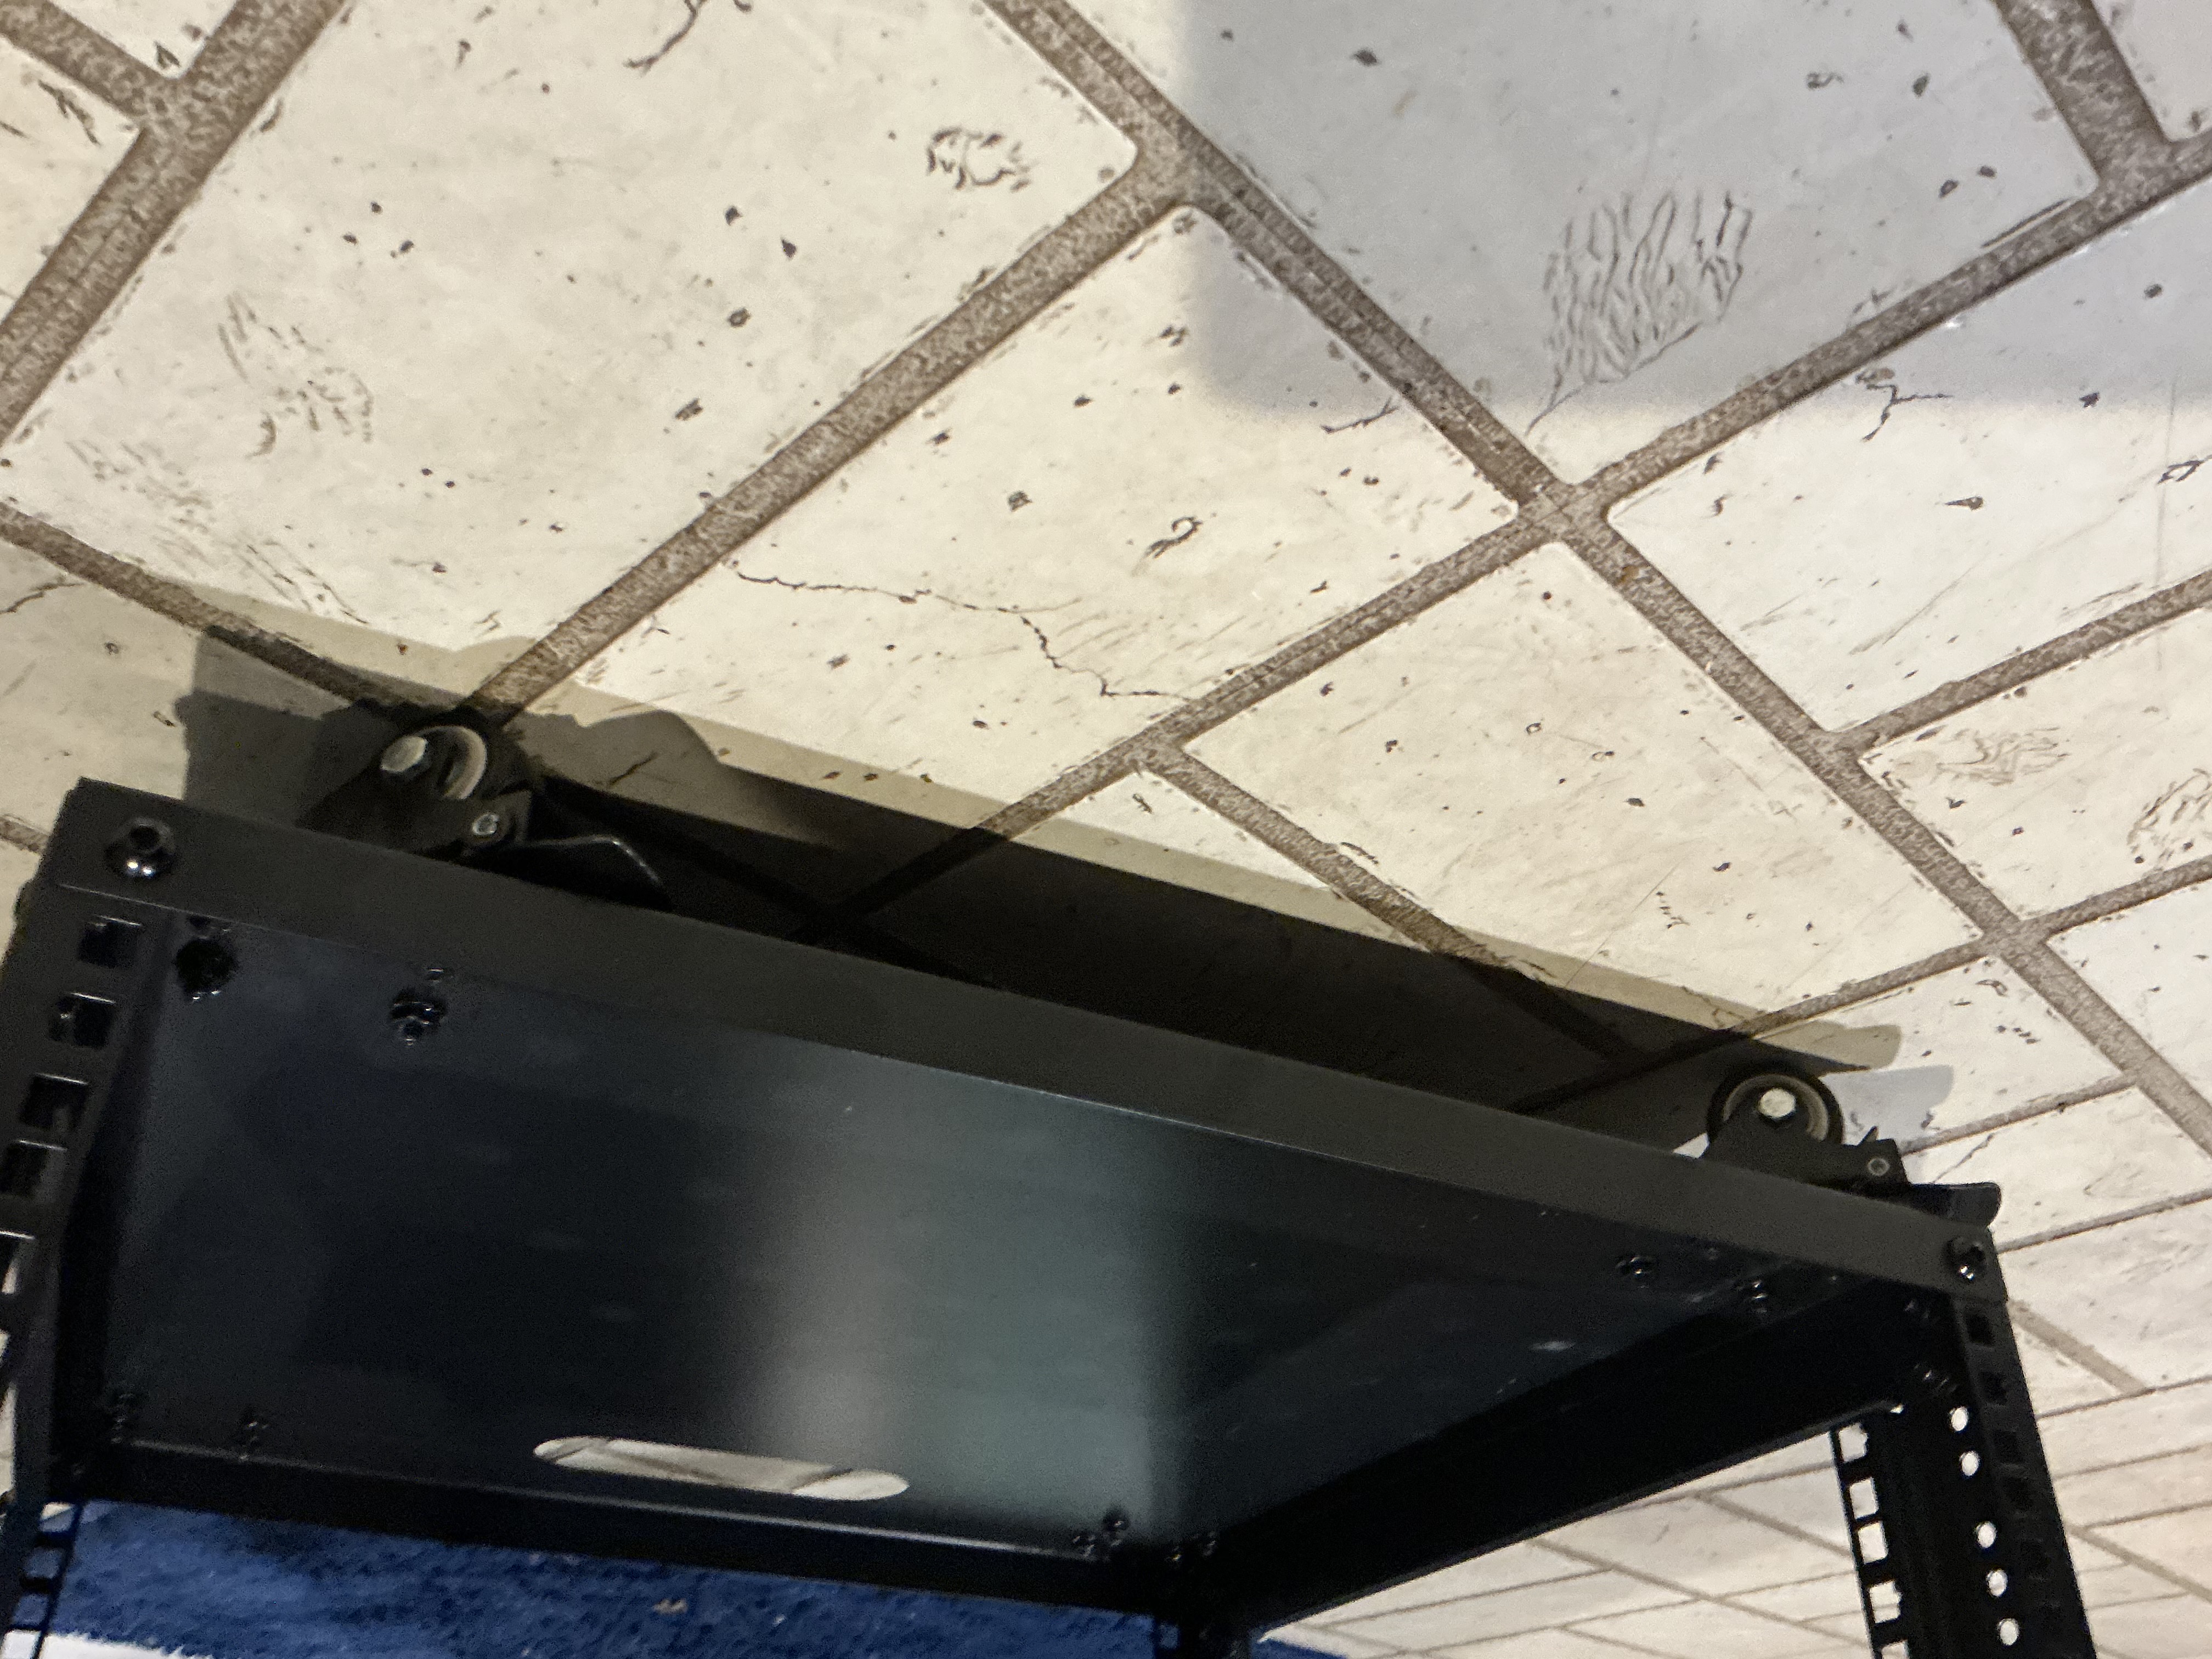
i’m having someone help me weld in some extra supports so it doesn’t twist and sheer on me afield. for now i’m racking up my recording rig, a couple of audio interfaces piggybacking off each other (metric halo ULN-8 and ULN-2)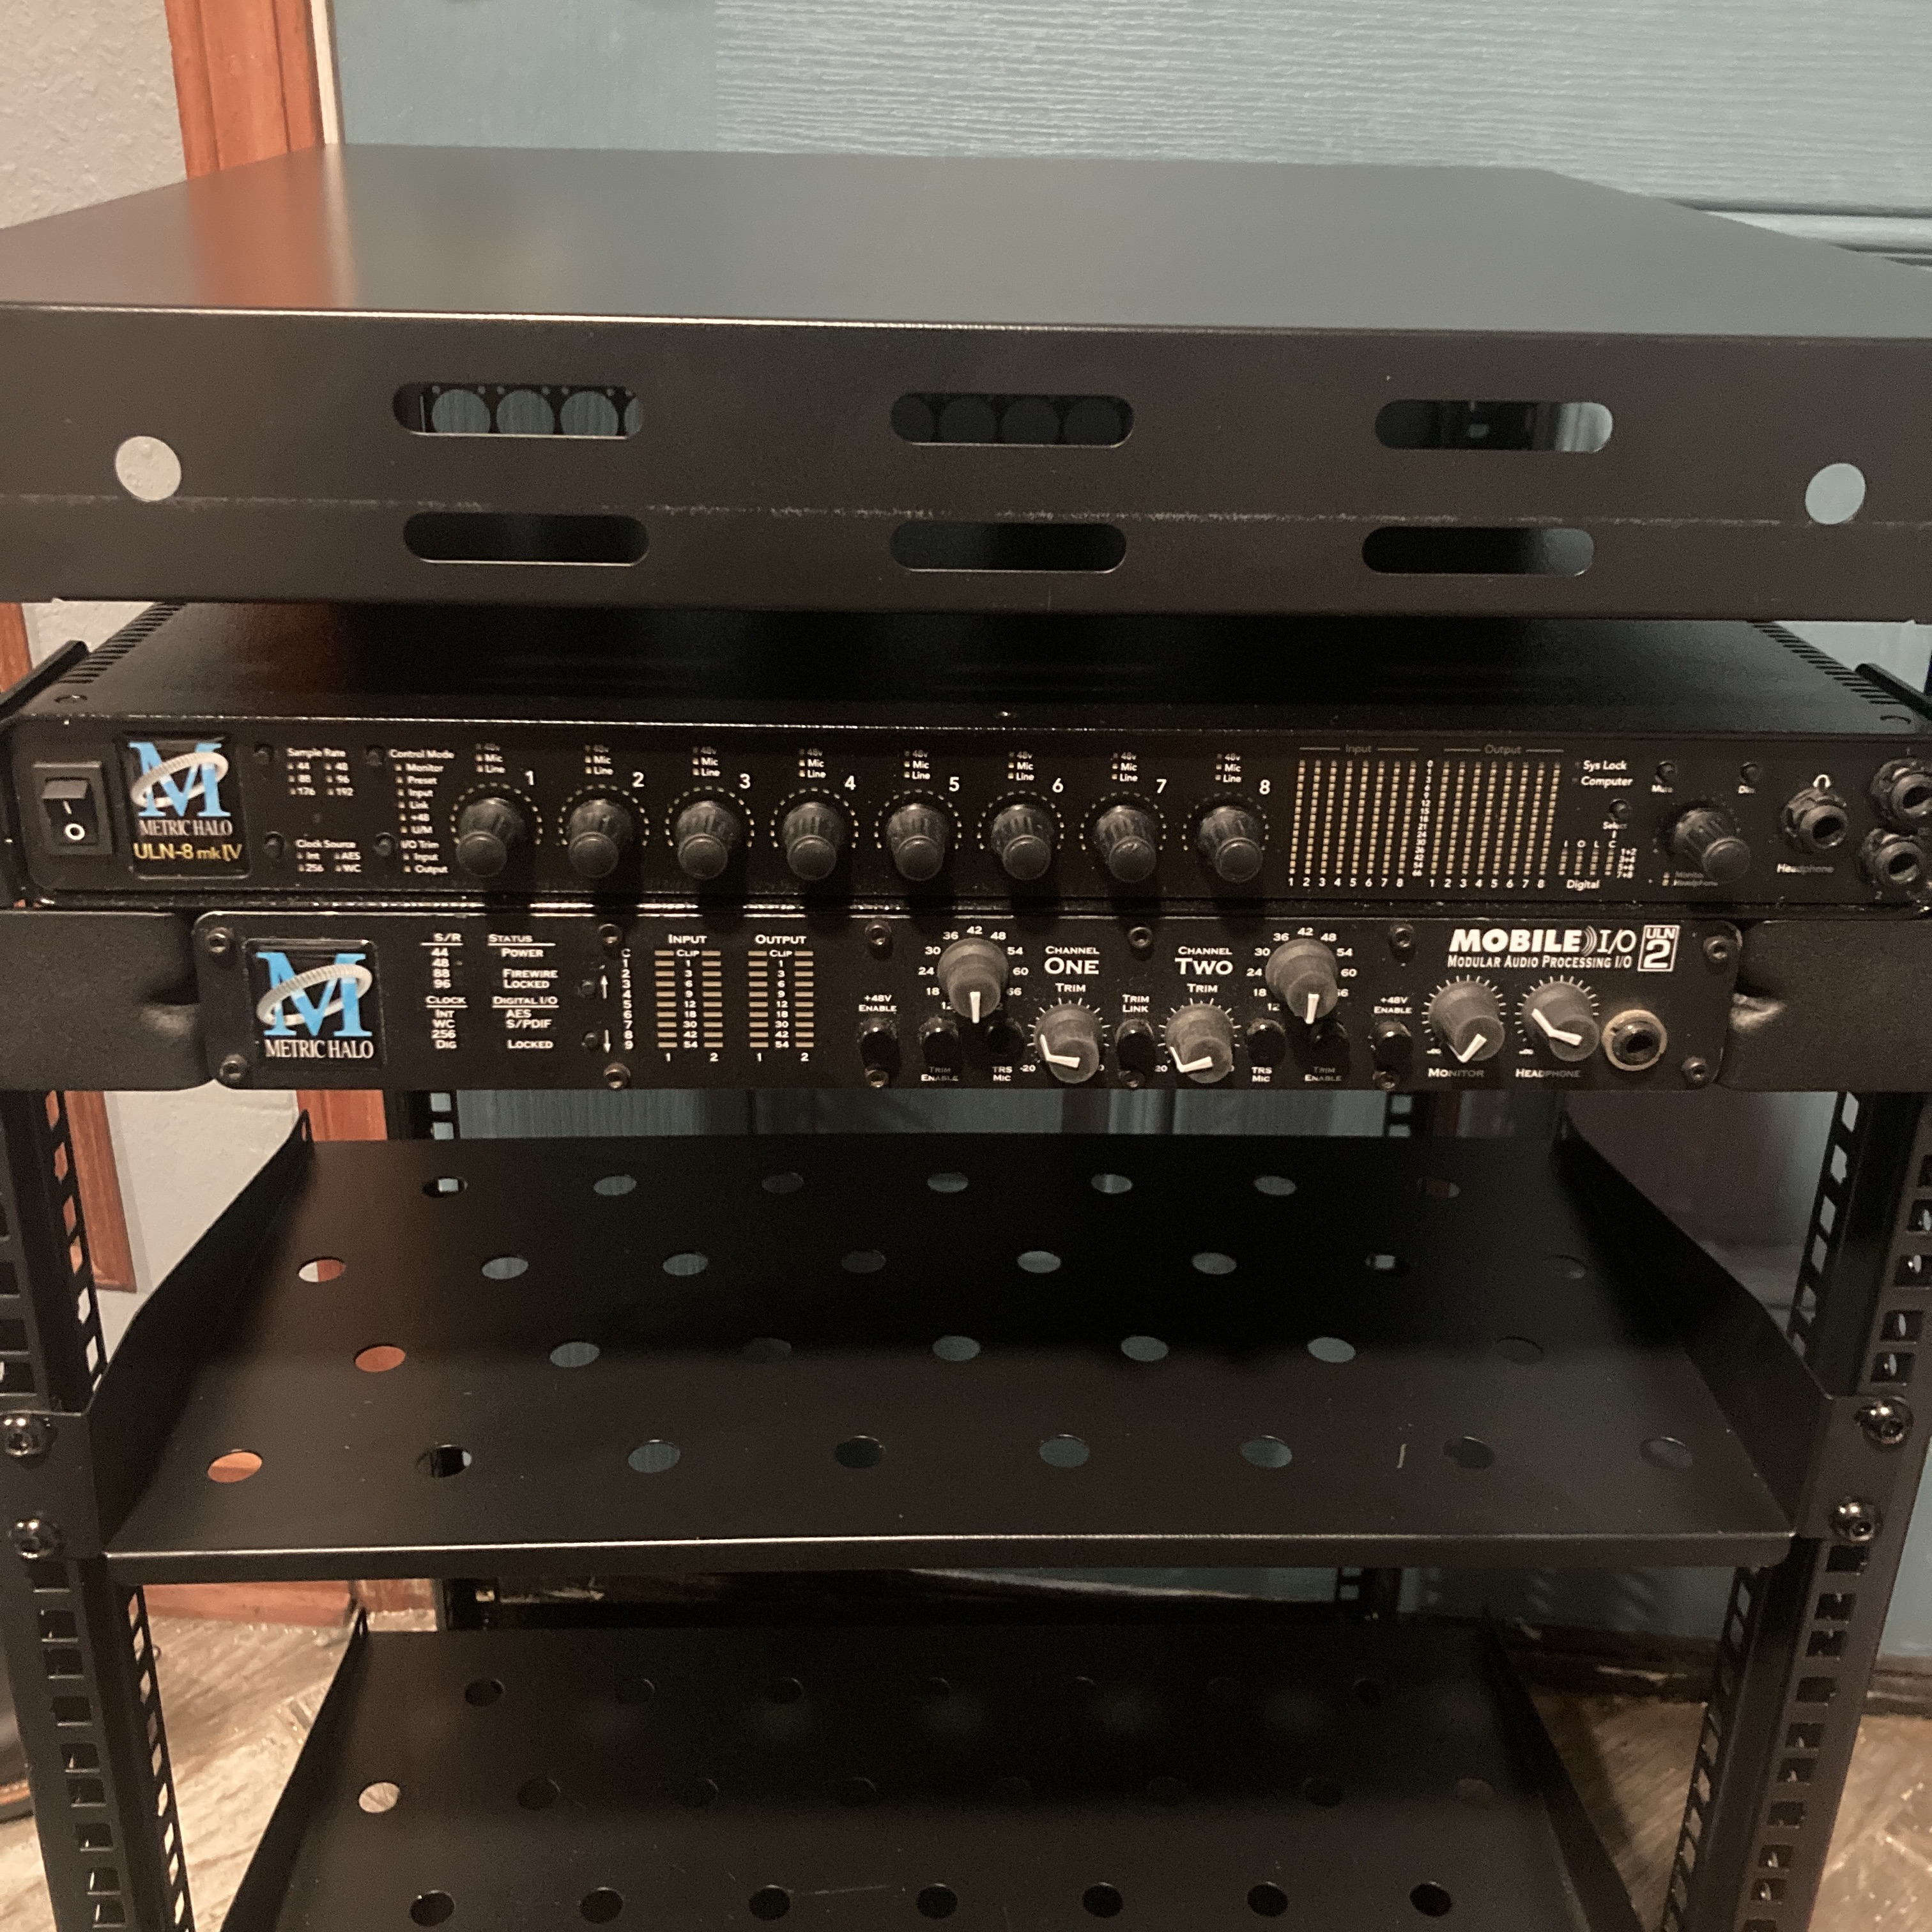
probably a network switch if i can get the damn thing working, my macbook to control it all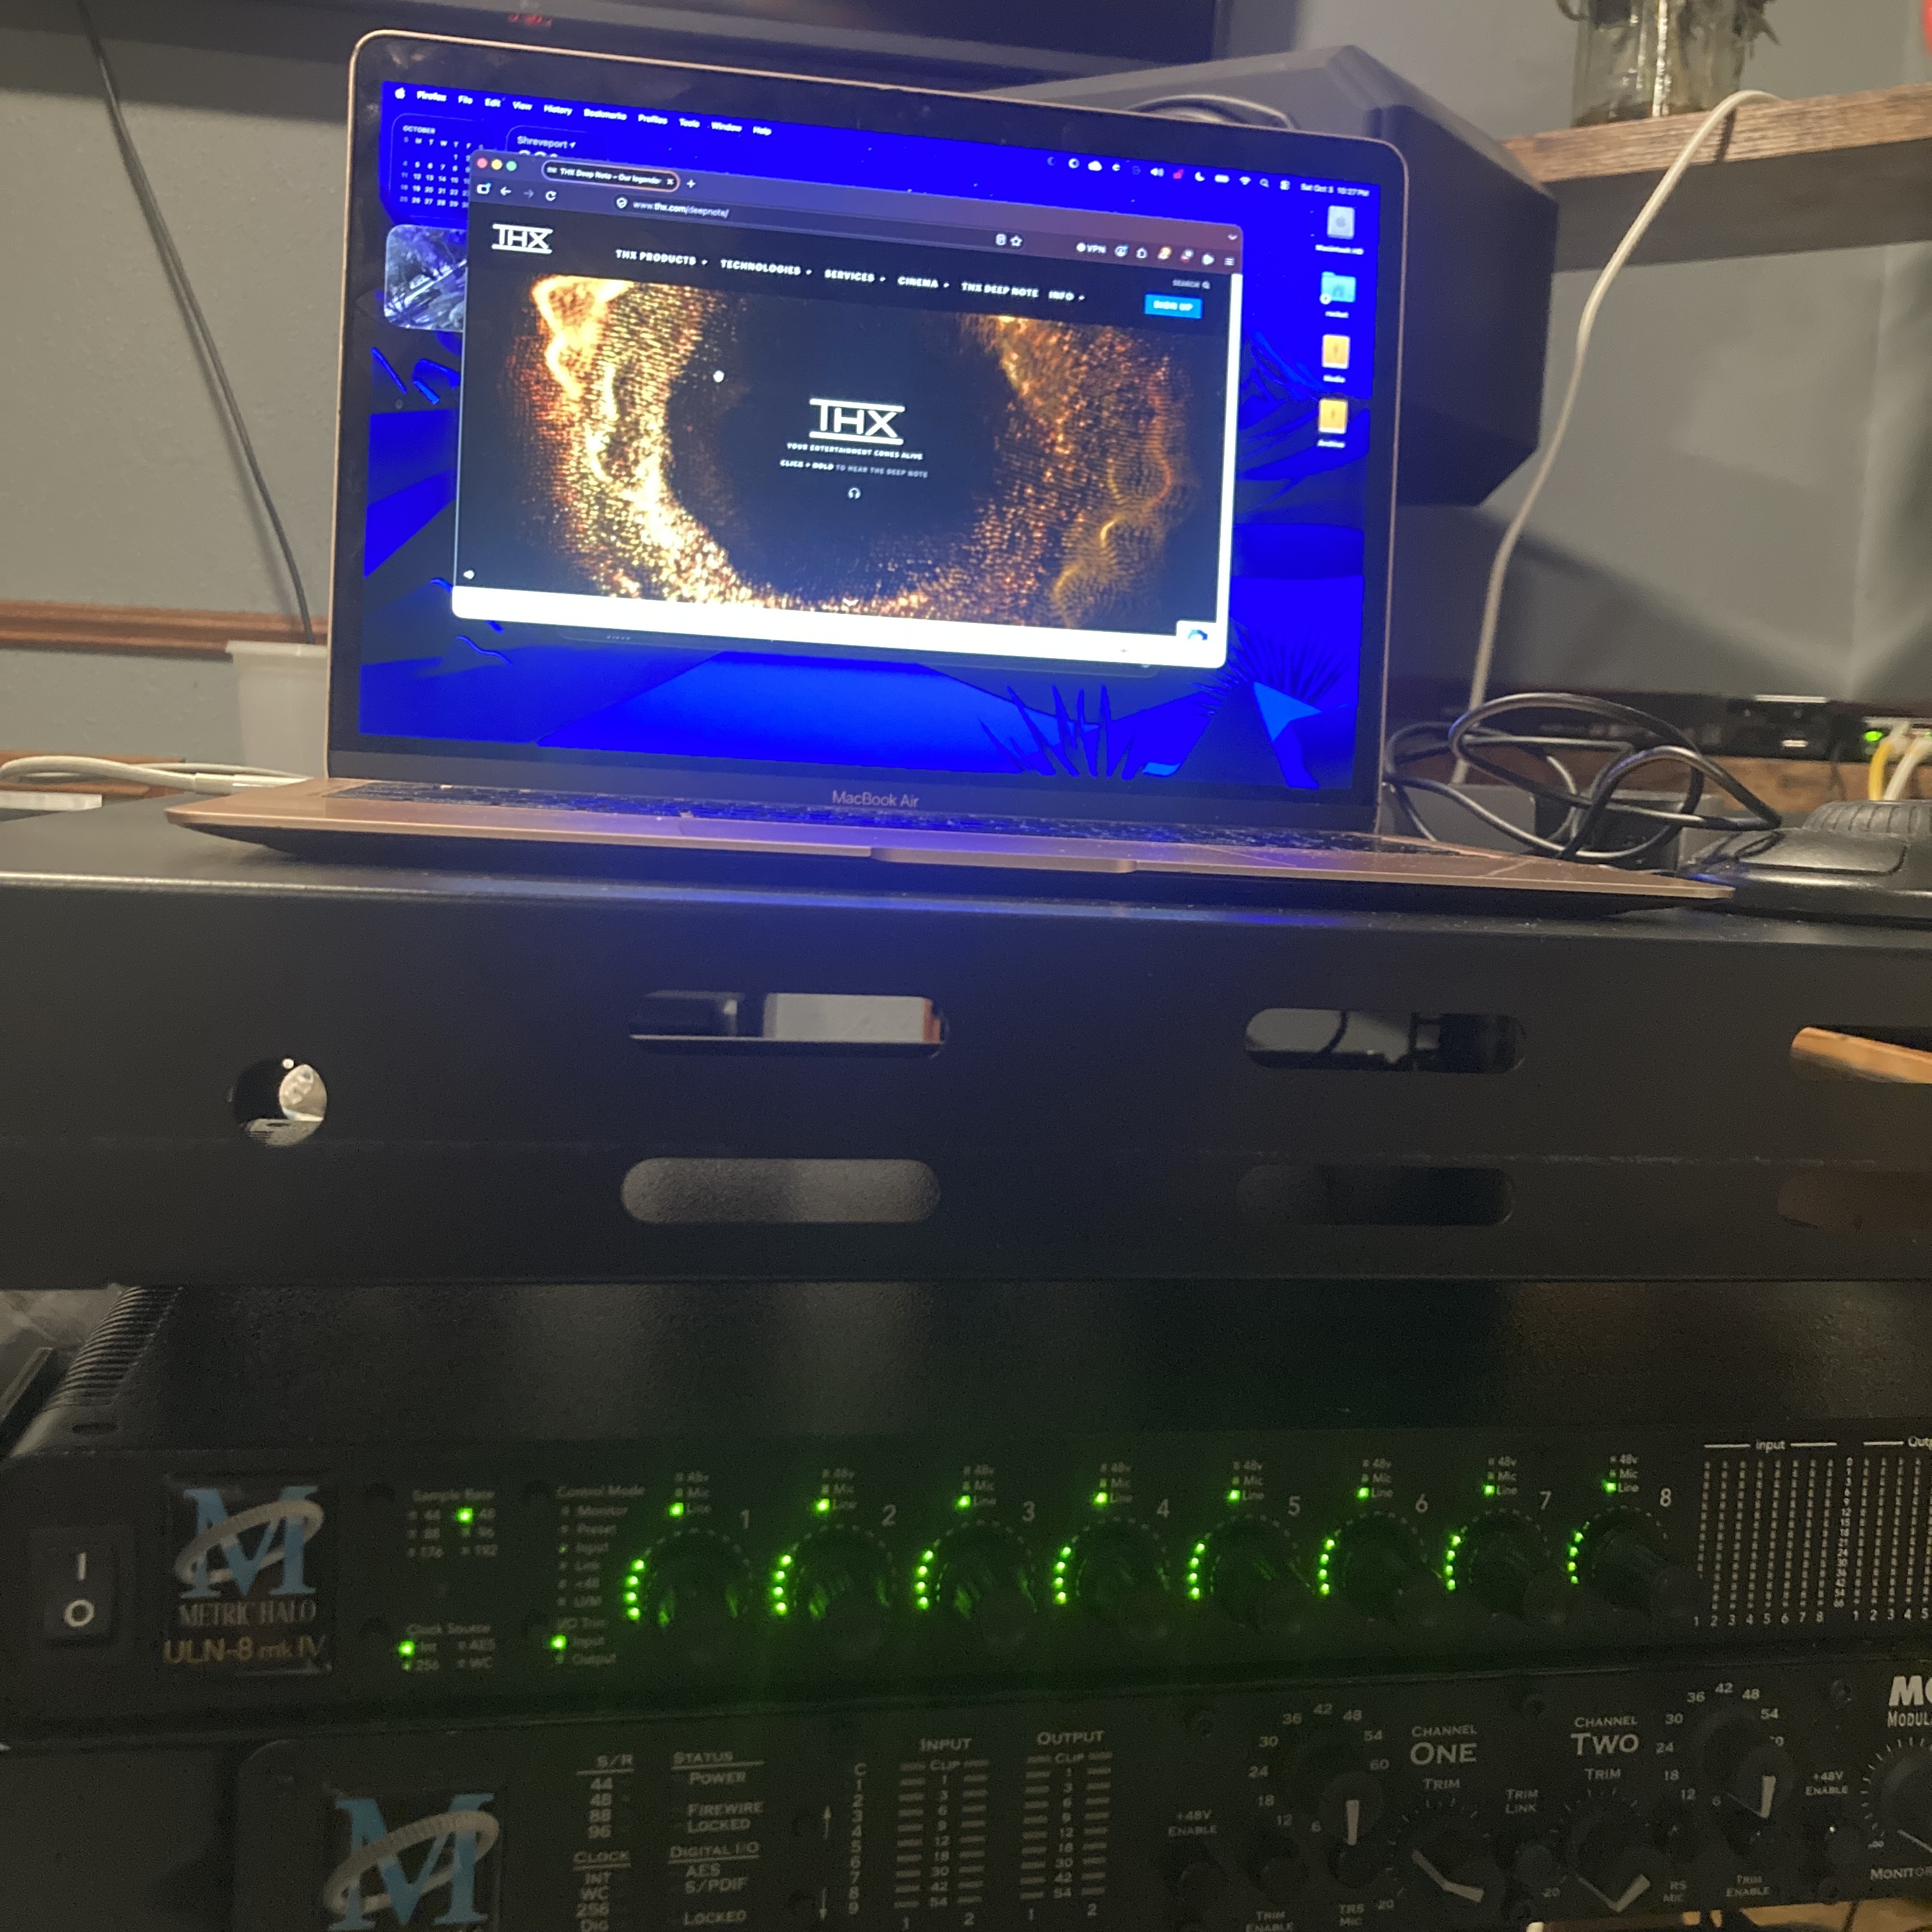
probably some faders later on, a mount for my ipad, some cupholders, a retainer down bottom for boom poles. up top in the back there’ll be baby pins to mount antenna masts and whatever else i might need up there, broomstick grips on the back edge to hold booms in place. in the bottom, i’ll have a big fucking battery to help weigh down the bottom and power the whole thing for something like ten hours. also in the bottom is gonna be a power distribution rail sending 12V power to all parts that need power, a changeover switch and a mains power supply. the power supply and battery will feed the switch so i can power the whole thing off of battery or wall power without worrying about it or dealing with an outage should one or the other die on me in the field. that switch will also have an input for a solar panel to charge the battery when it needs it if i’m off the grid. I’ll keep a 150W solar panel handy for just such an occasion, more than enough to keep the thing going every second there’s daylight. the ULN-8 outputs and inputs are mostly on DB25 ports so i’m running cables for the mic inputs and line outputs to start with (more to come later) into a rear rack panel of 3-pin XLRs, F for the mic in, M for the line out. eventually i’ll do another set of the same for the line inputs (which double as signal returns for effects and such) and mic sends. turns out it’s cheaper to build them even with expensive connectors with screw terminals than it is to buy anything ready-built that’s about the same, by a lot, in spite of these other outfits’ bulk buying, but i guess that’s what boutique gets you.
6th October 2026
started work on the patch panels. first, labeling all the wires at the loose end of a DB25 loom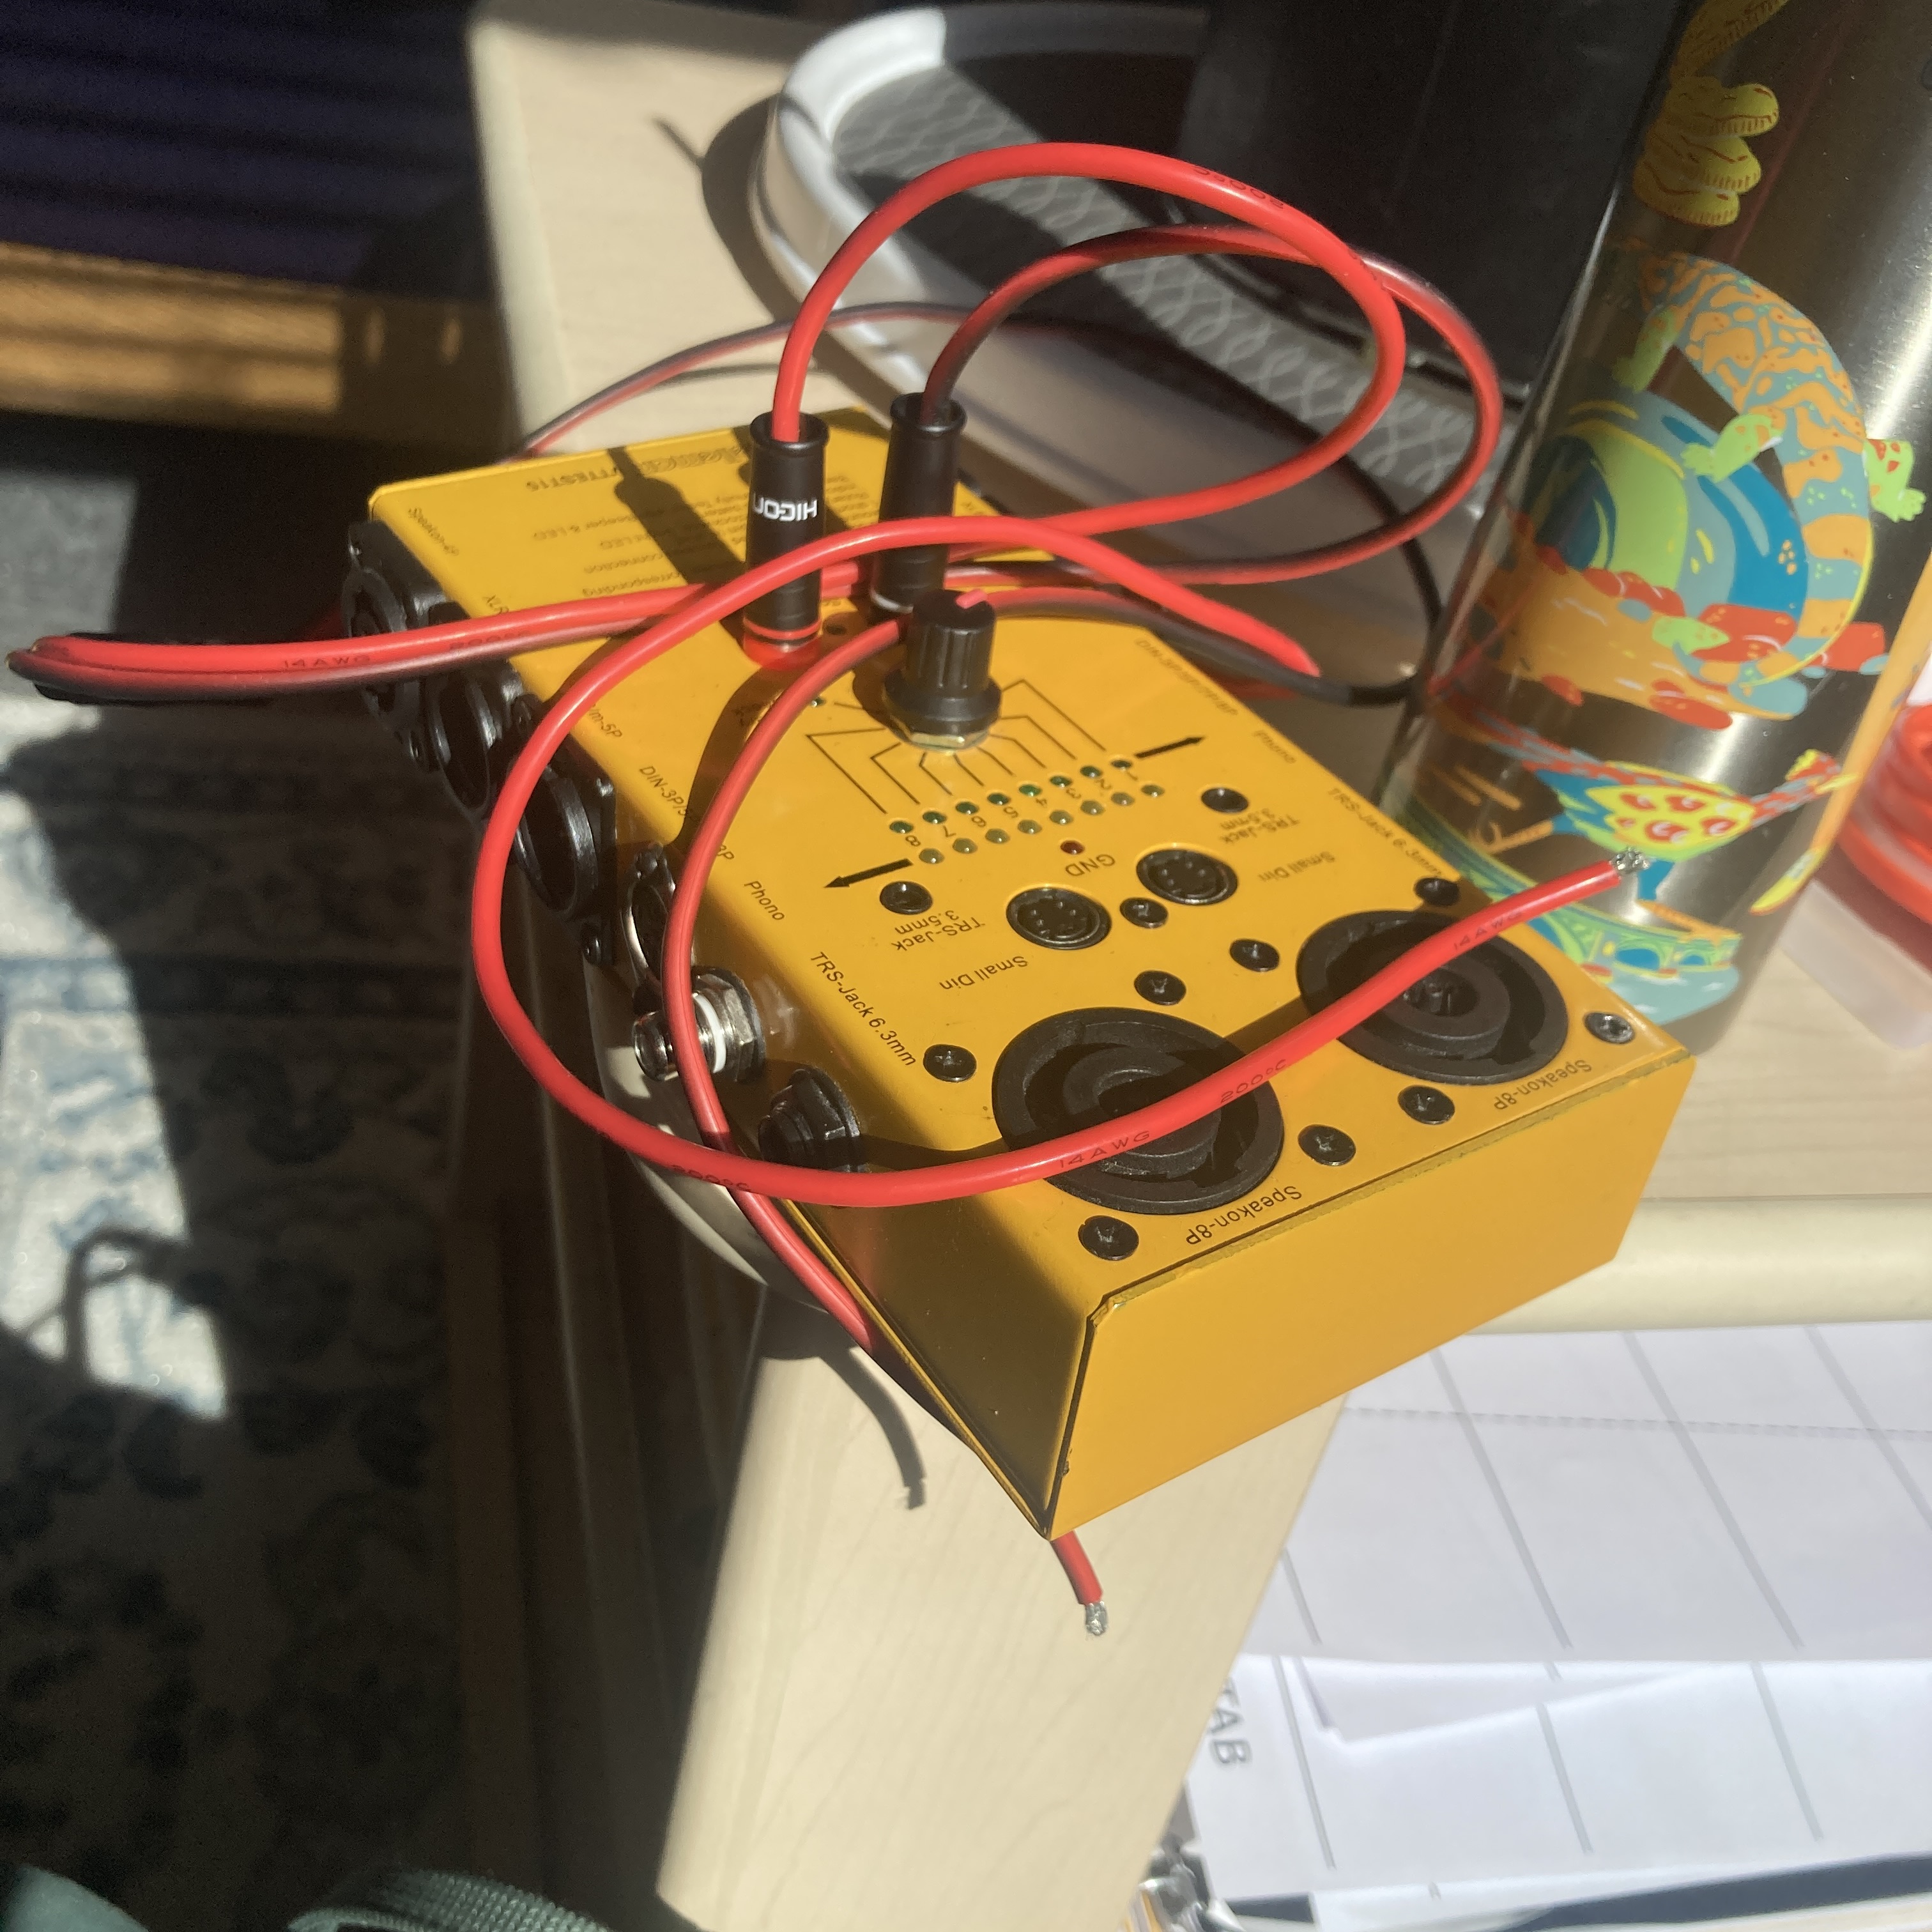
i used some bare power cable with banana plugs at the other end for the continuity tester circuit of this used cable tester i’d bought online and fallen in love with immediately
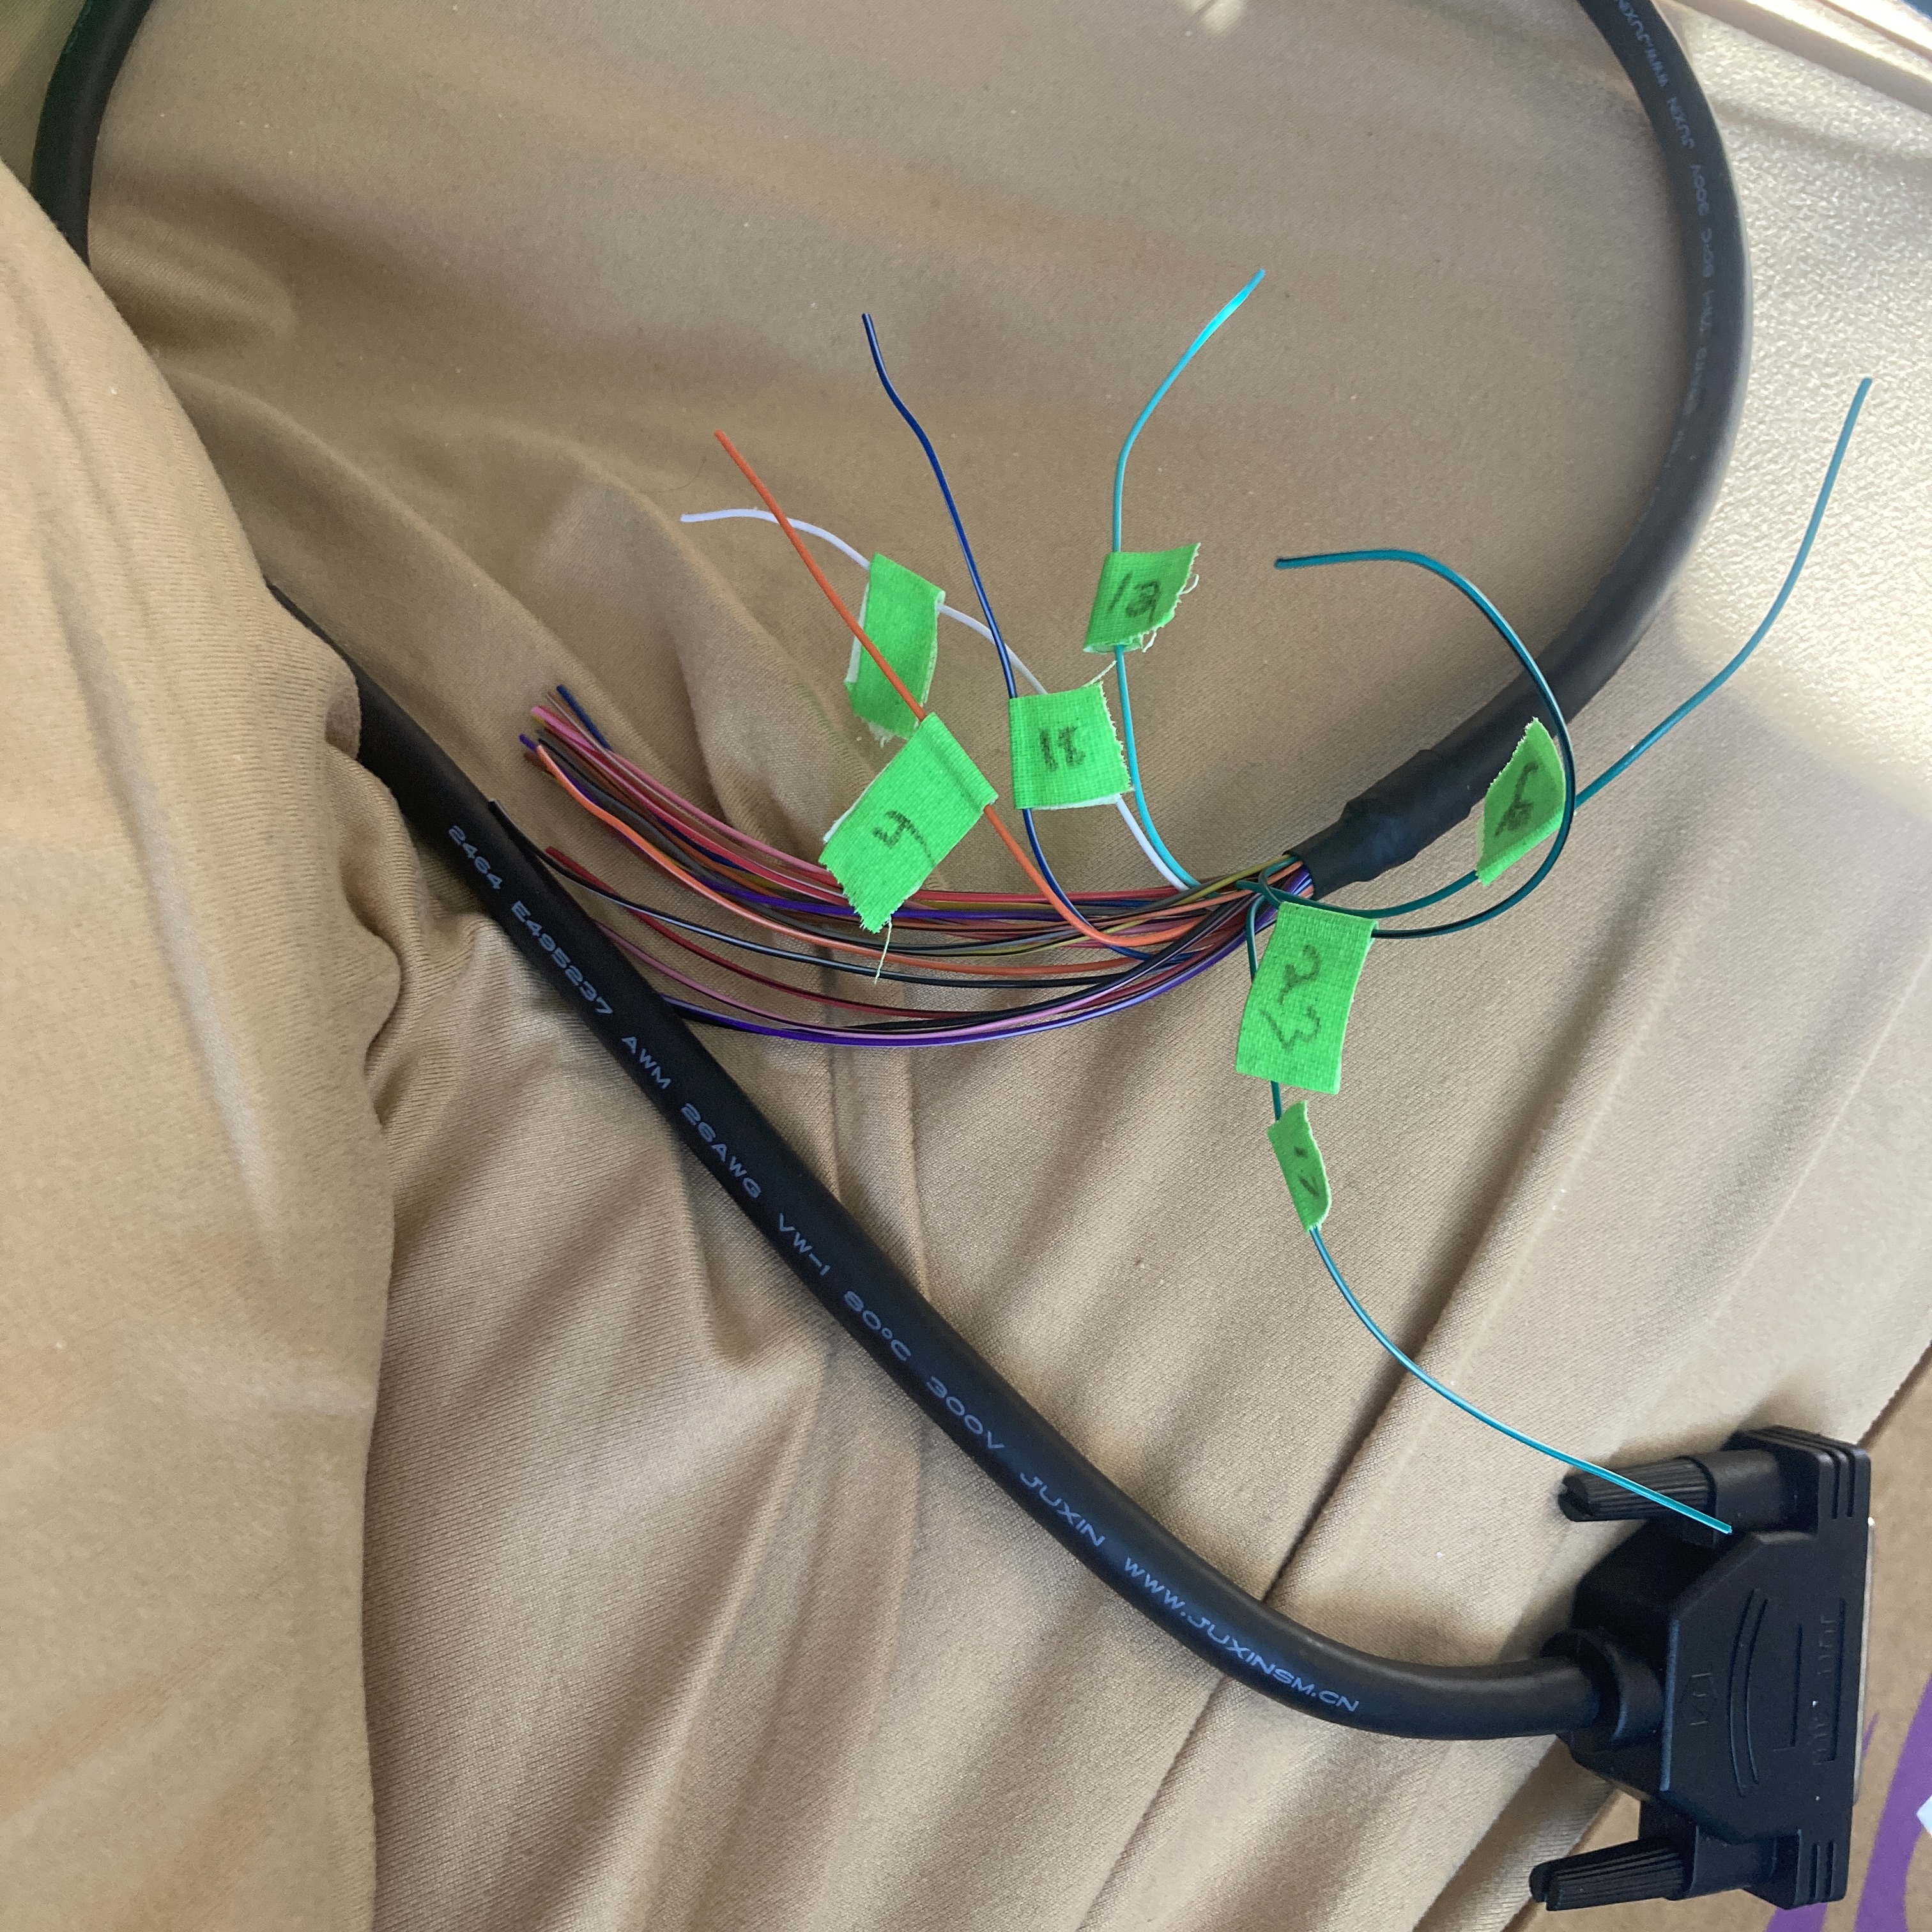
truly a labor of love (read: pain in the ass), and eventually i went back home and used some proper testing probes, speeding the work up considerably (or at least, beer made it feel faster).
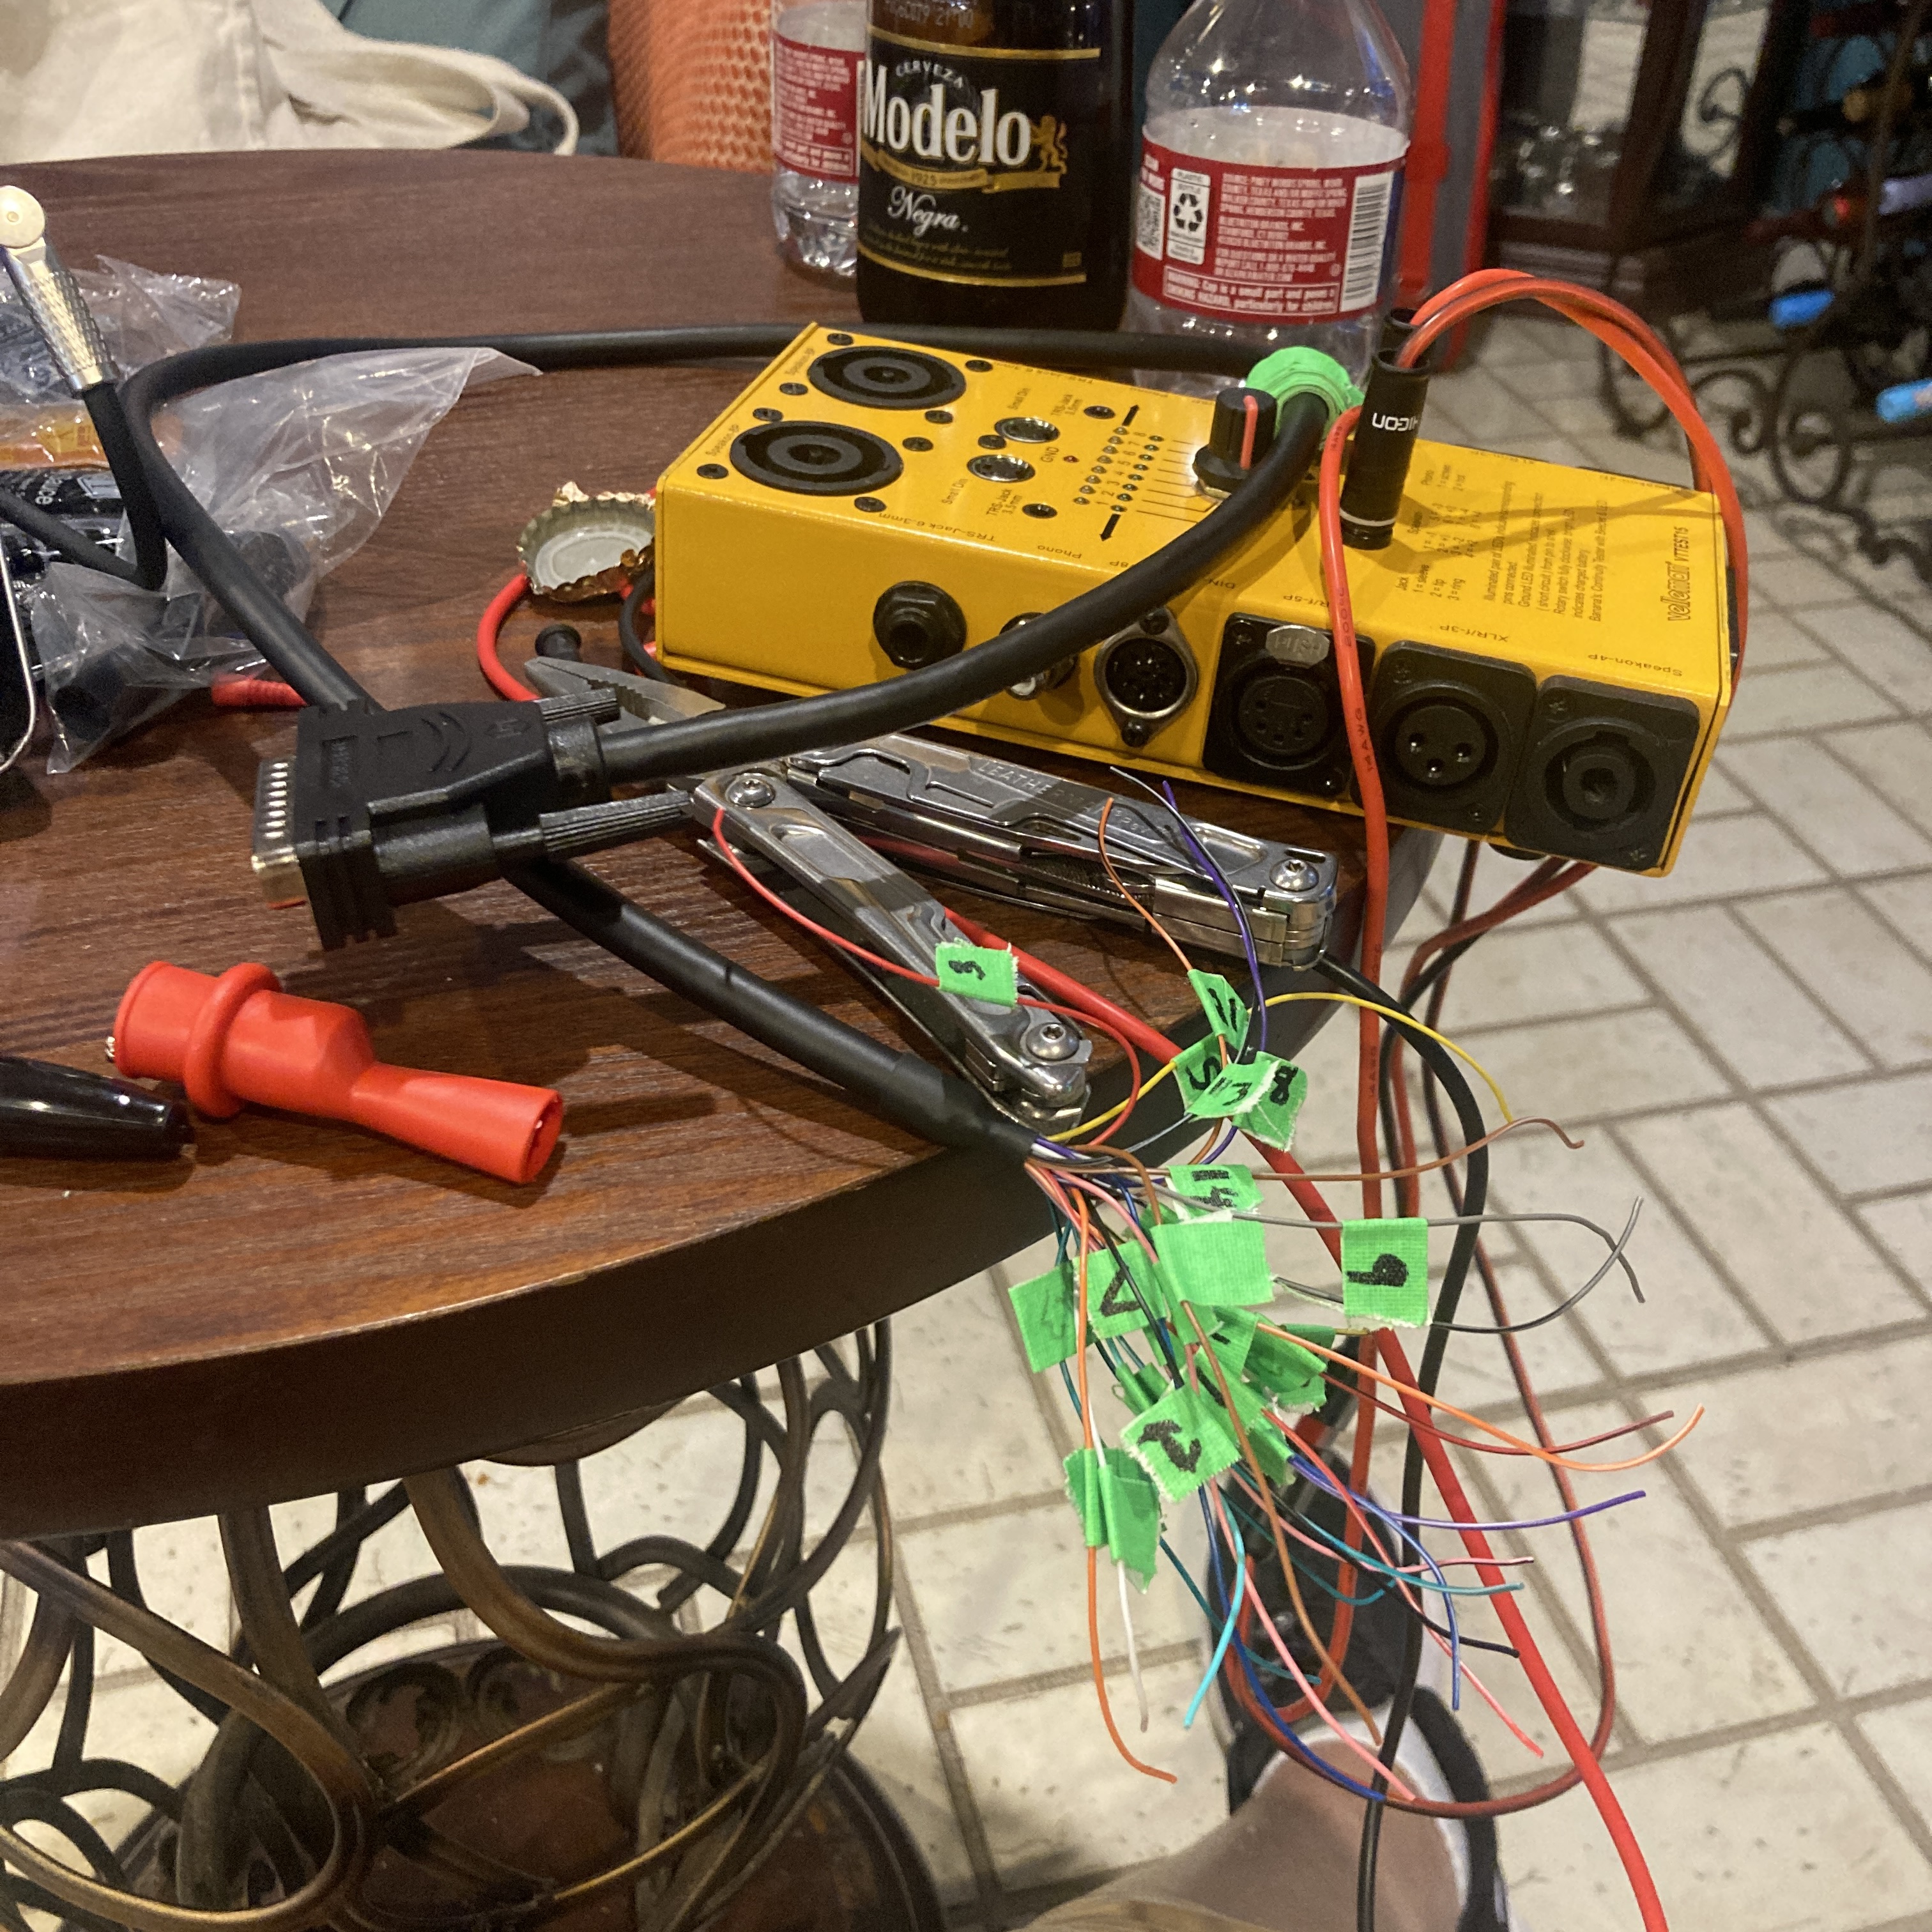
but it was still about four hours all up
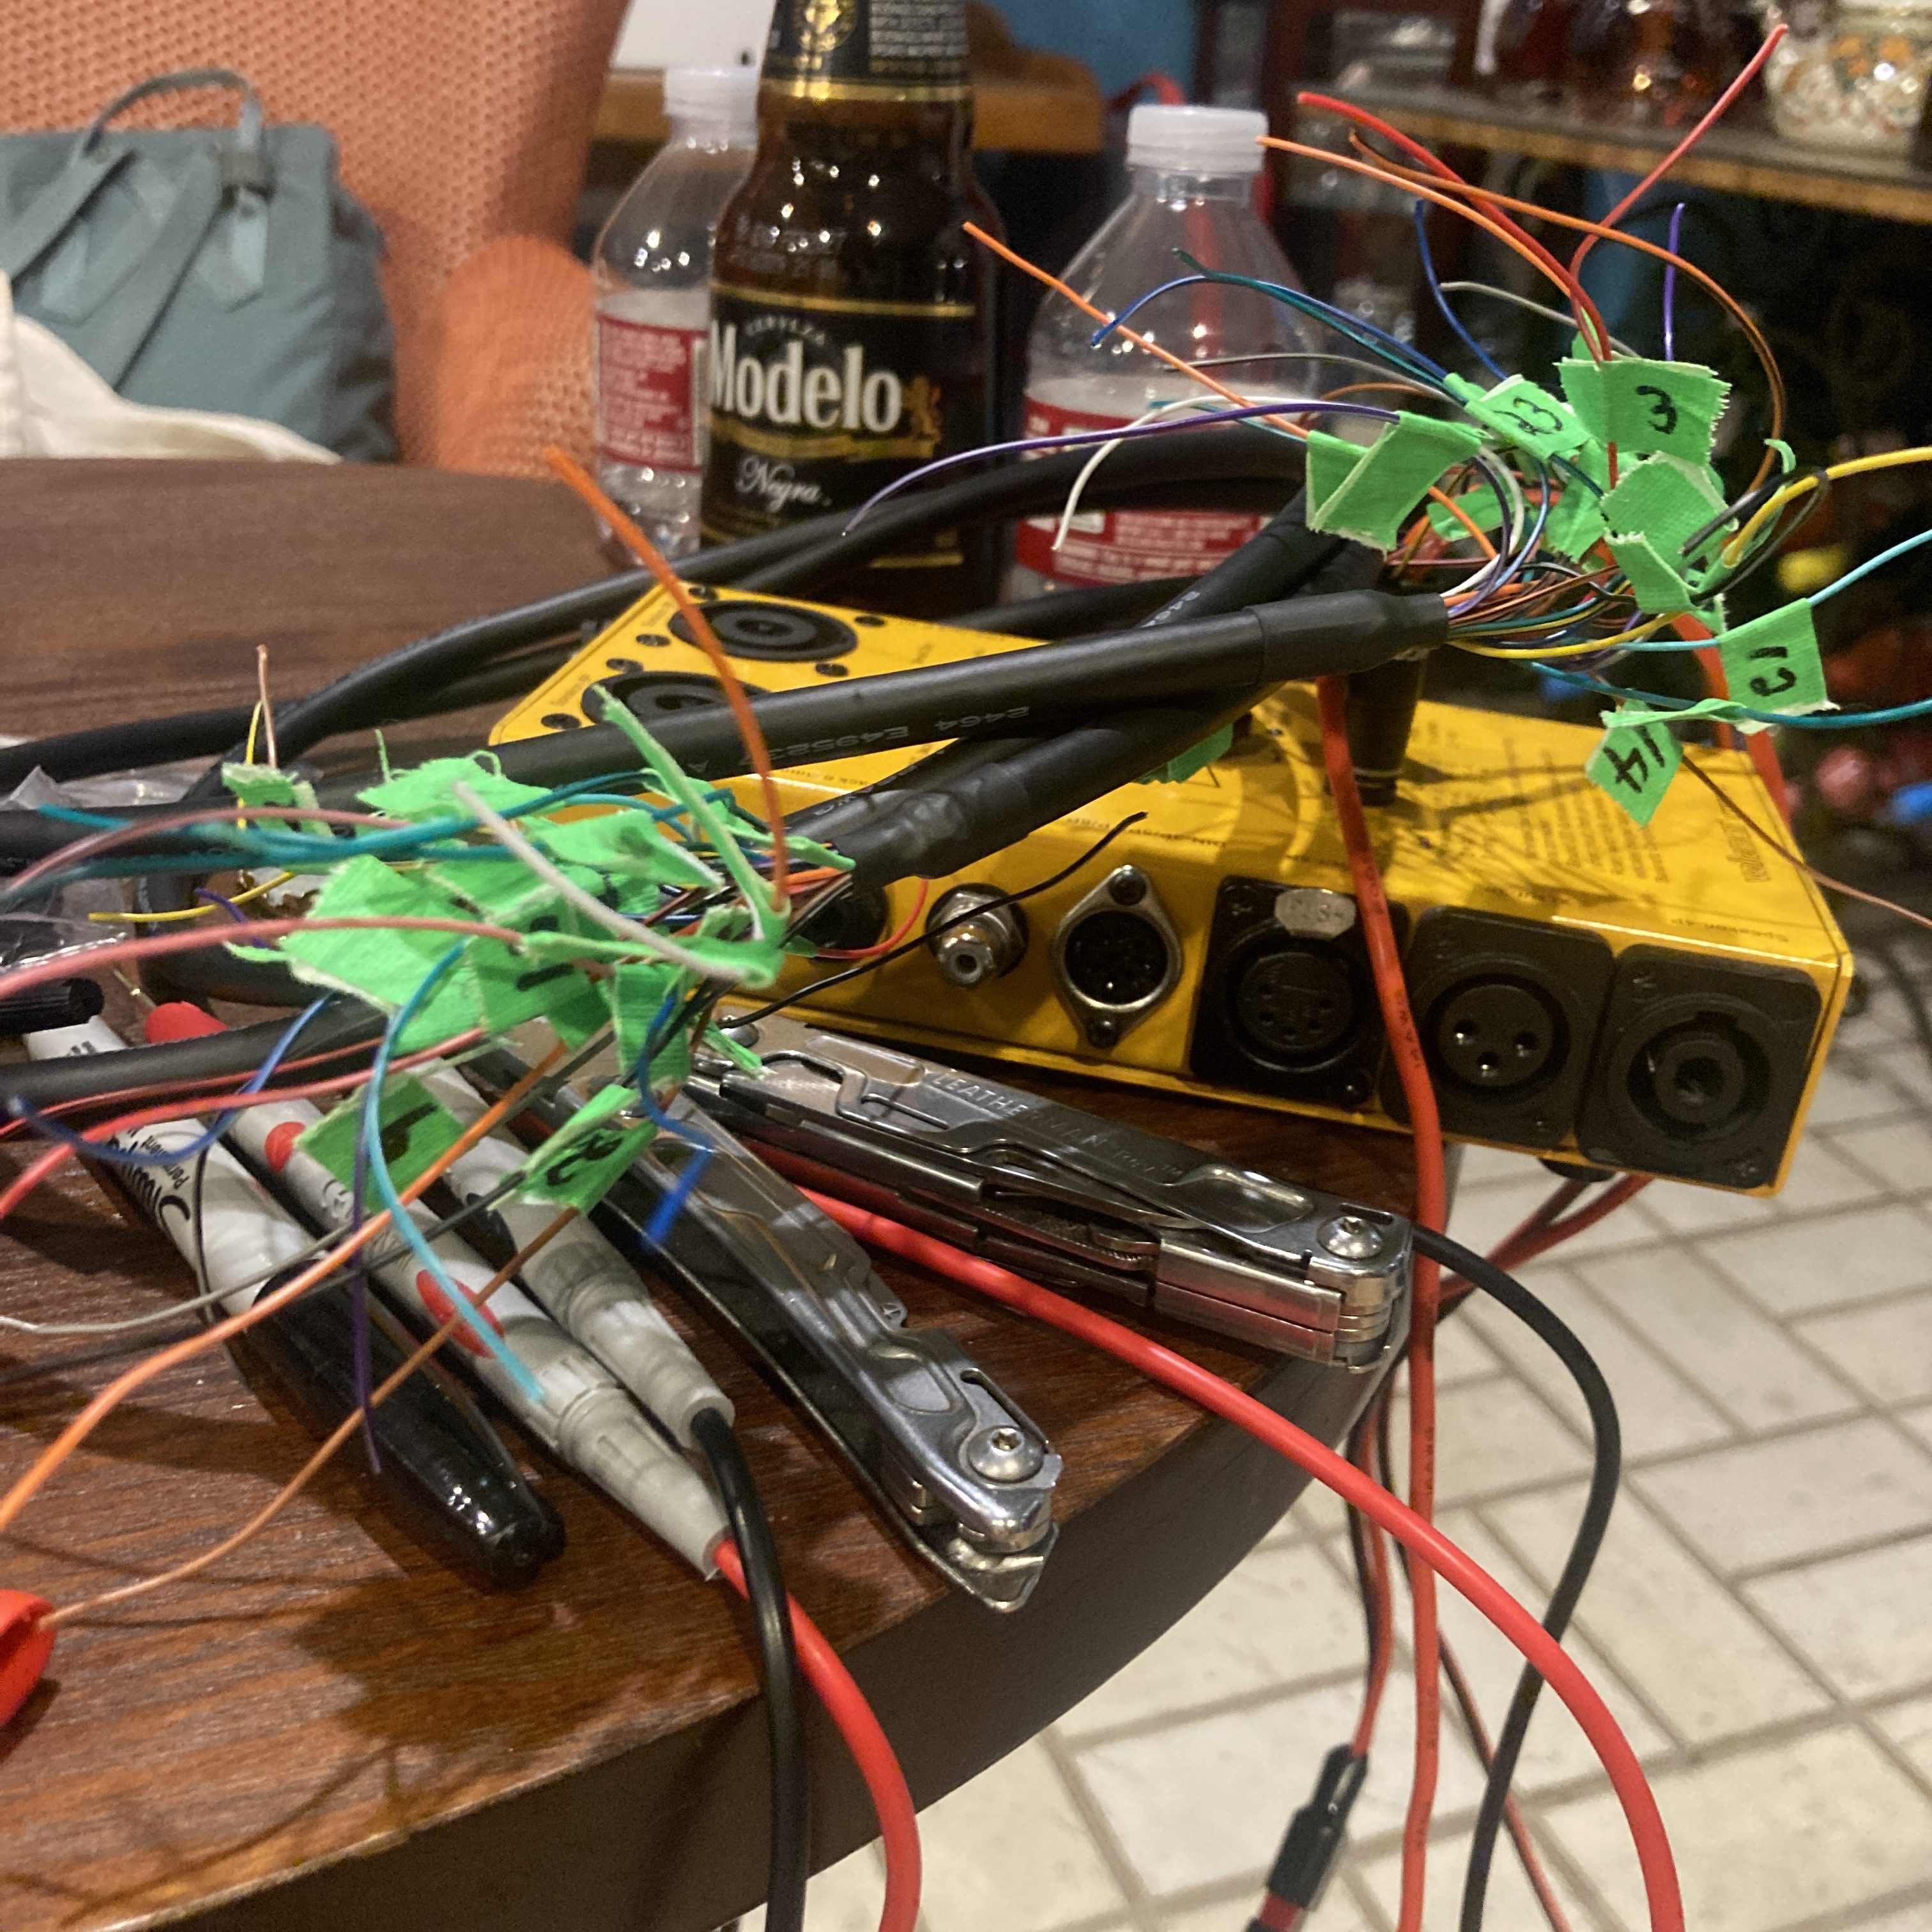
after which, i’d wired up the near half of an intercom system between a boom op and mixer: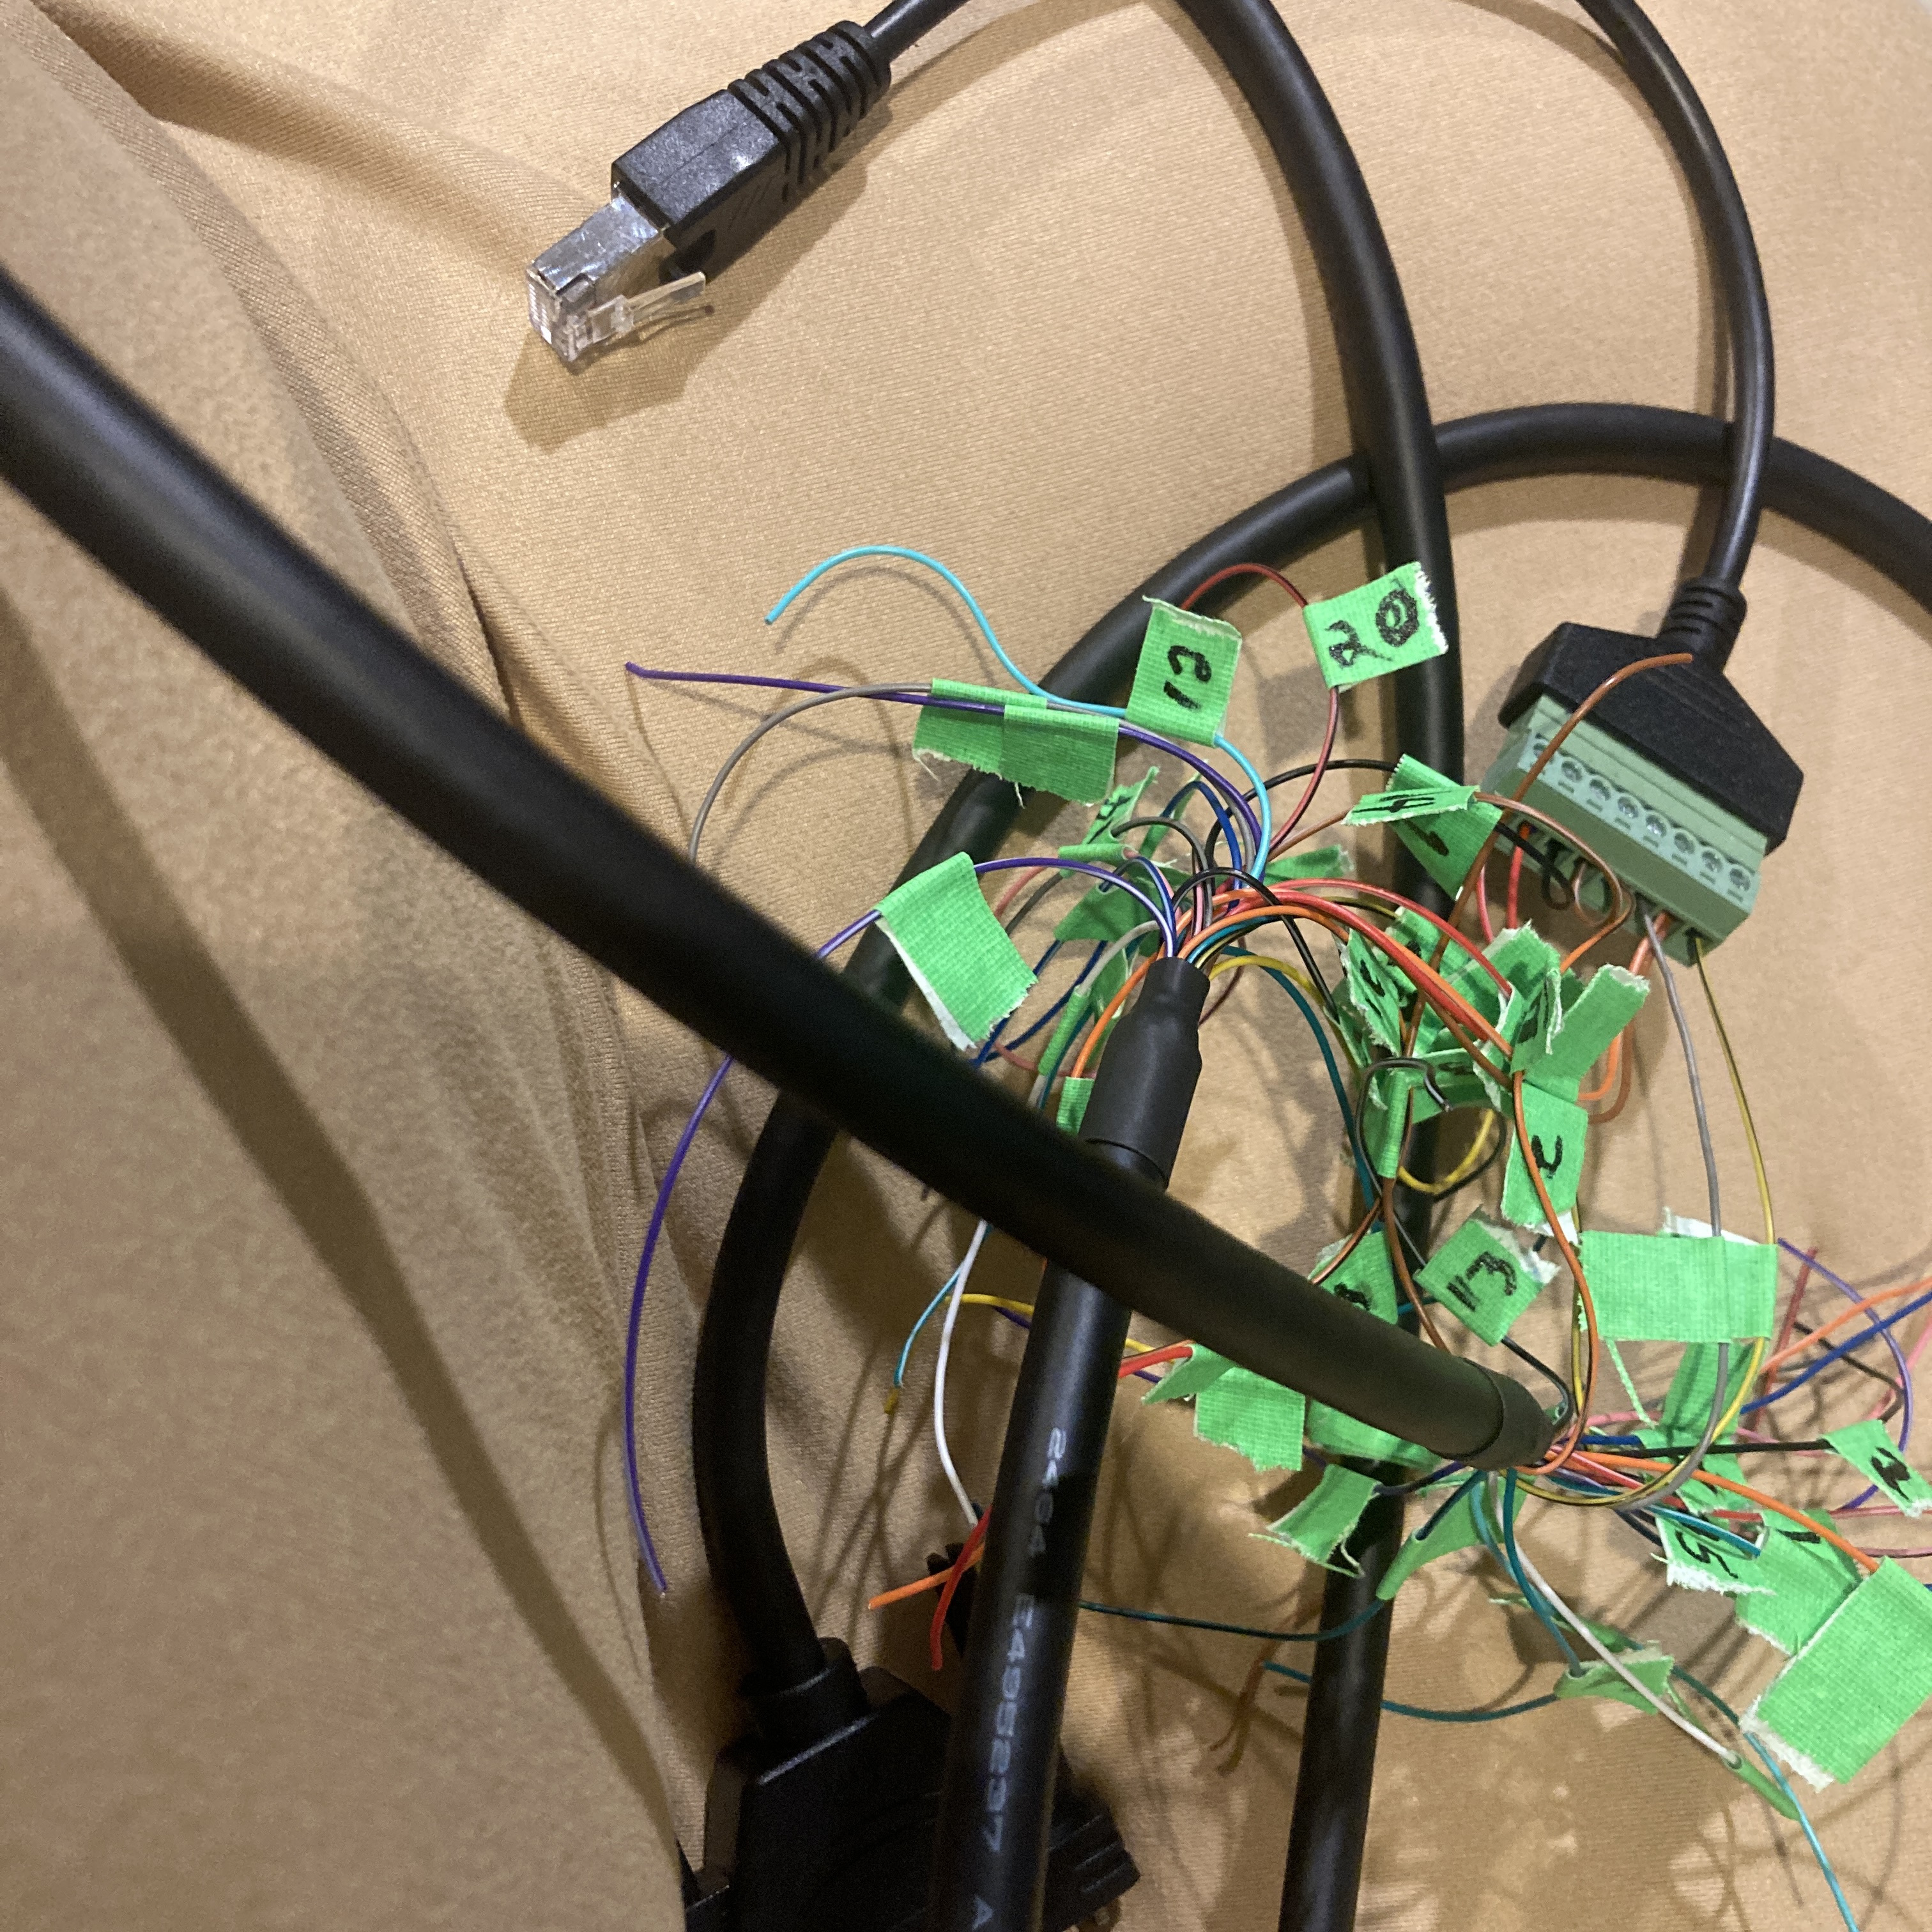
the far half would wait for another day. for now, the patch panel.
7th October, 2026
by “for now” i meant the next day, a day on which, for Reasons, i was all too happy to have a project that kept me from talking to anyone. anyway, forward!
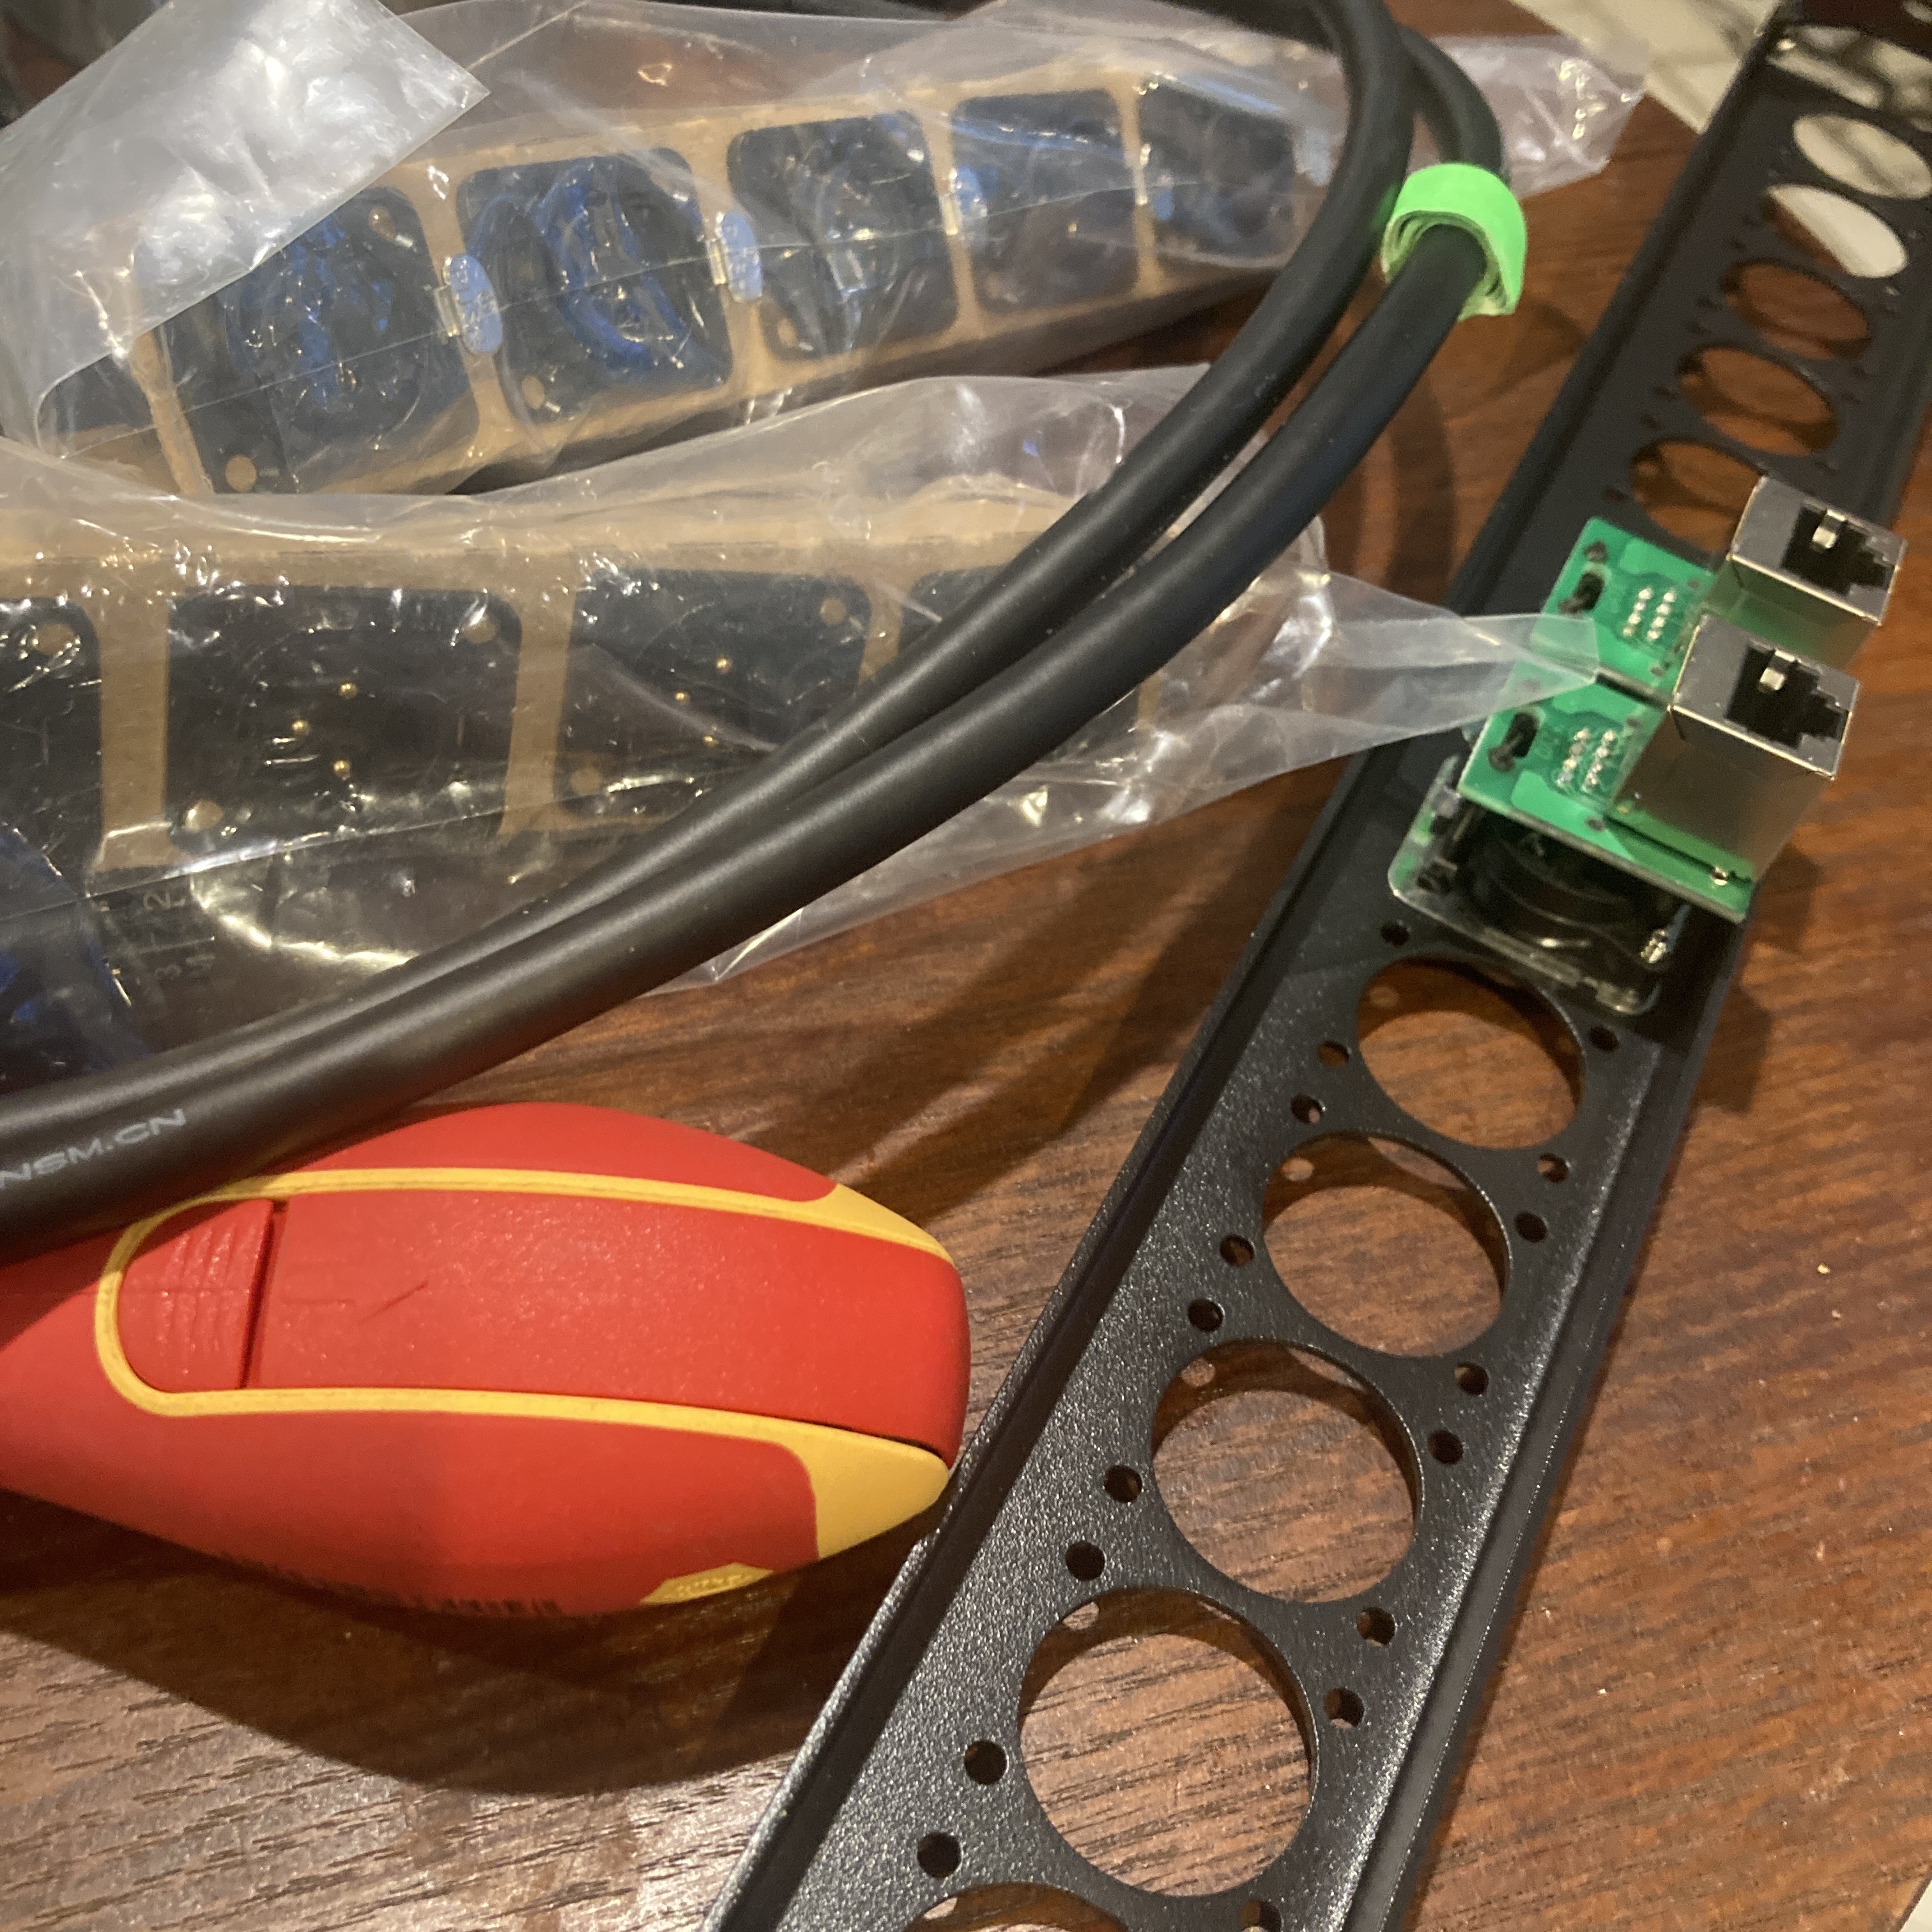
starting with passthrough couplers to go from ethernet cables to ethercon receptacles in the rack. one would be for either the interface stack on its own or for the complete LAN in the event i ever do get that switch installed, and the other is for the intercom.
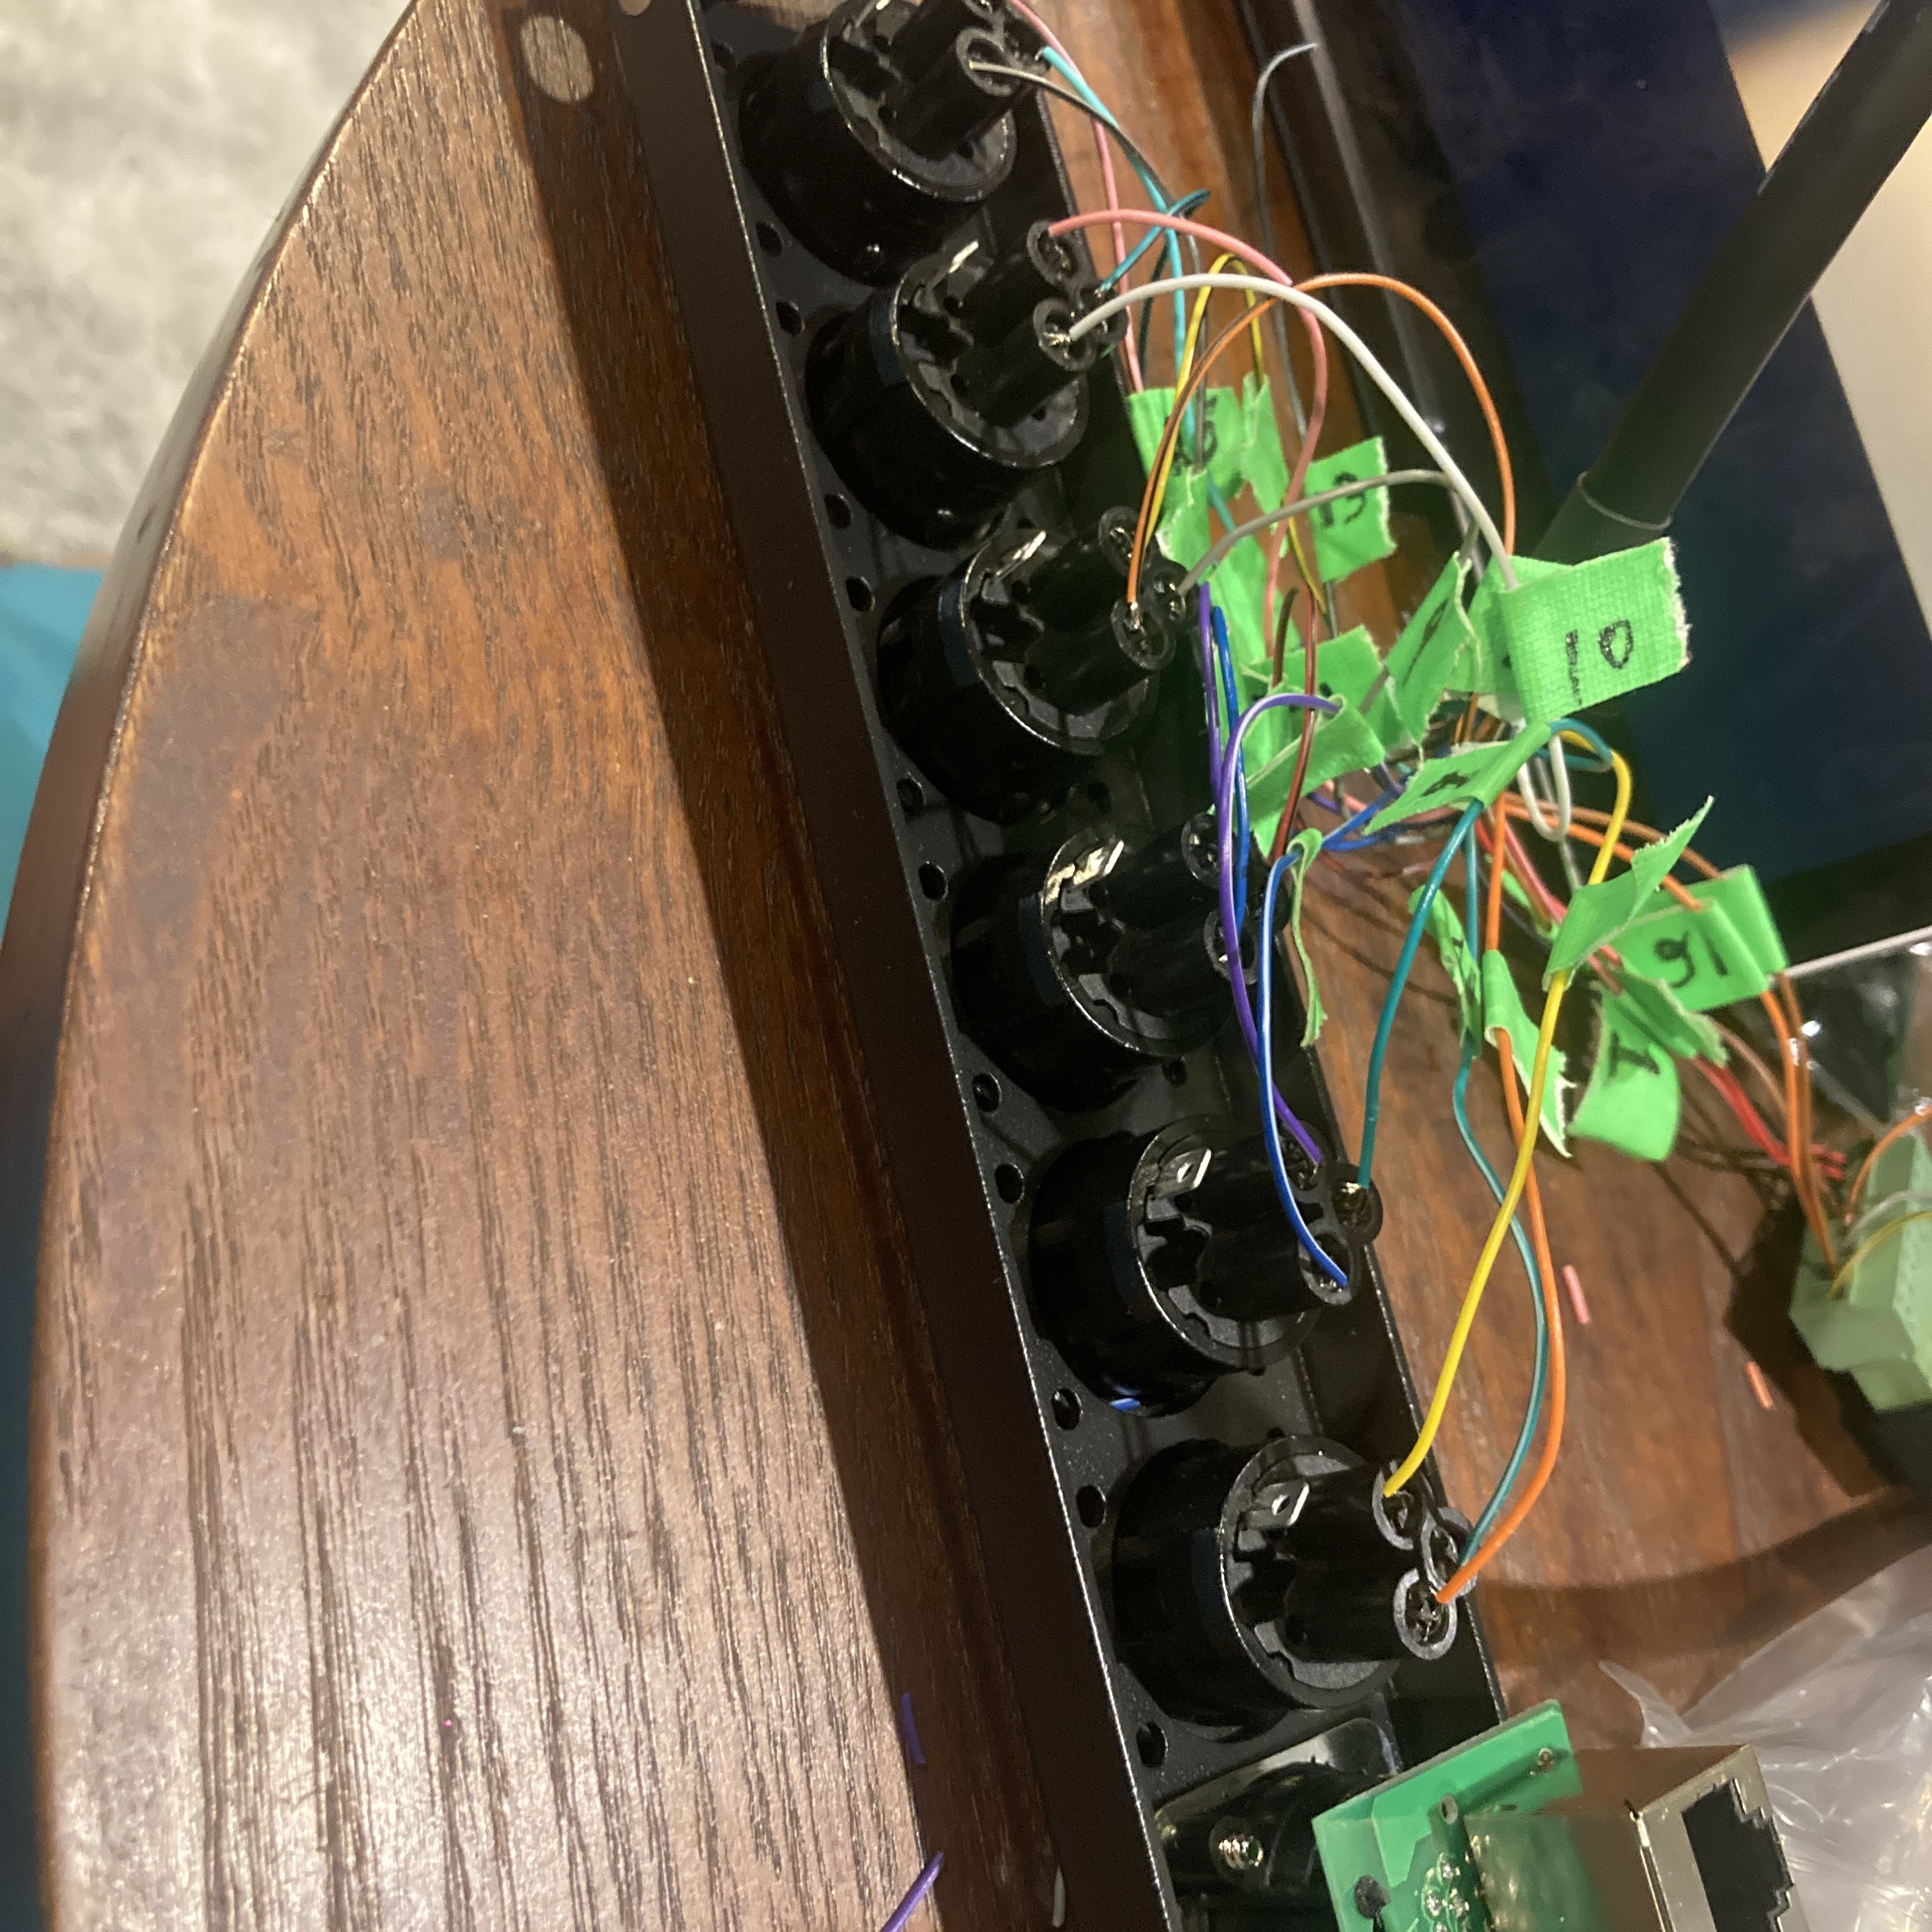
ohhh i’m so glad i’d labeled those the day before.
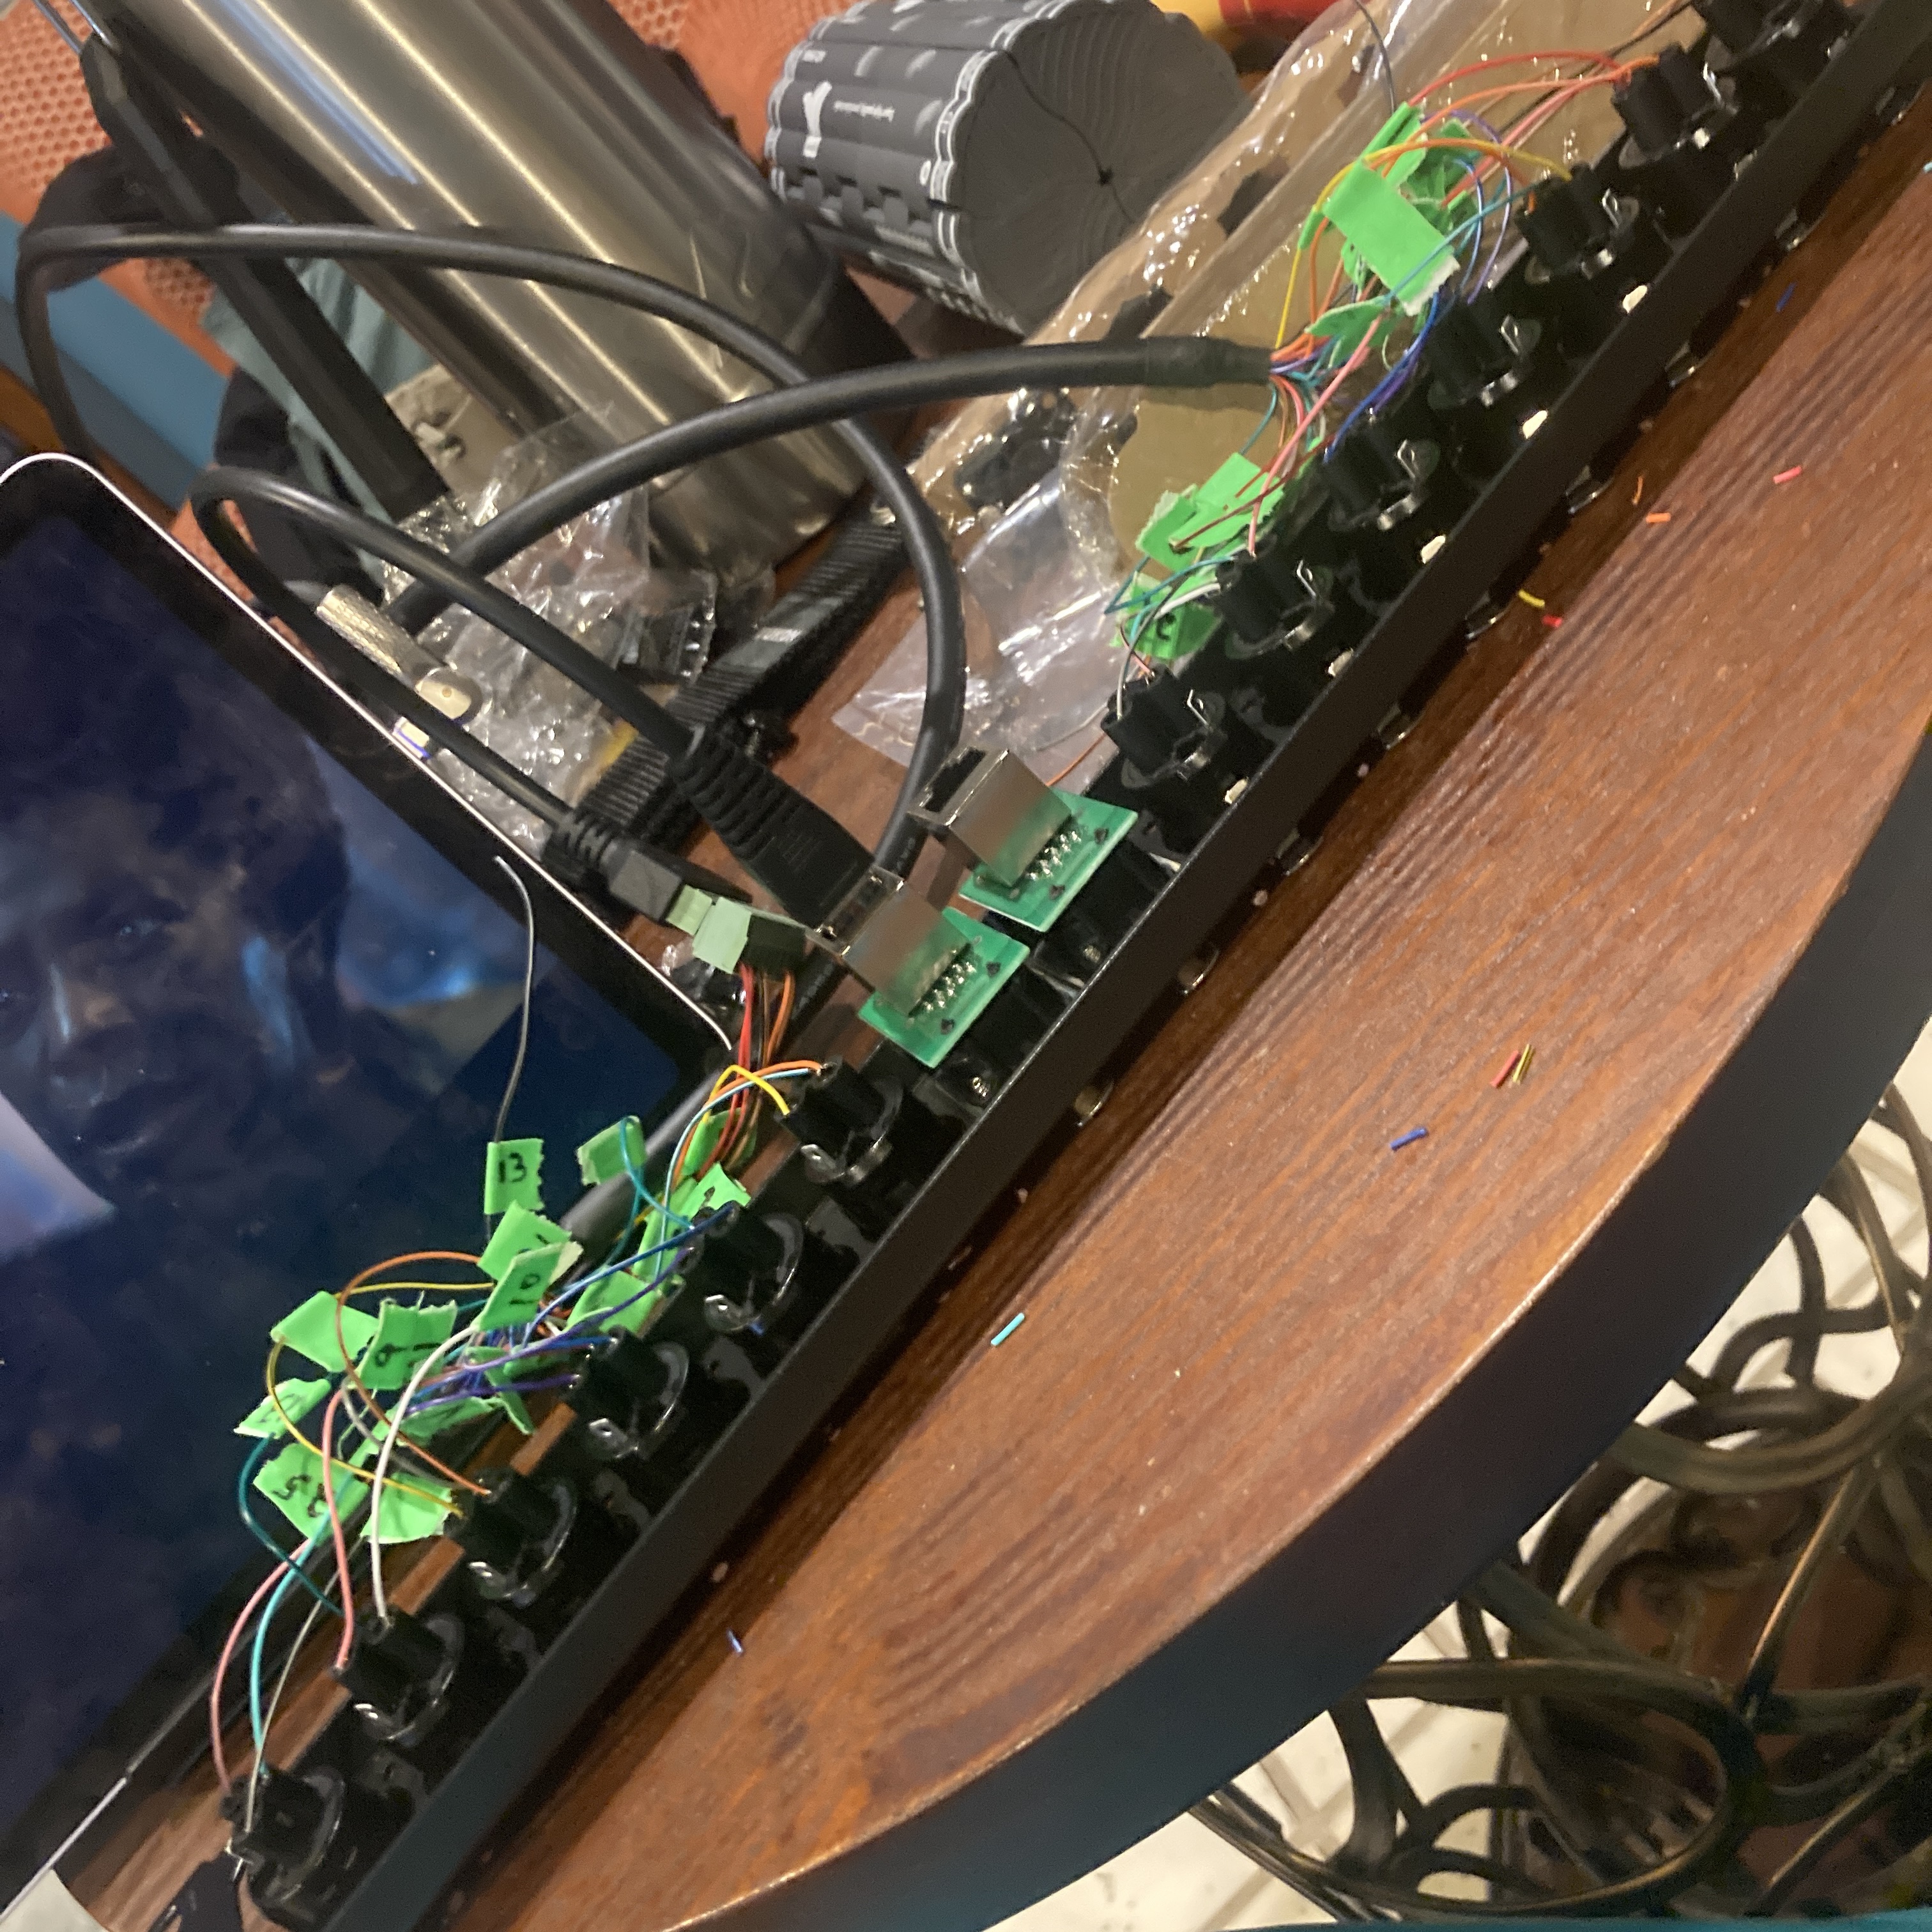
done? oh, kinda. you see, i did this exactly backwards, with the F and M where the other shoulda been. but also, notice some of these leads are really stretched. i watched so much silo while i worked on this.
8th October, 2026
i scrambled to get a new axel after the aluminum axels i’d tried at the beginning of this turned out to just not fit any of my bearings rated at the same 5/8” diameter. so, off to a hardware store to pick up a steel rod three feet long… only i didn’t need three feet, i only needed about 28”, maybe even less. the store wouldn’t cut it down for me, but on this day i learned an angle grinder could be had for about the cost of whichever drivethrough combo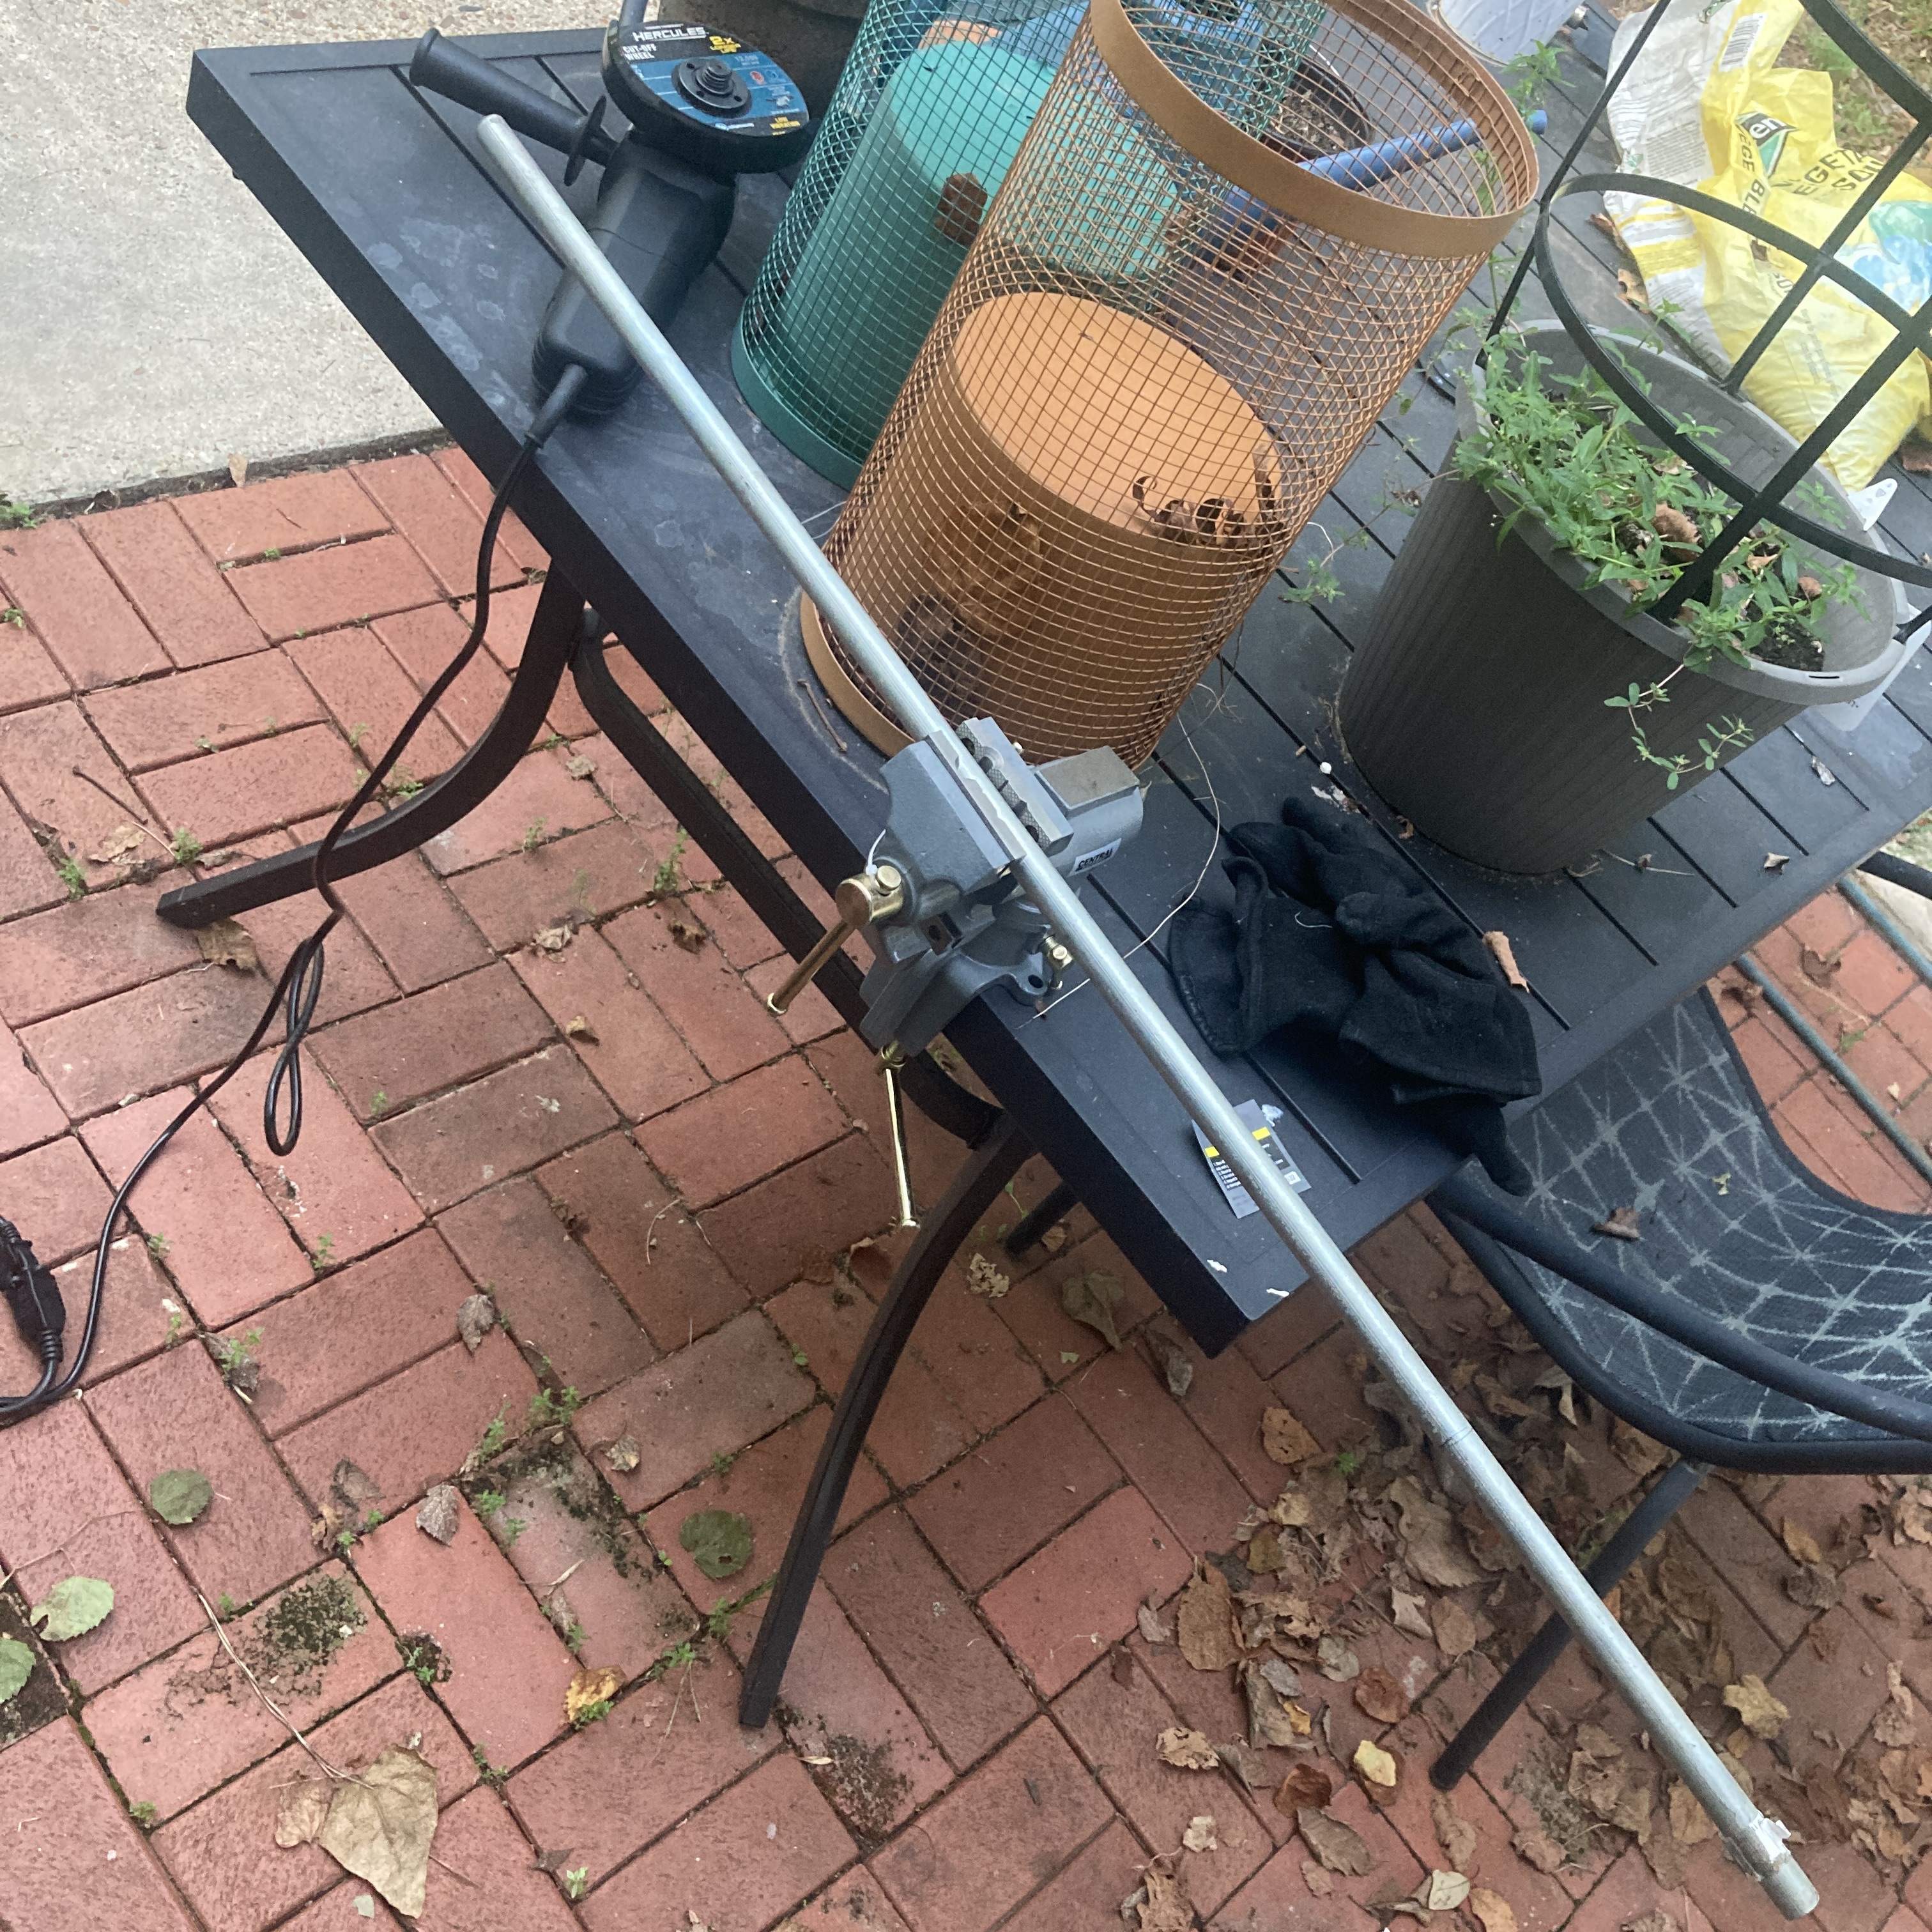
also a table vise. and a cutting wheel and drill bits and safety glasses and and and
i was out in the back yard in an m65 jacket and leather gloves over a very breezy spinny dress and i wish anyone had been around to get a picture of baby’s first metalworking.
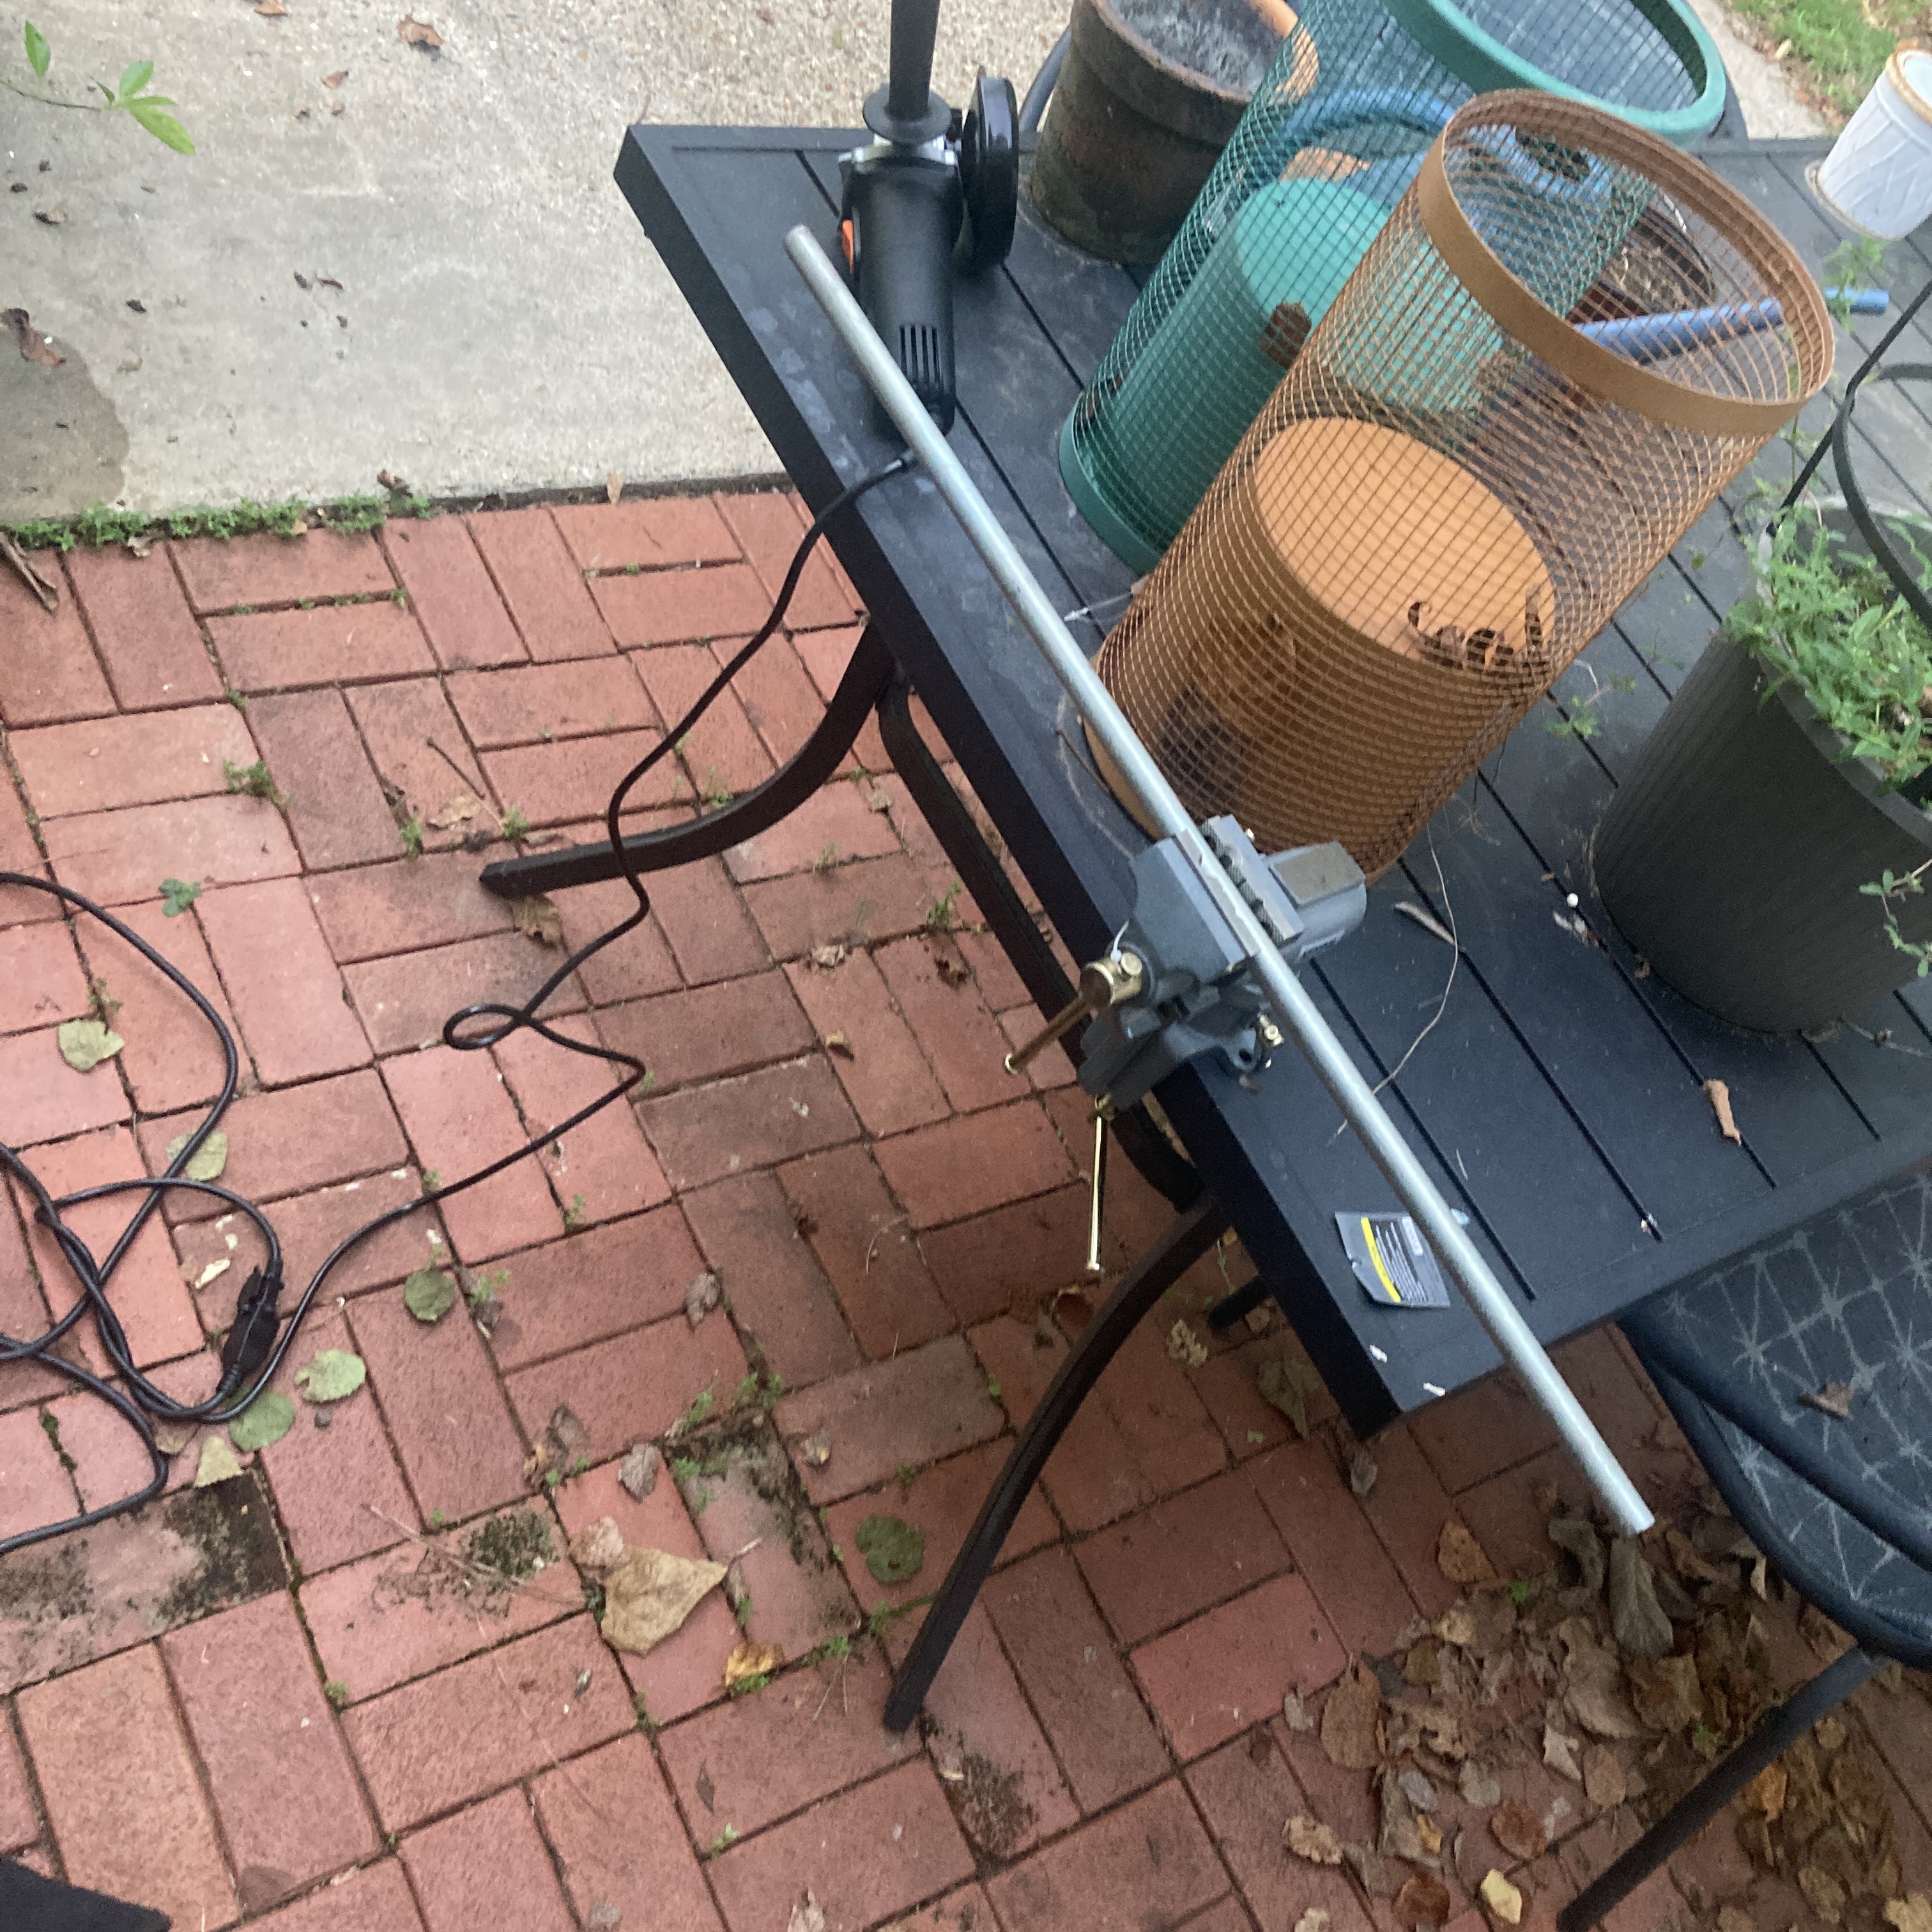
there were so many sparks! i don’t want to know how lucky i am that disaster did not strike next to this pile of dead leaves. was i expecting the sparks? shit no, for some reason. maybe one or two. my drill never sparked, i never saw a rotary cutter spark, but this thing, the instant i touched cutting disk to steel, a flood of sparks, and i knew if i stopped it’d just be worse and the whole thing wasn’t bigger than a minute anyway so on i went!
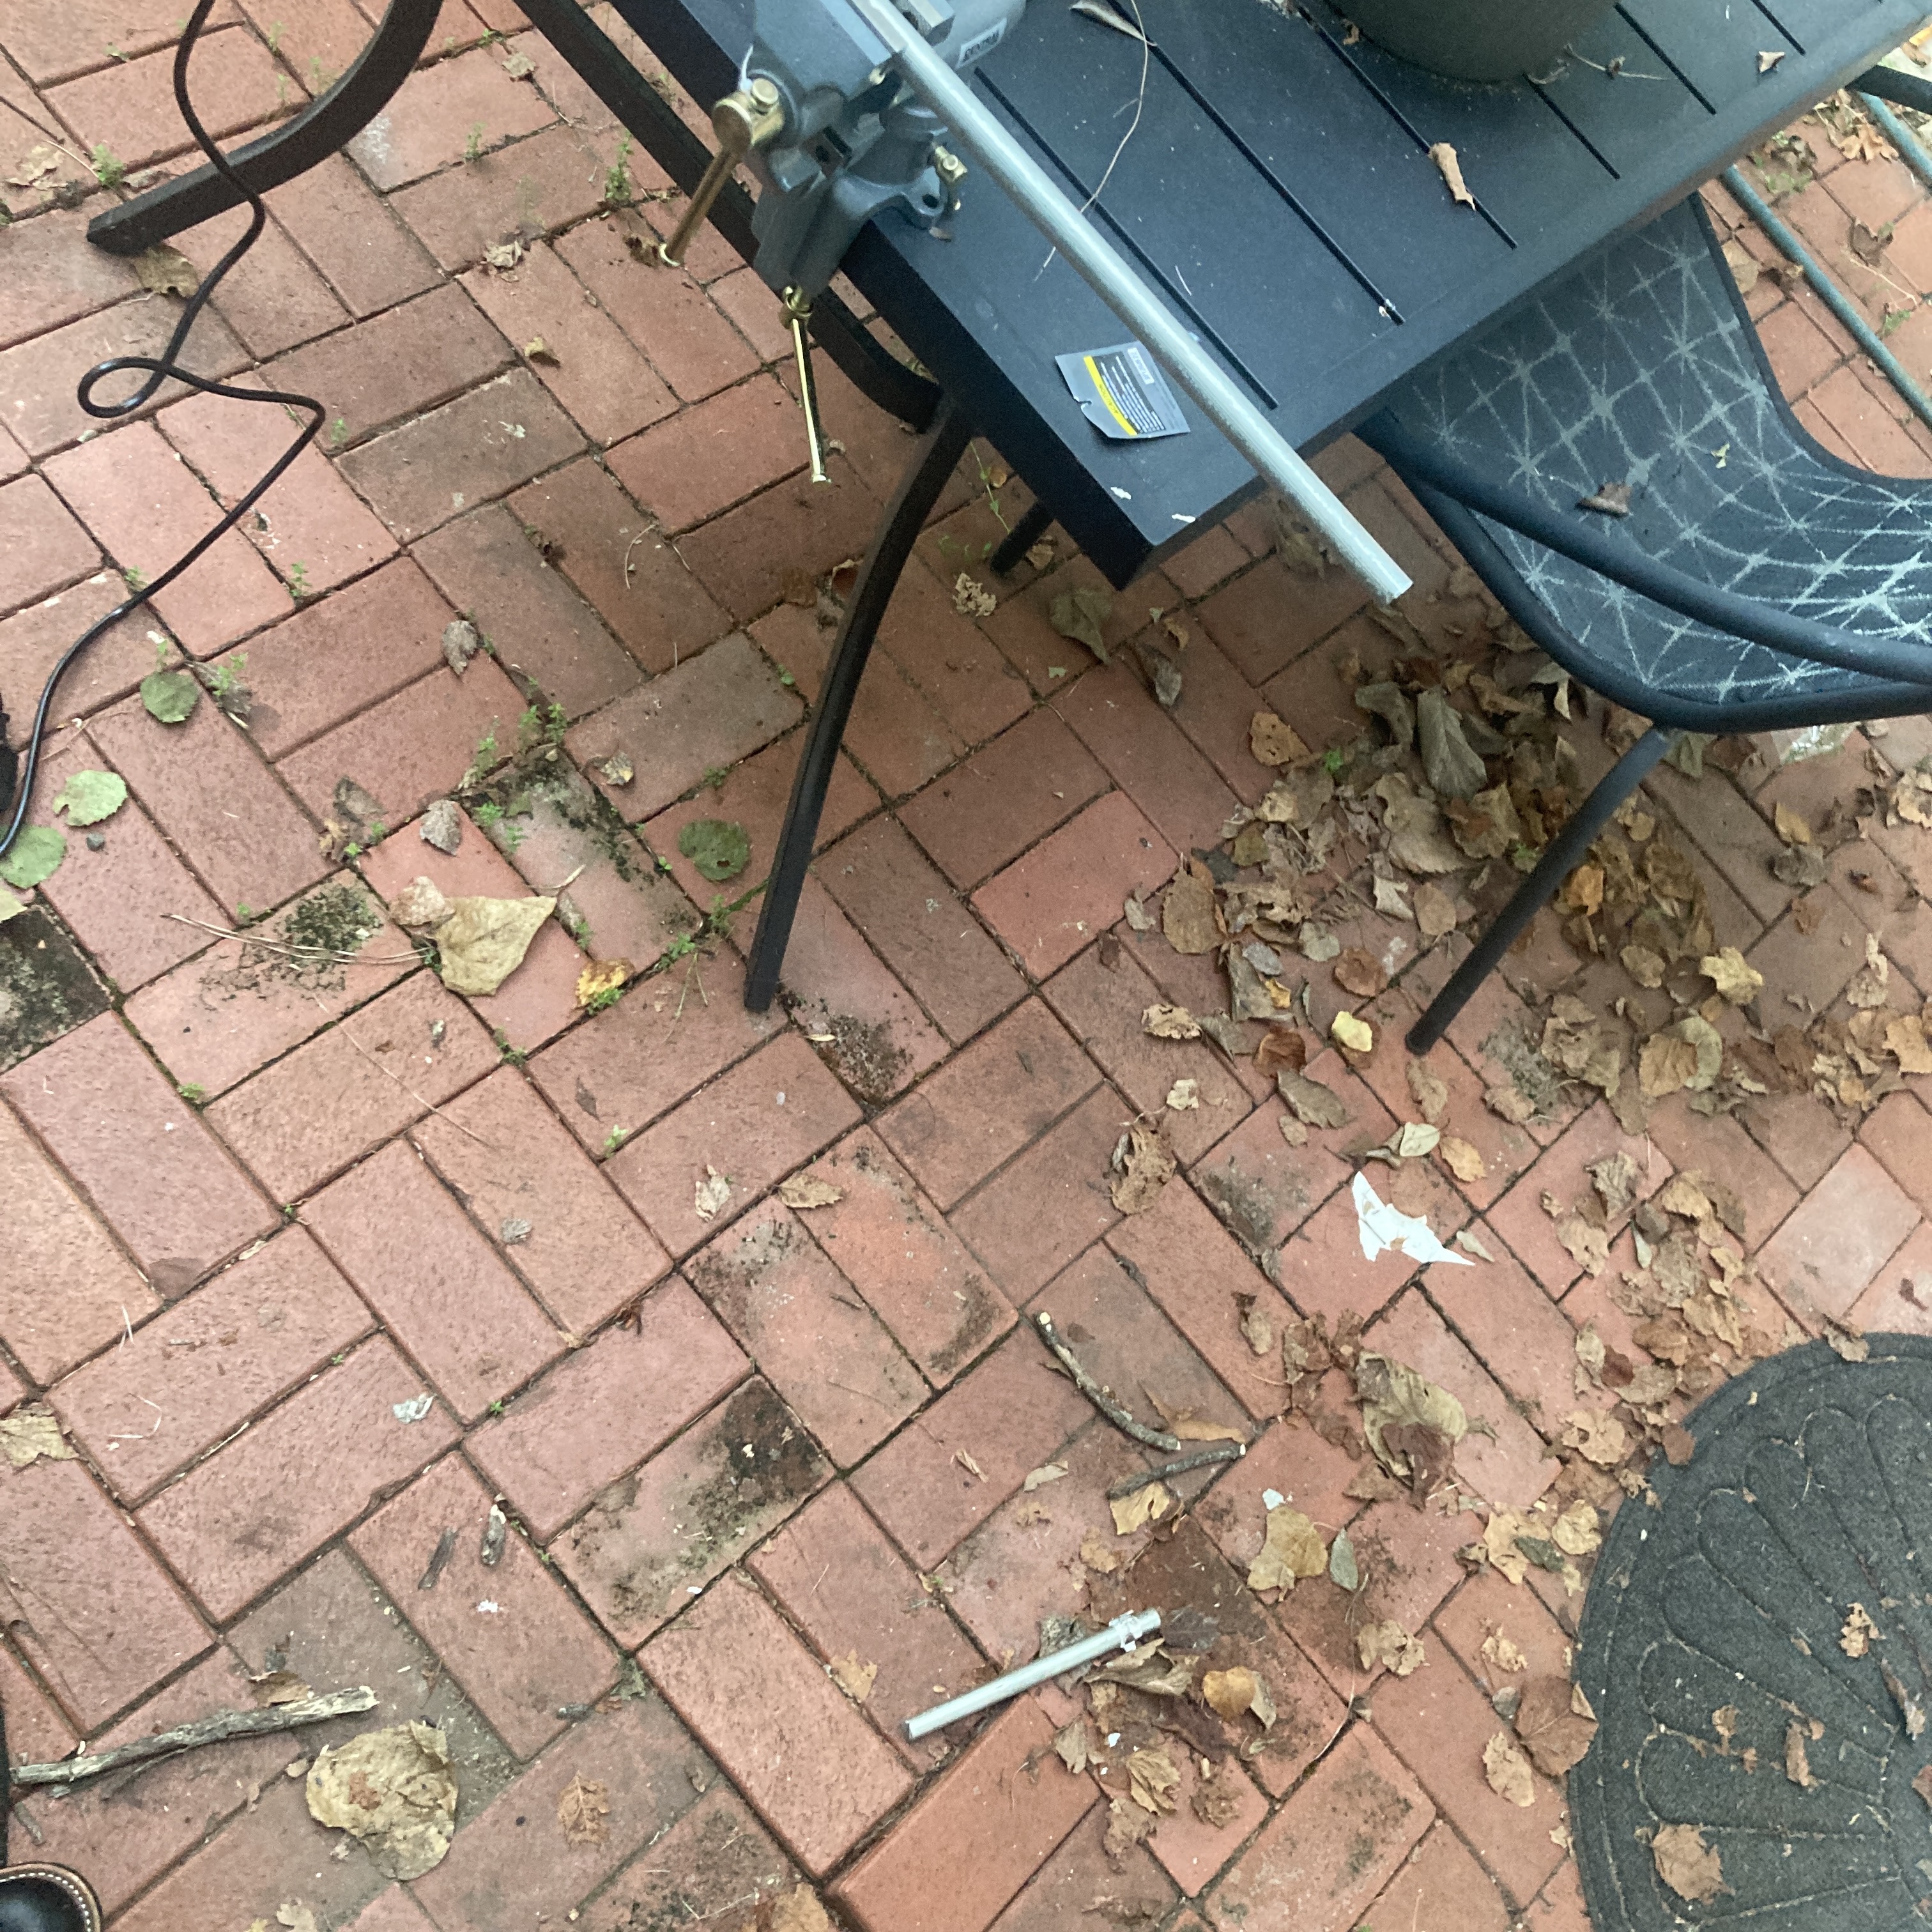
BAHAHAHAHAHA
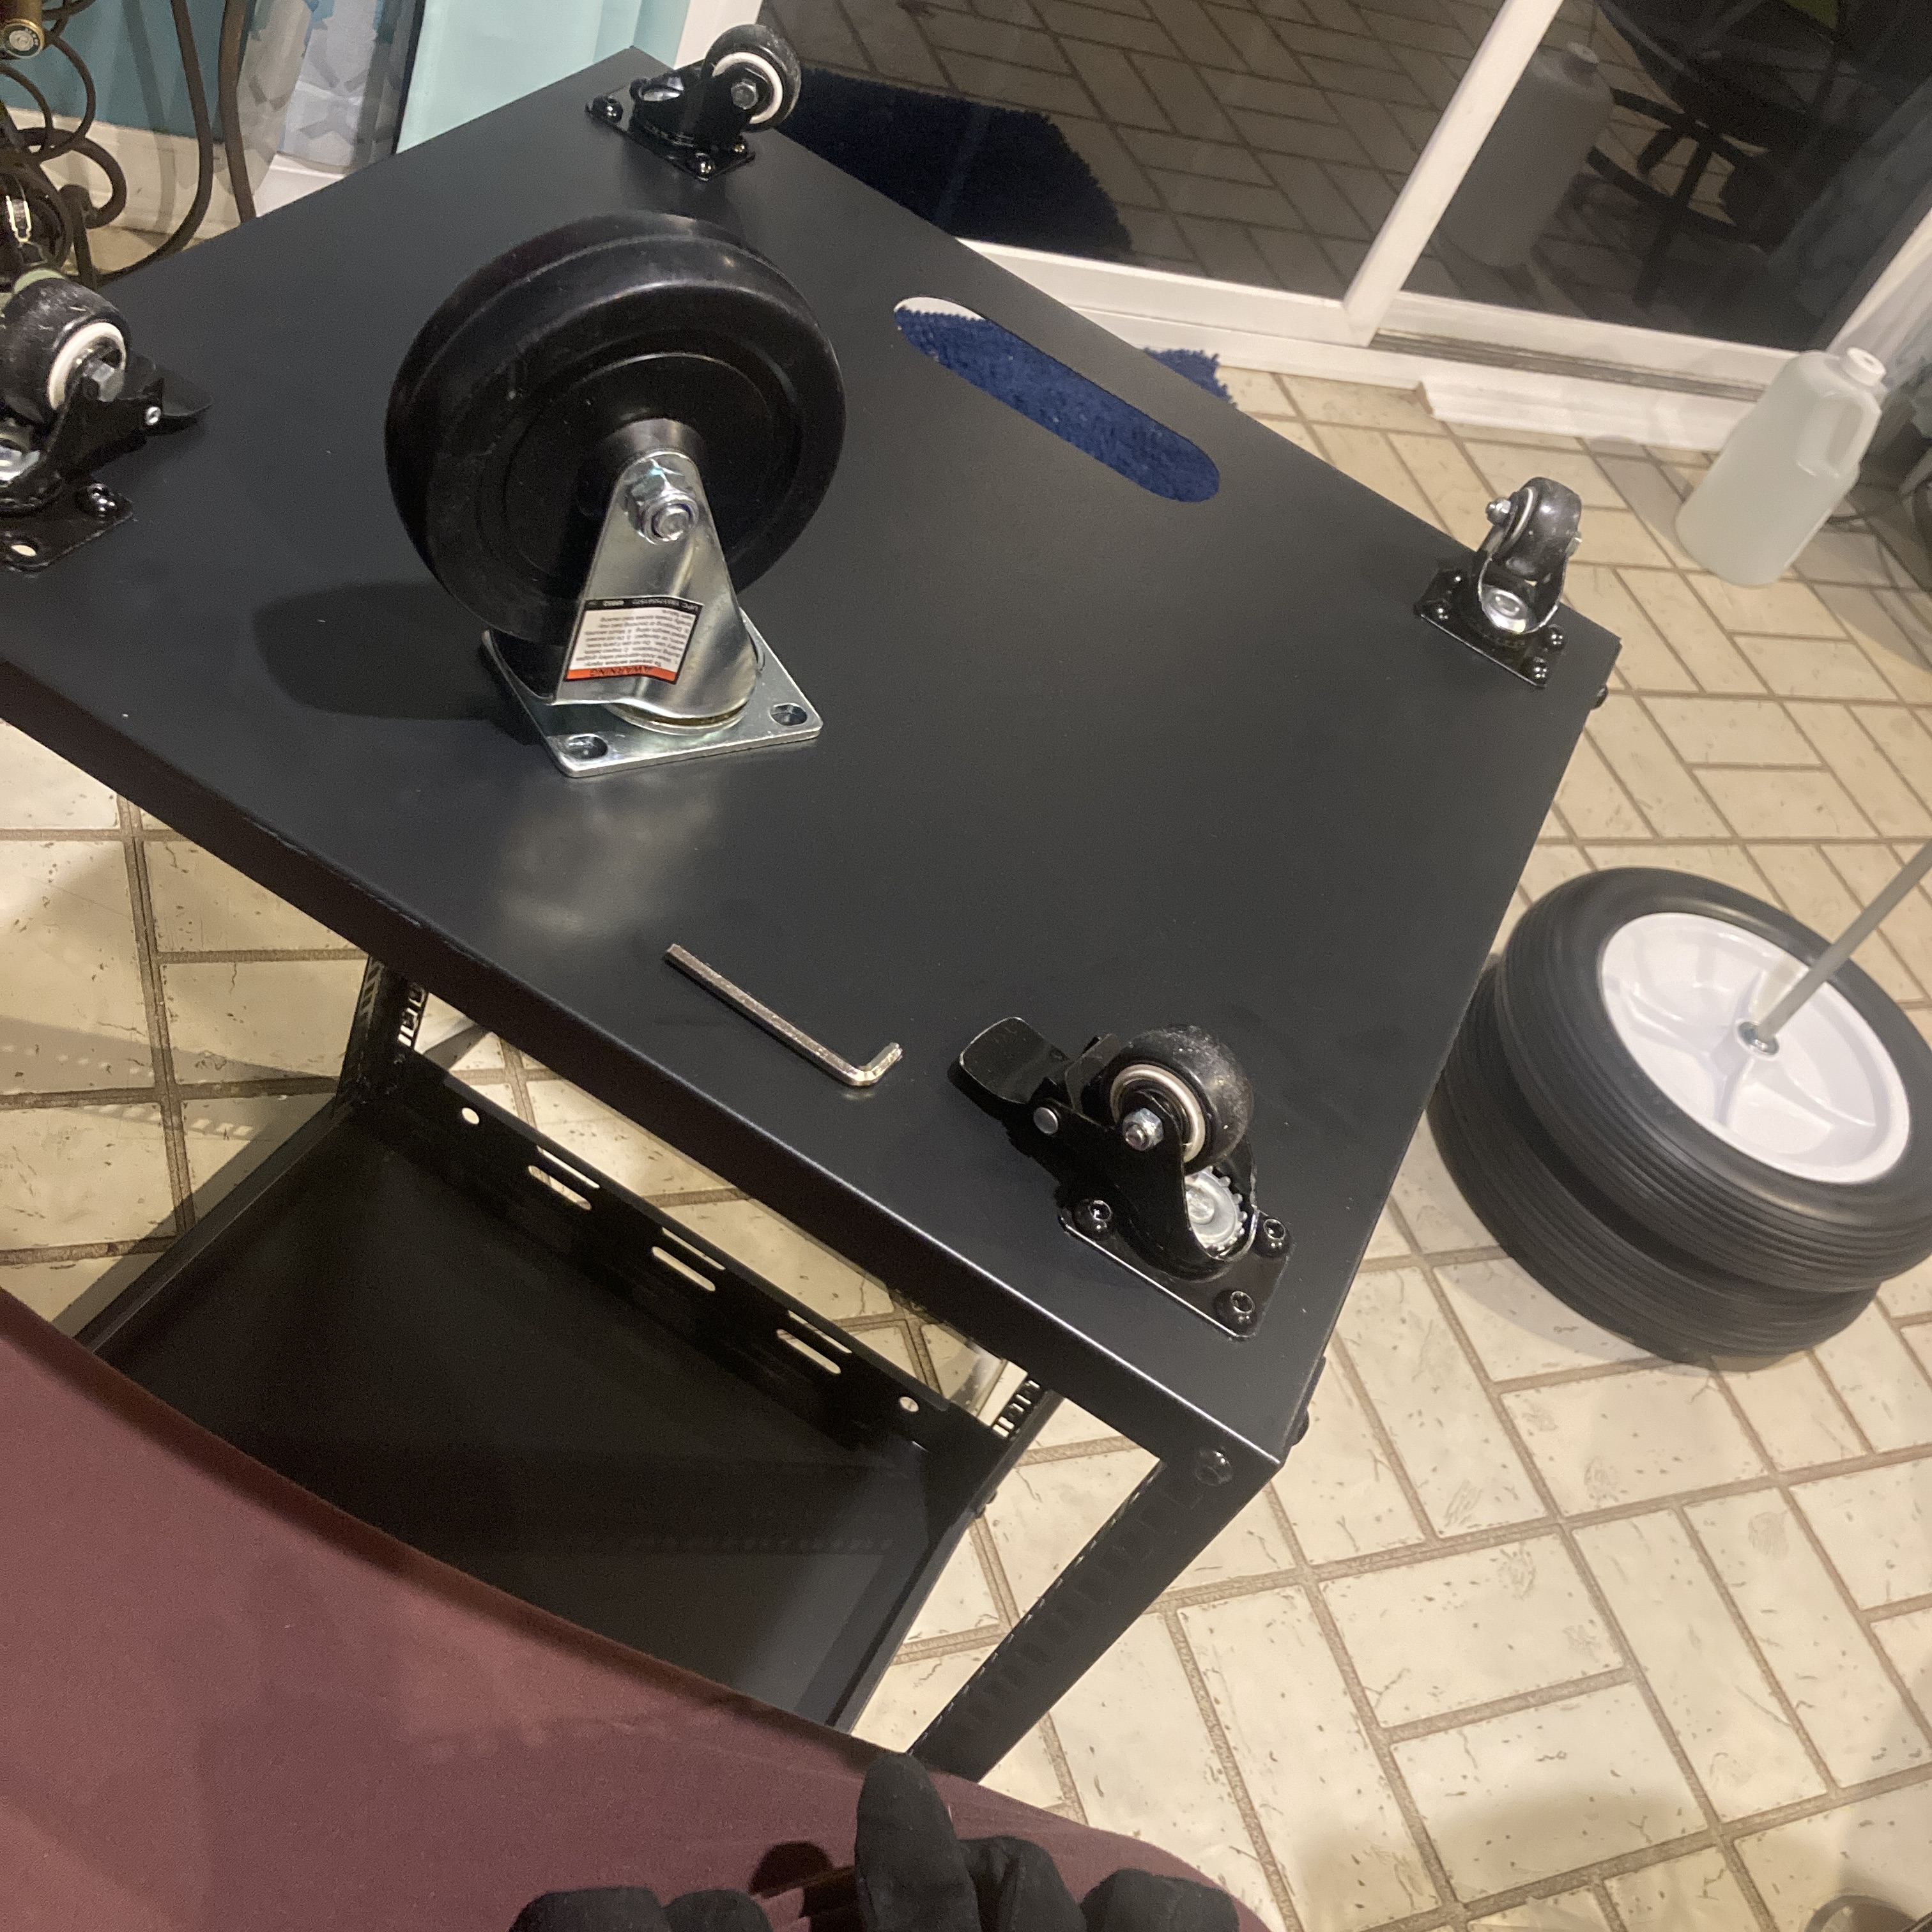
i went ahead and assembled the axel. the stock wheels vs the wheels she told you not to worry about. the rest of this would have to wait for a cordless drill to show up in the mail (the one regular ass tool we didn’t have in the house).
10th October, 2026
the patch panel is corrected, and i’ve installed panel-mount BNC couplers for the wireless that will be installed in some hypothetical far future date of being-able-to-afford-such-things.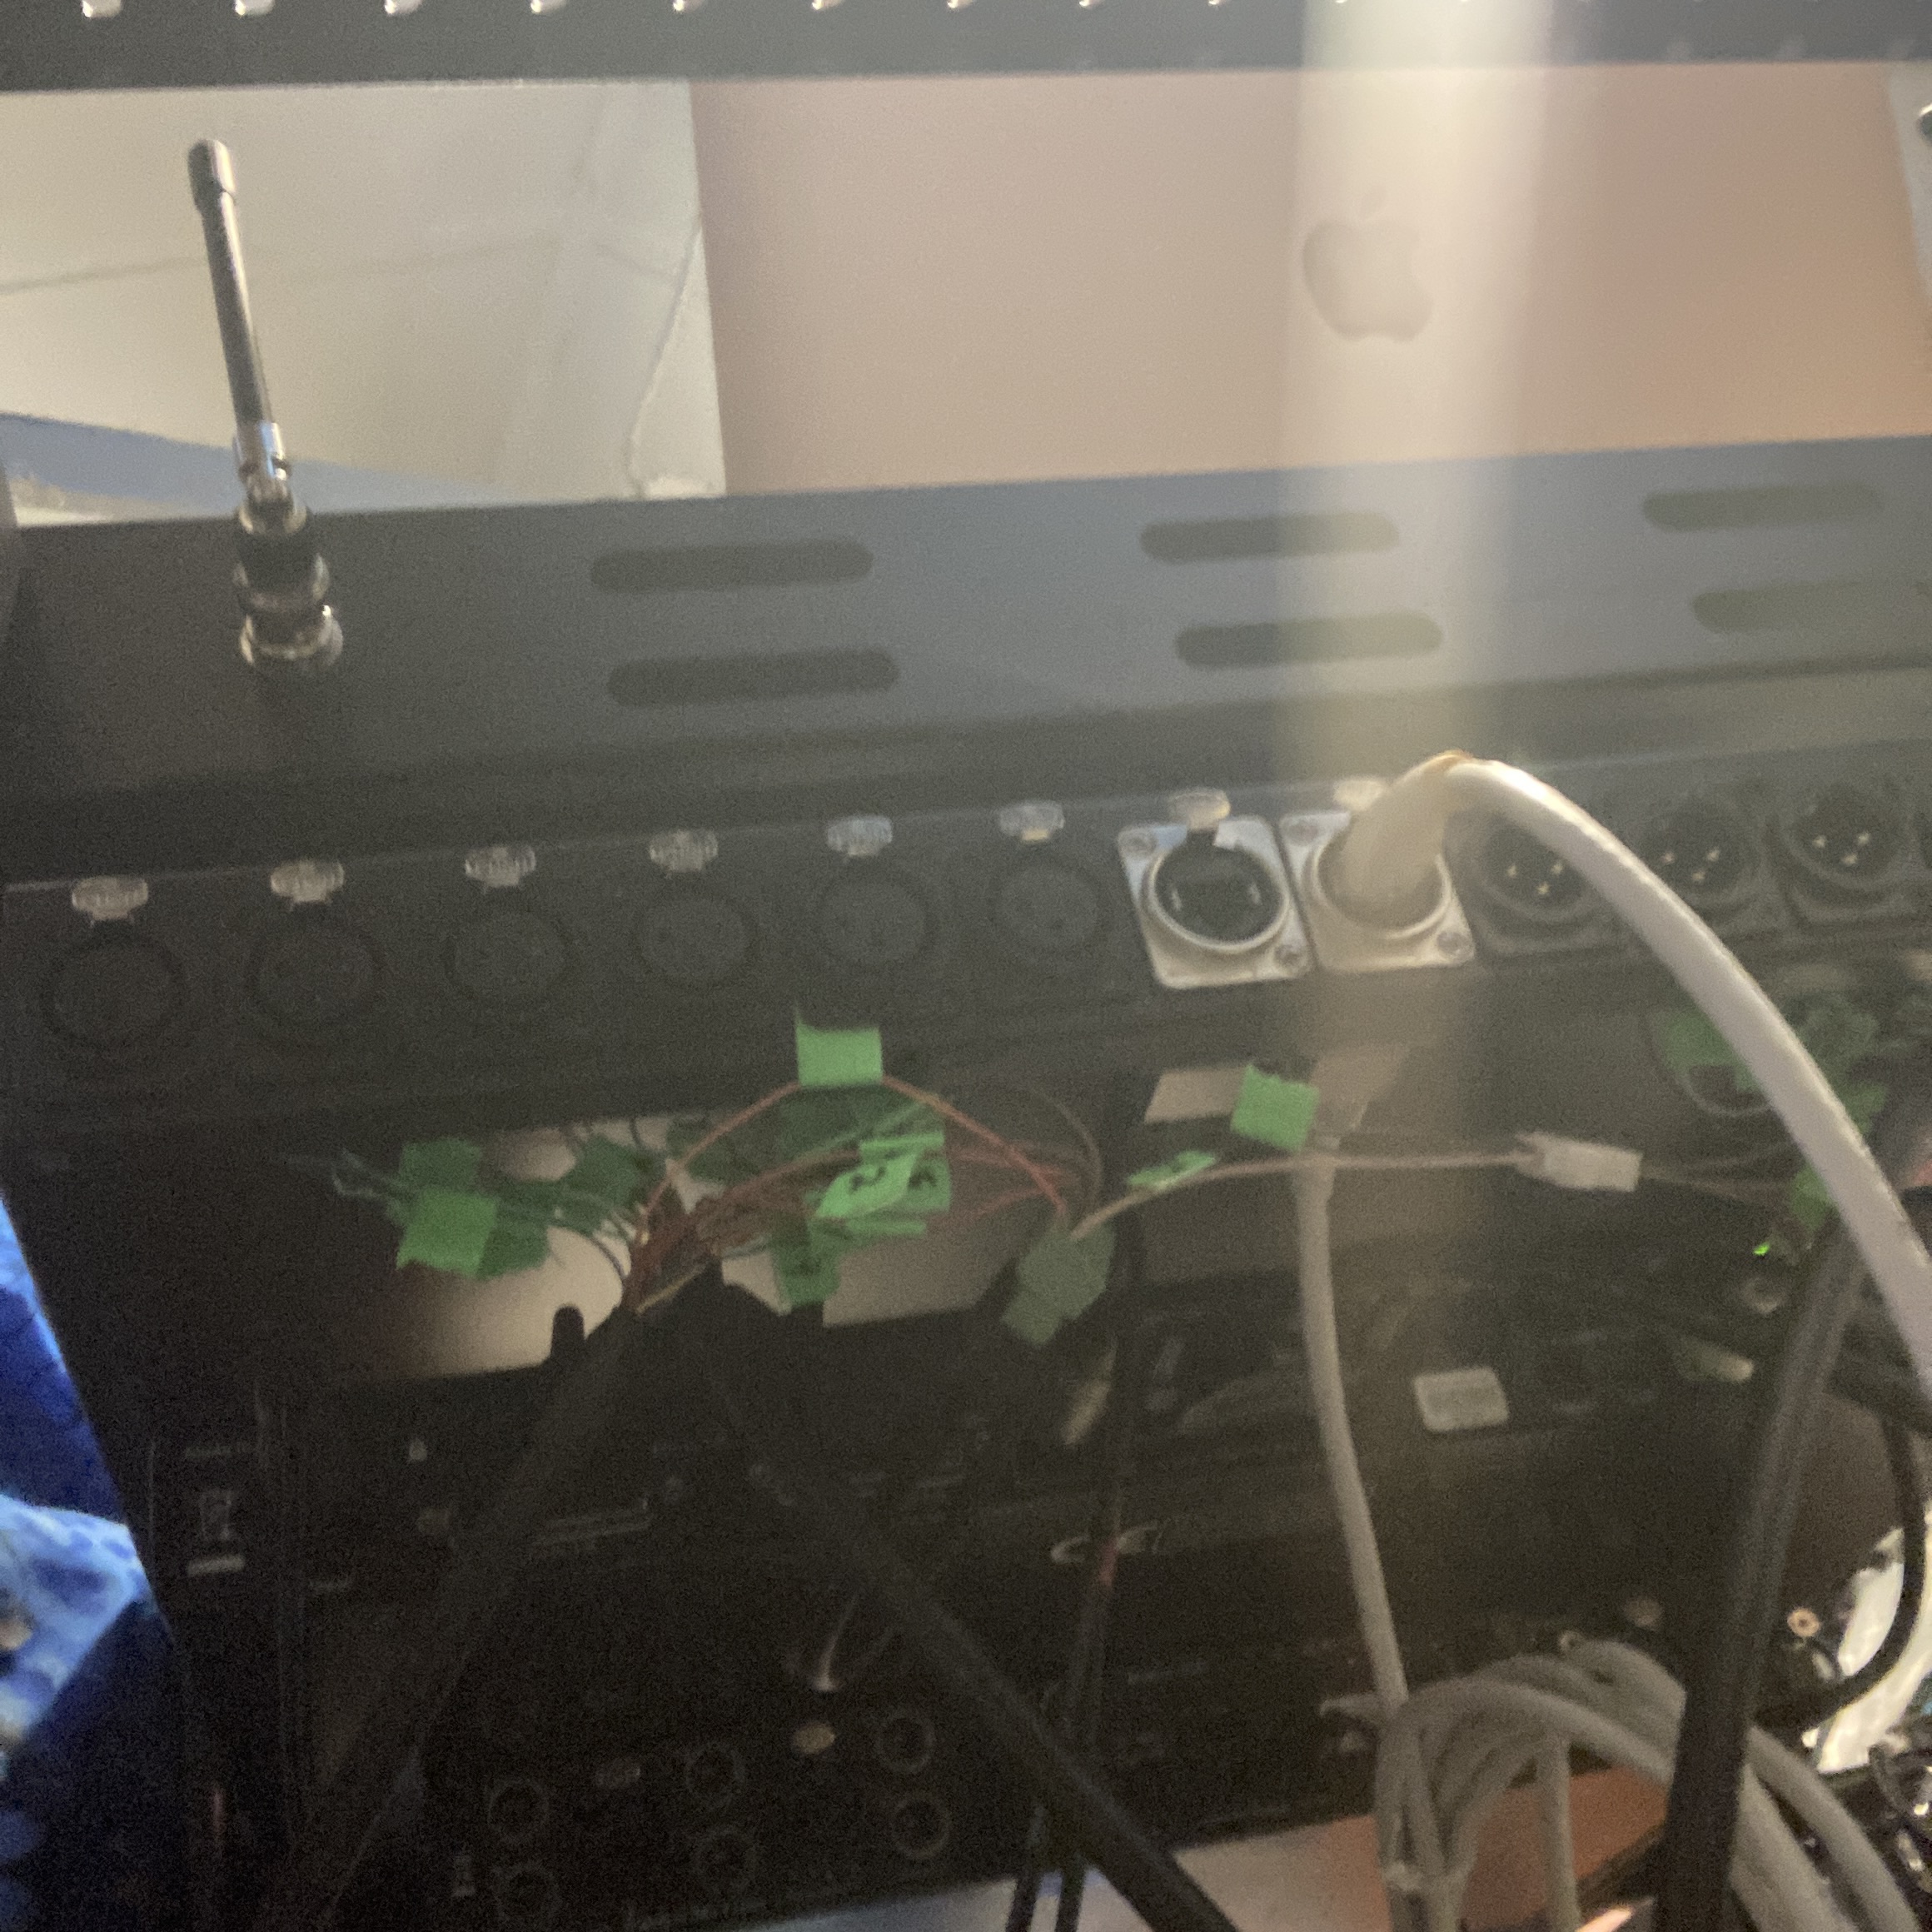
15th October, 2026
i thought, “what if this thing had a big switch to power everything on?” and also, not pictured, “what if i put on a second one, for my old T-power mics?”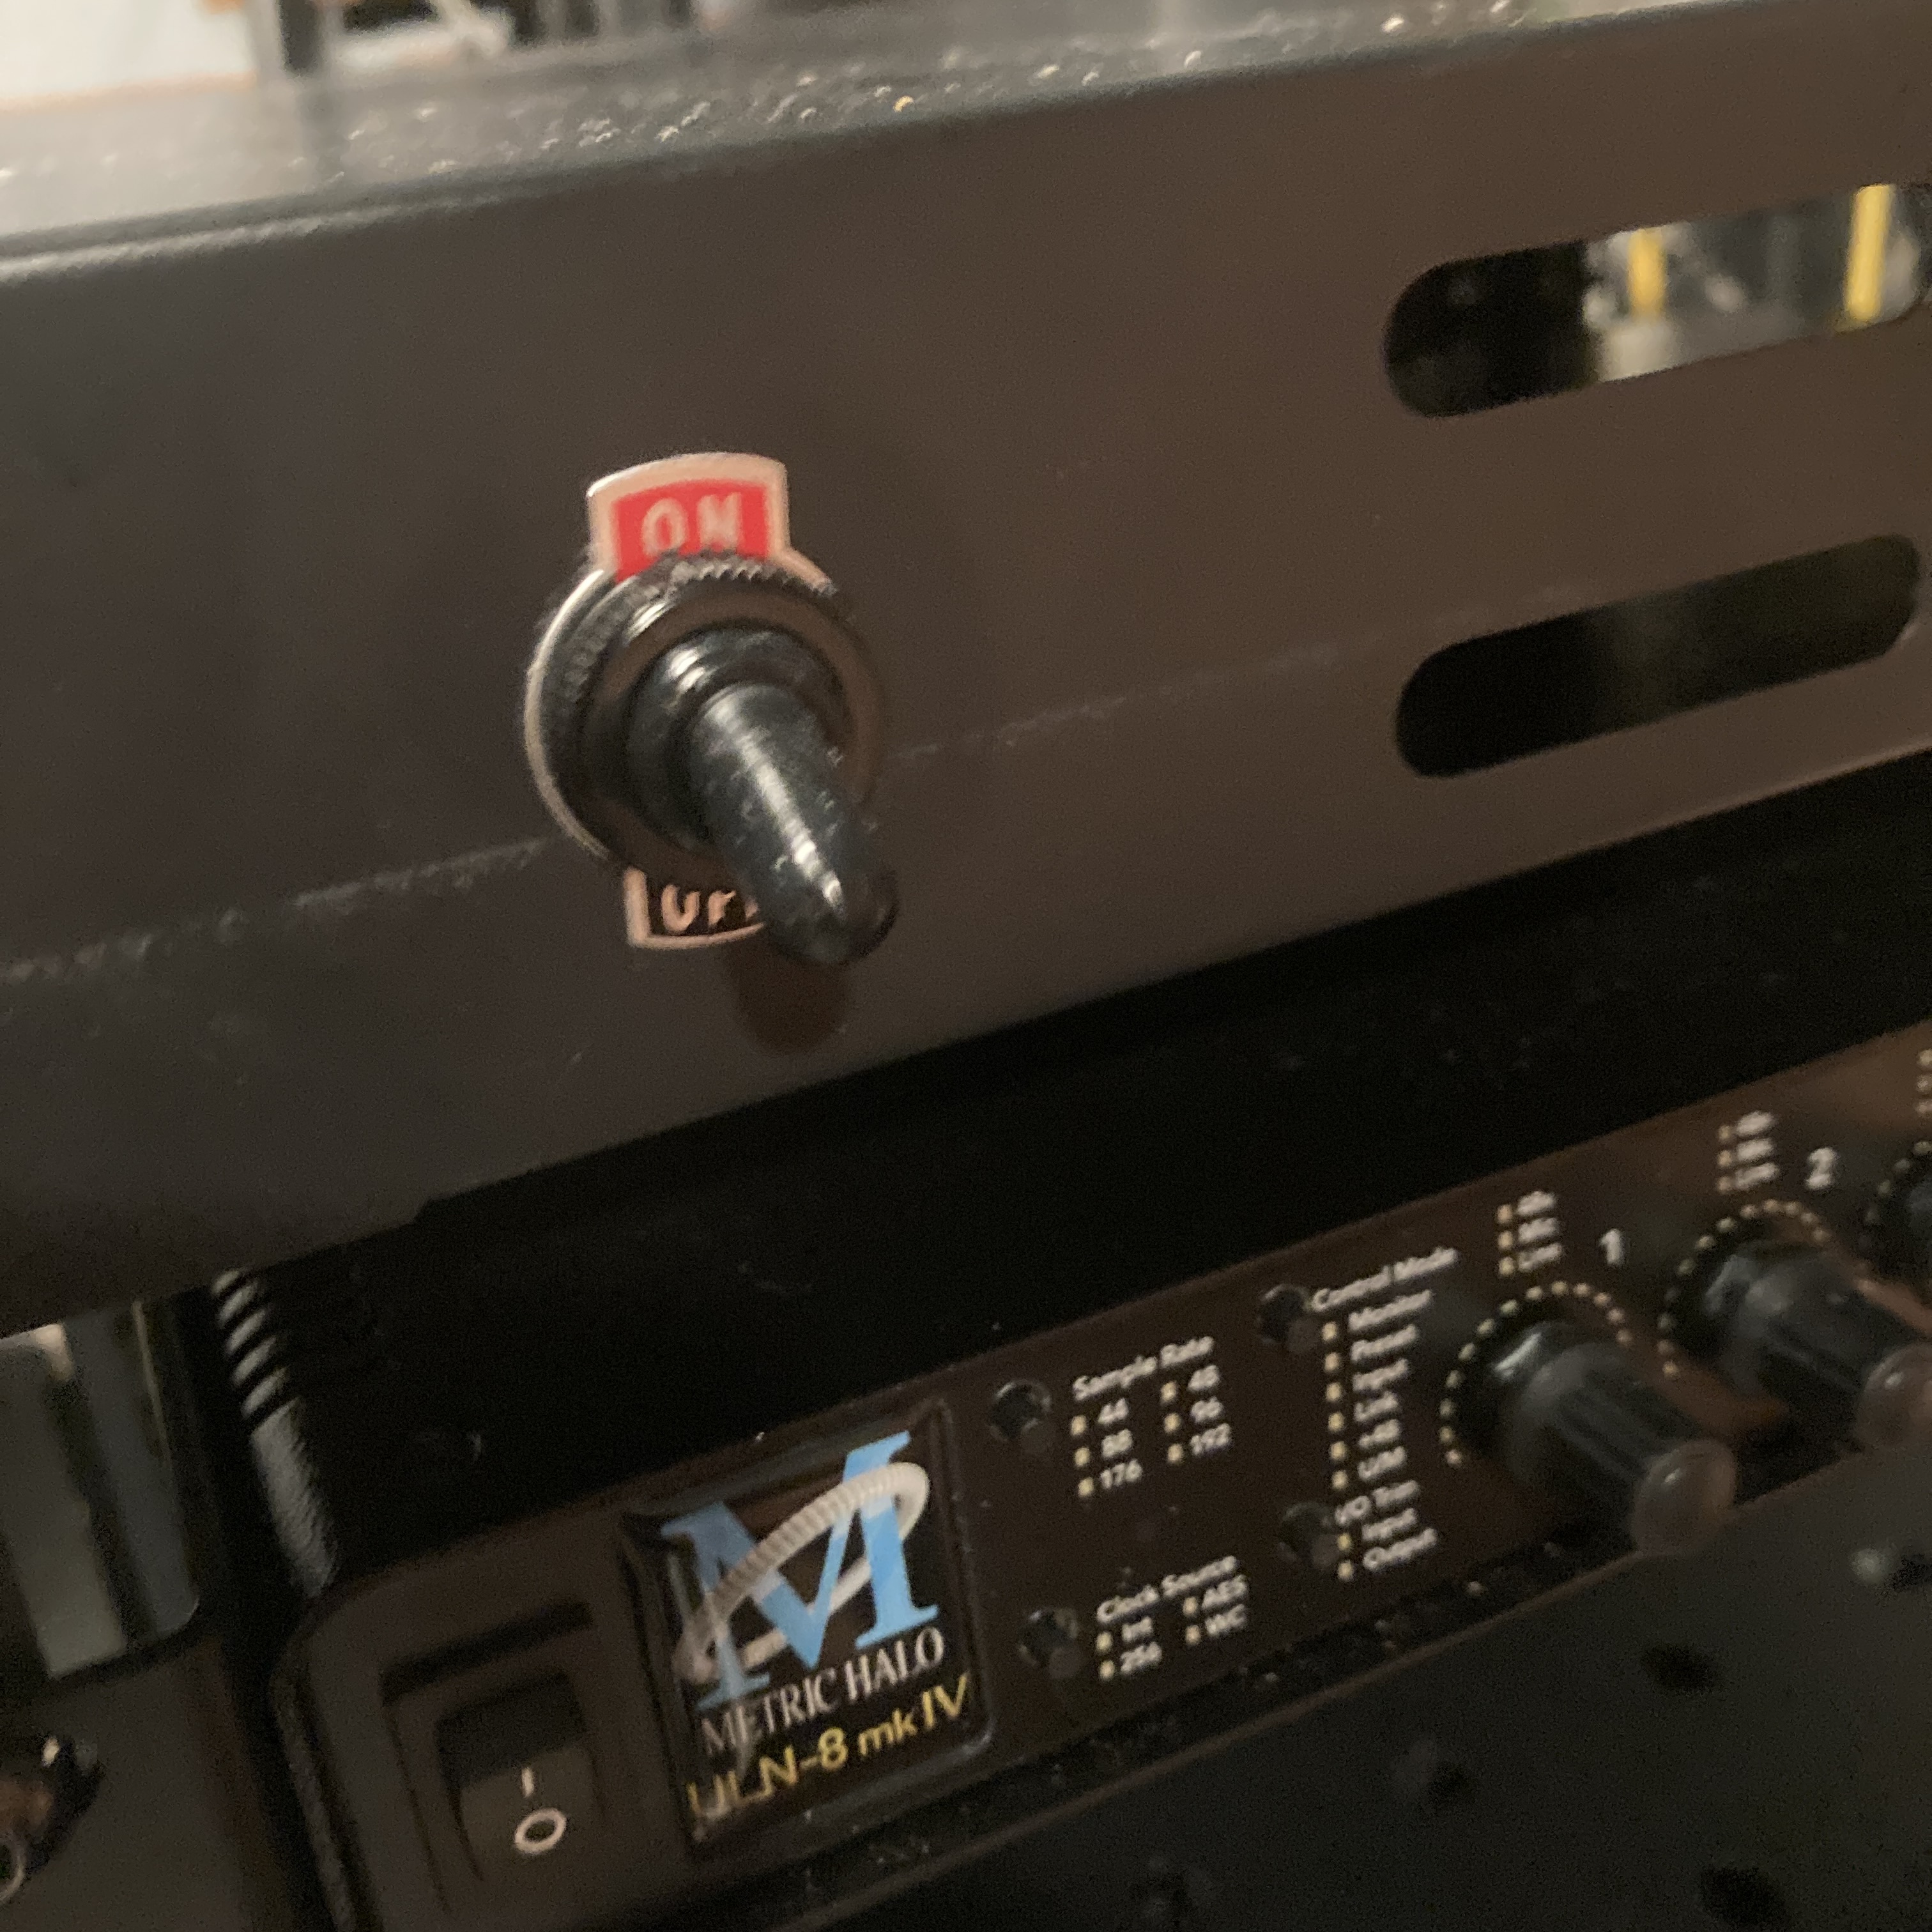
for the mic power switch, i also installed a 12V regulator, and a pair of resistors (the 180ohm resistors are just standard for powering these old mics).
17th October, 2026
the drill finally came!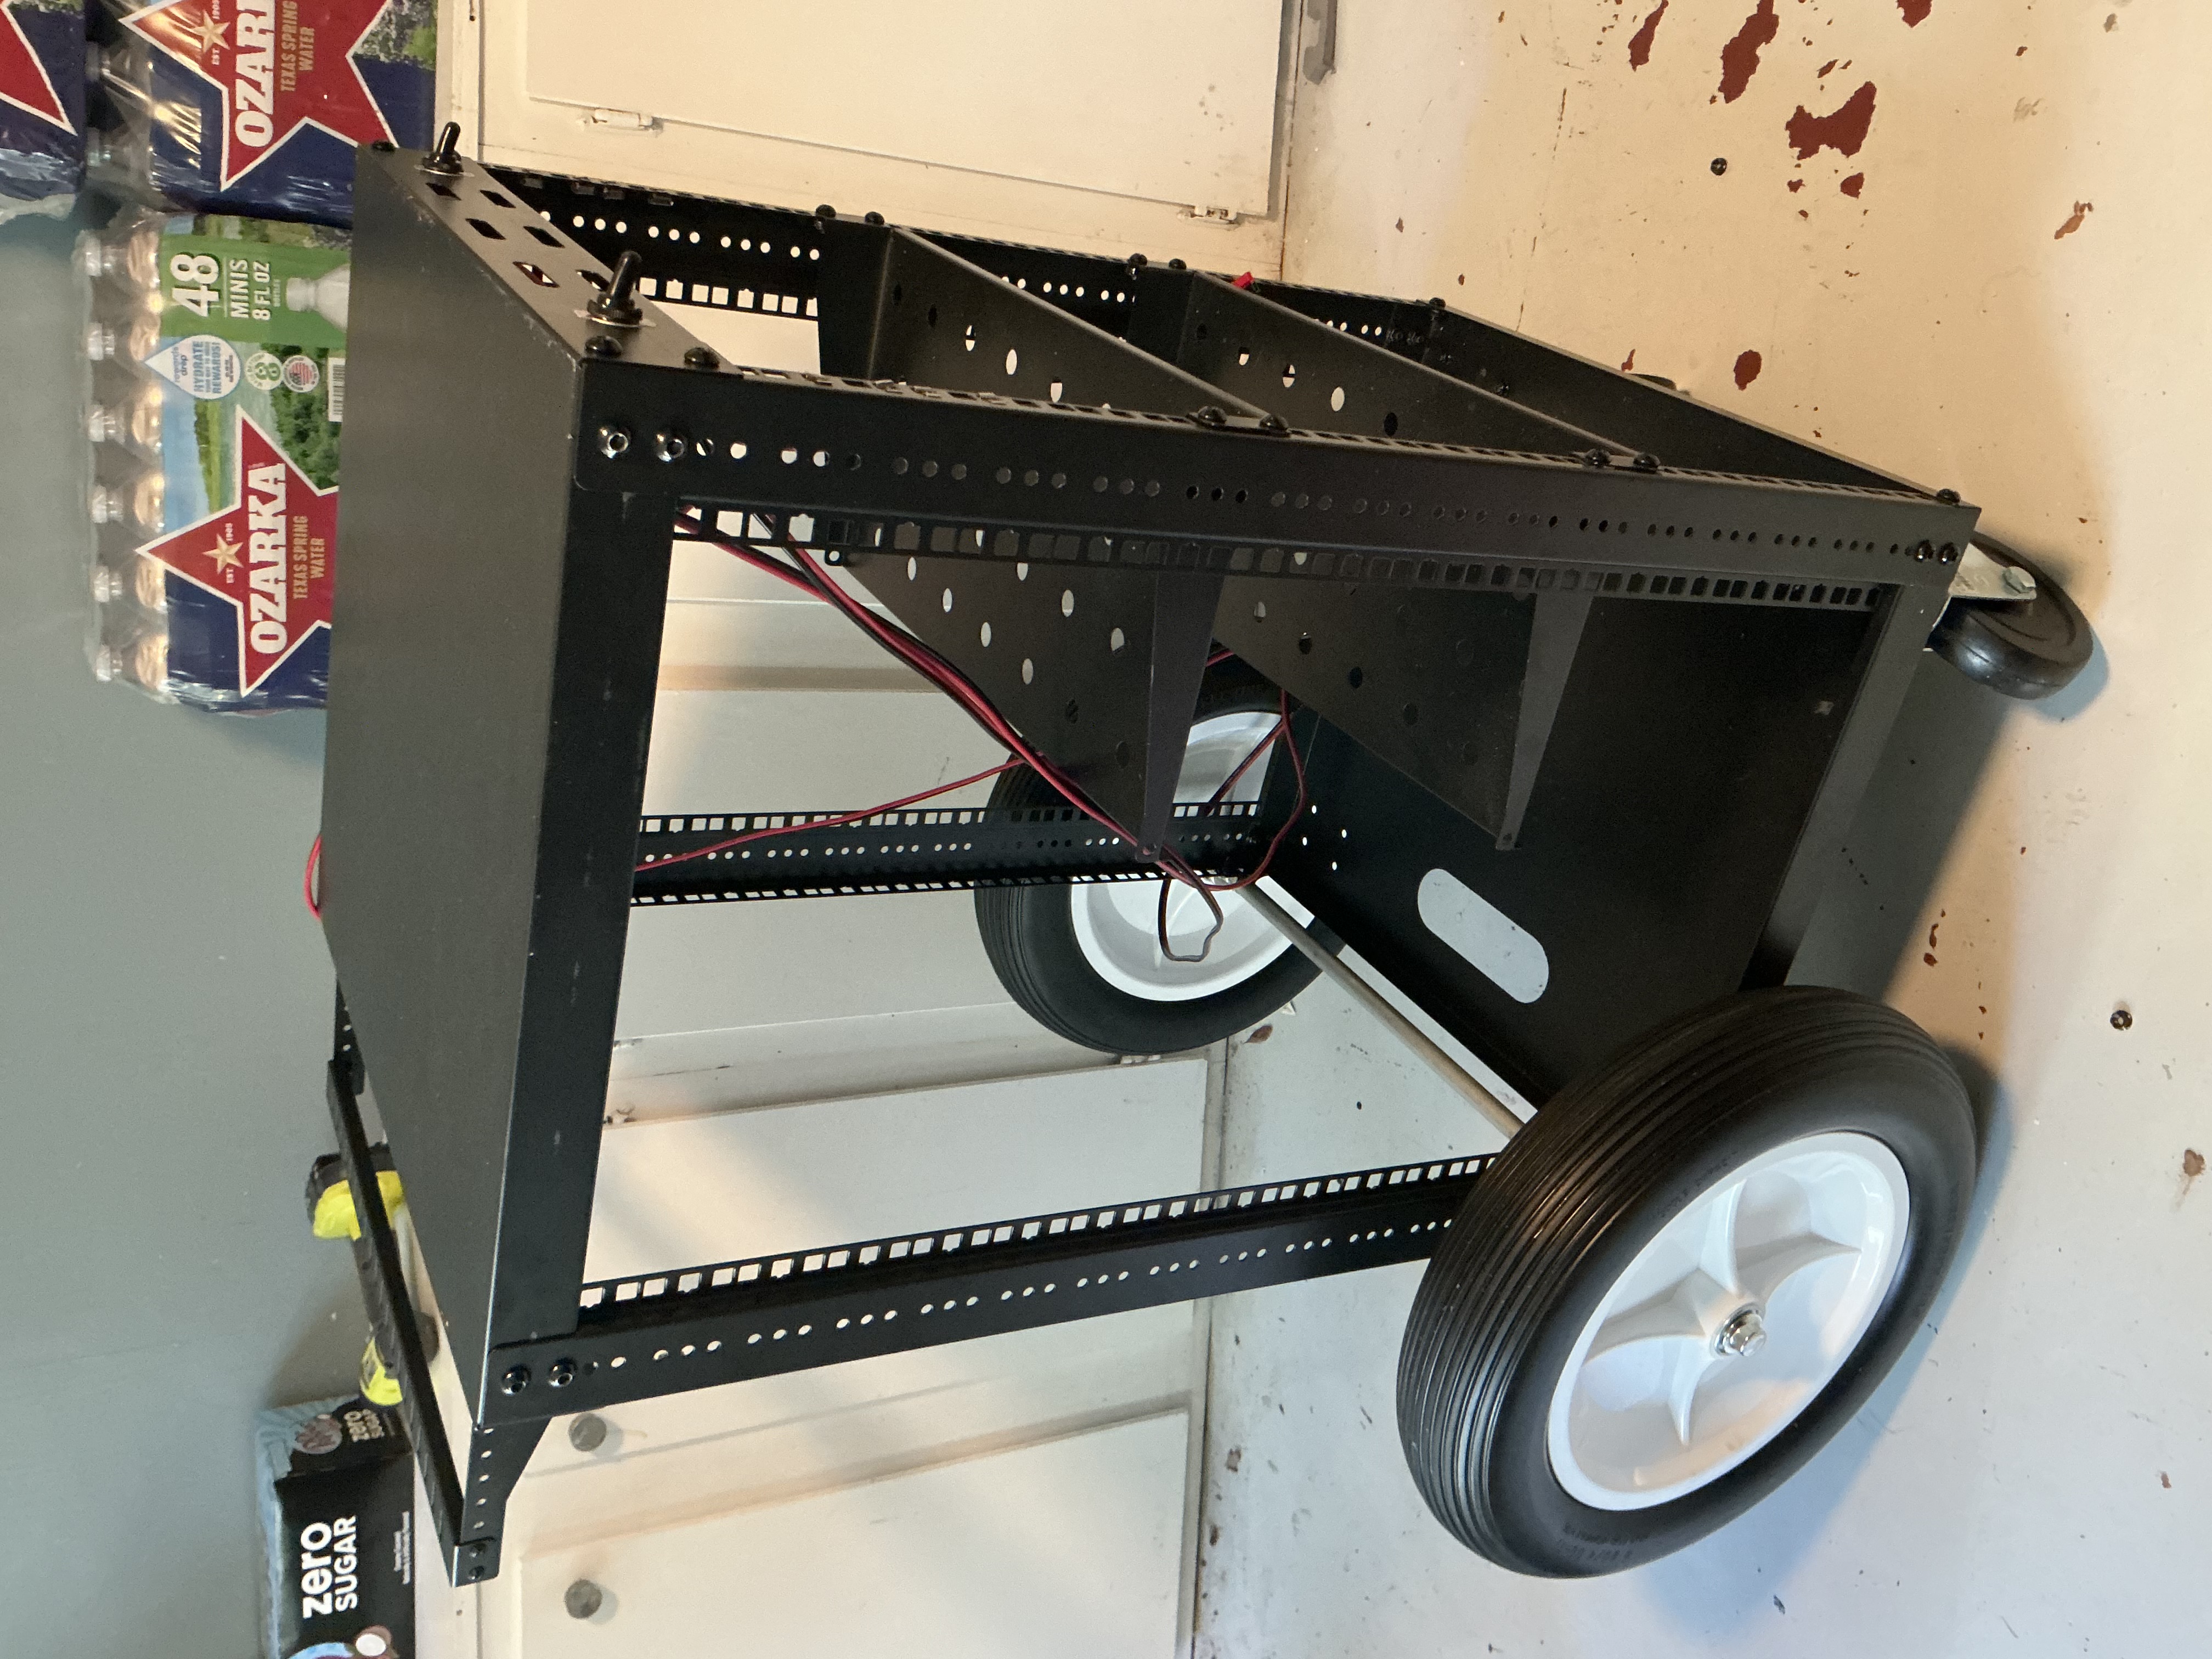
wheels! after i installed the casters on the front, i pushed the bottom of the cart against a wall to get the placement of the axel close enough to give me a level cart. it’s at least close enough for government work! rolls much smoother at this point, too.
19th October, 2026
welding! brandon and jake over in the industrial department took this part on for me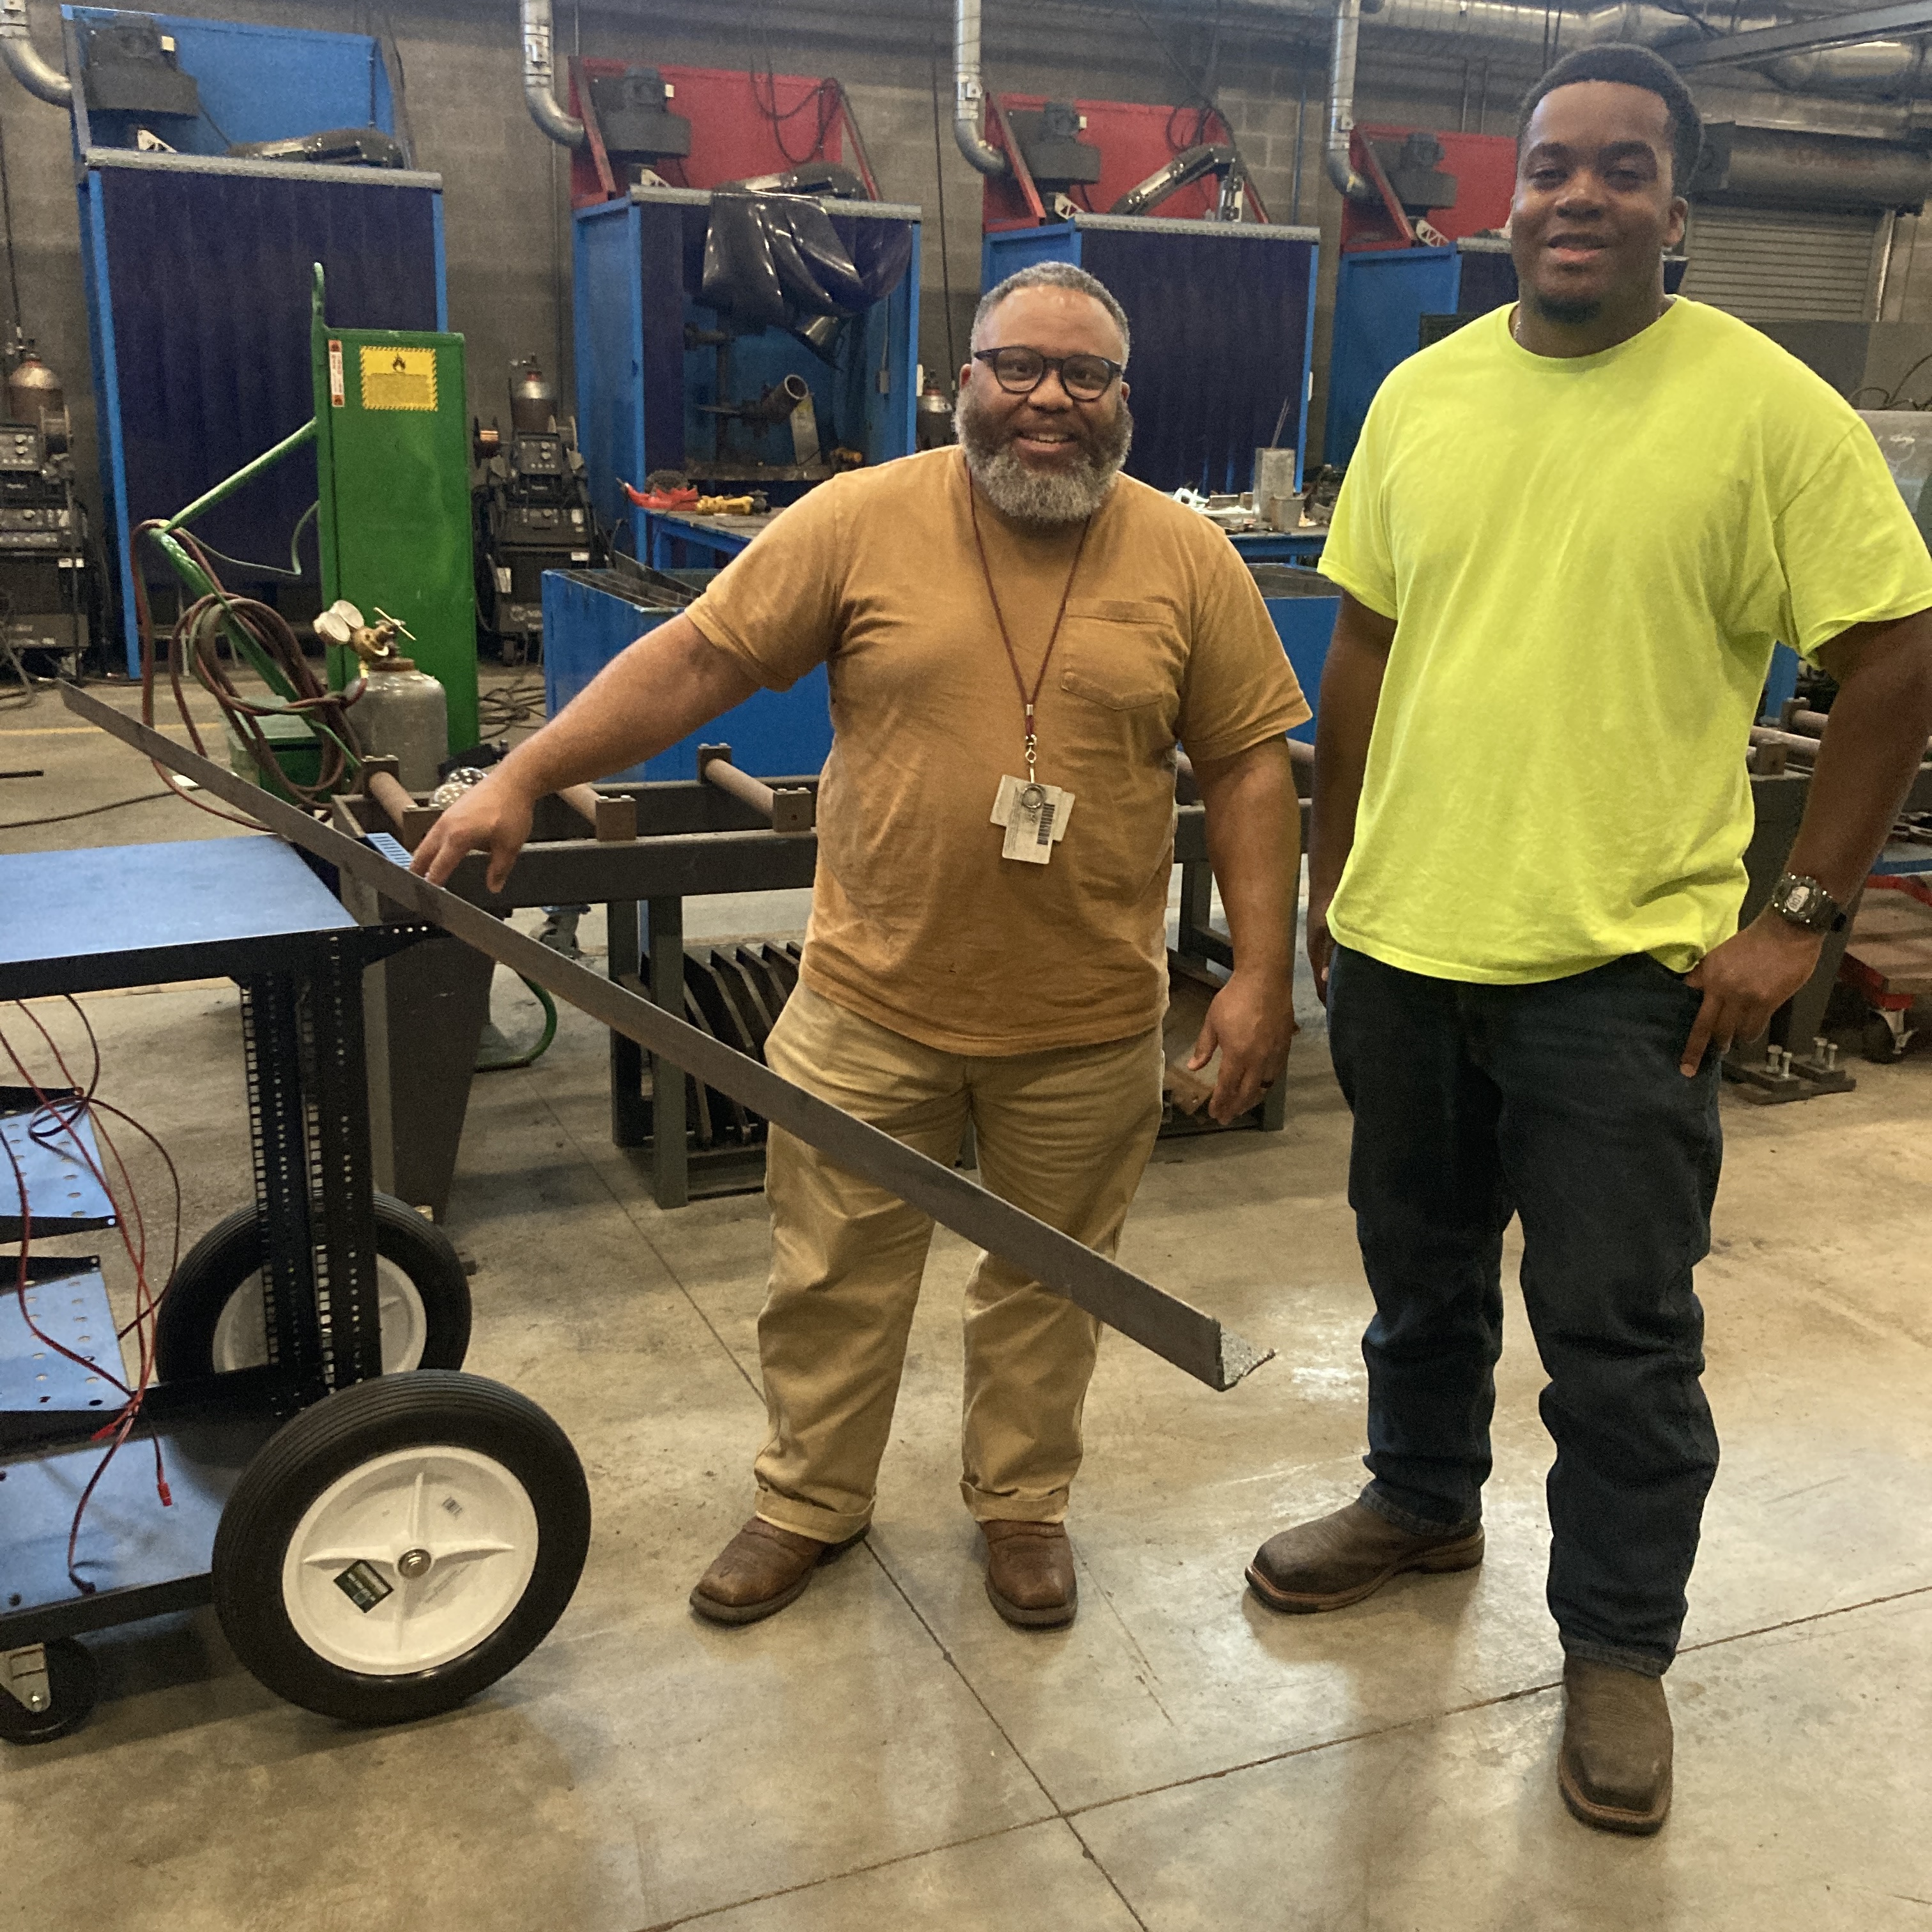
they’d cut sections of this steel angle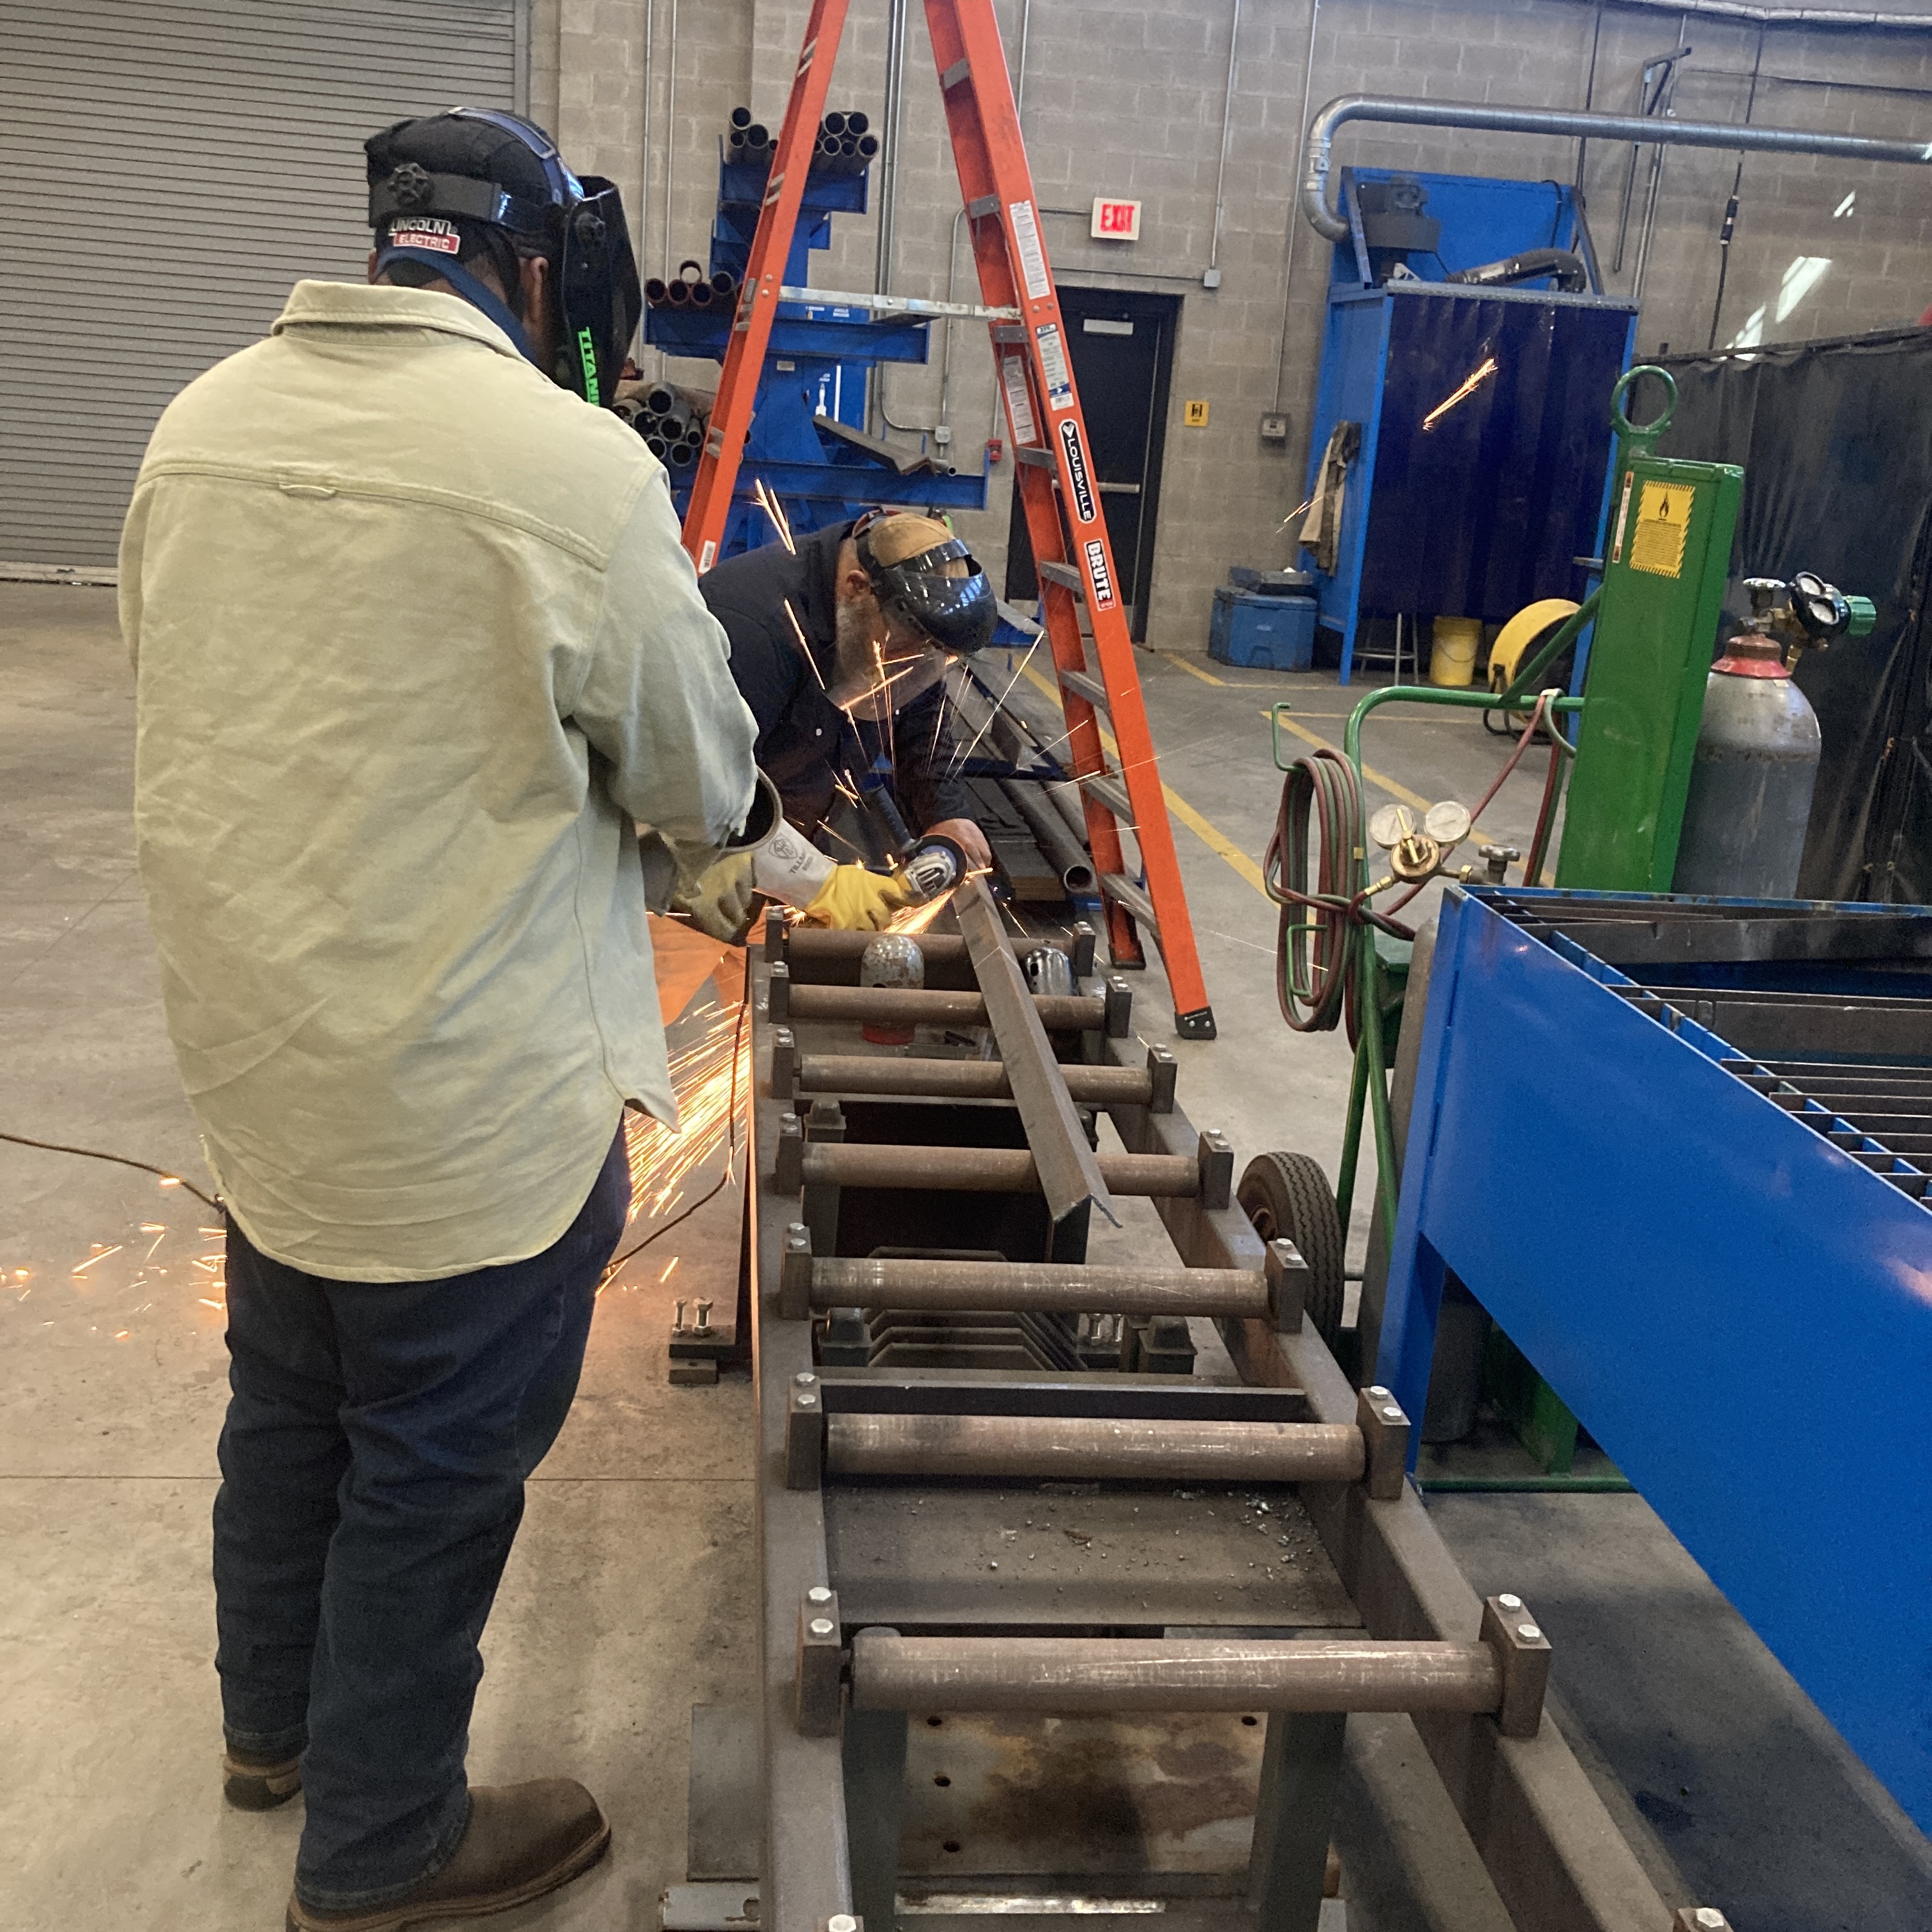
tacked them in place,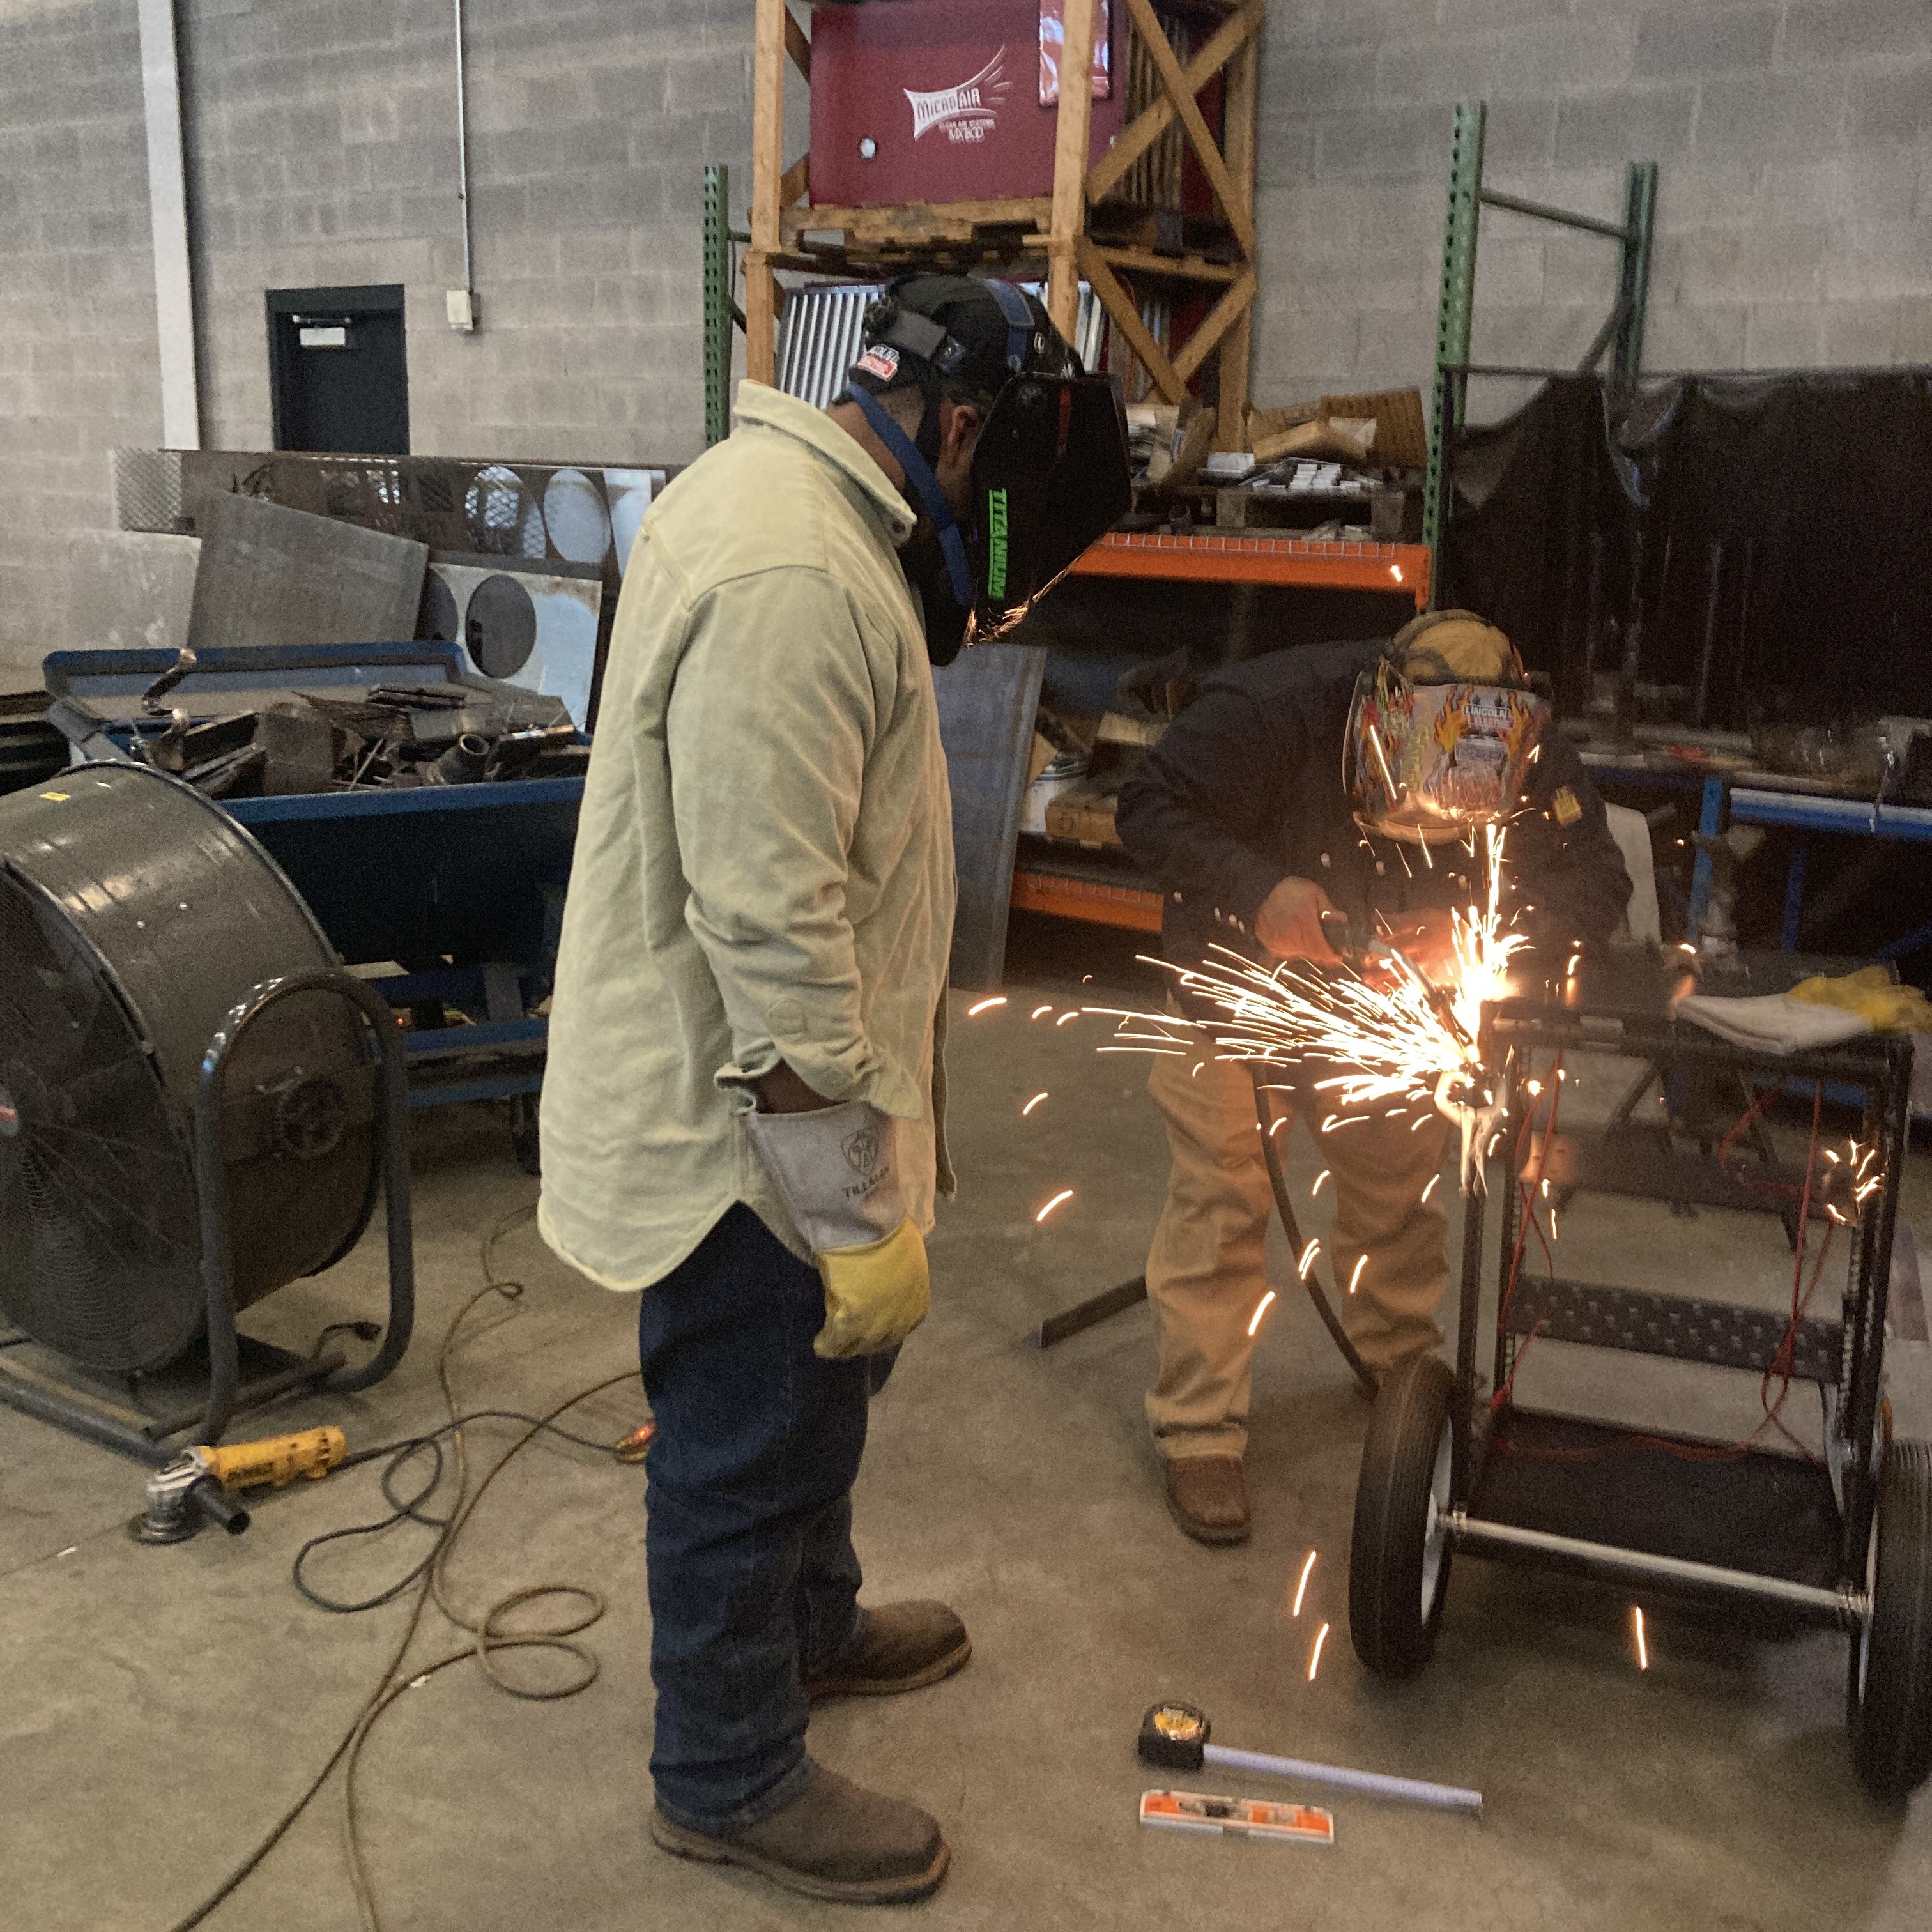
rounded the corners,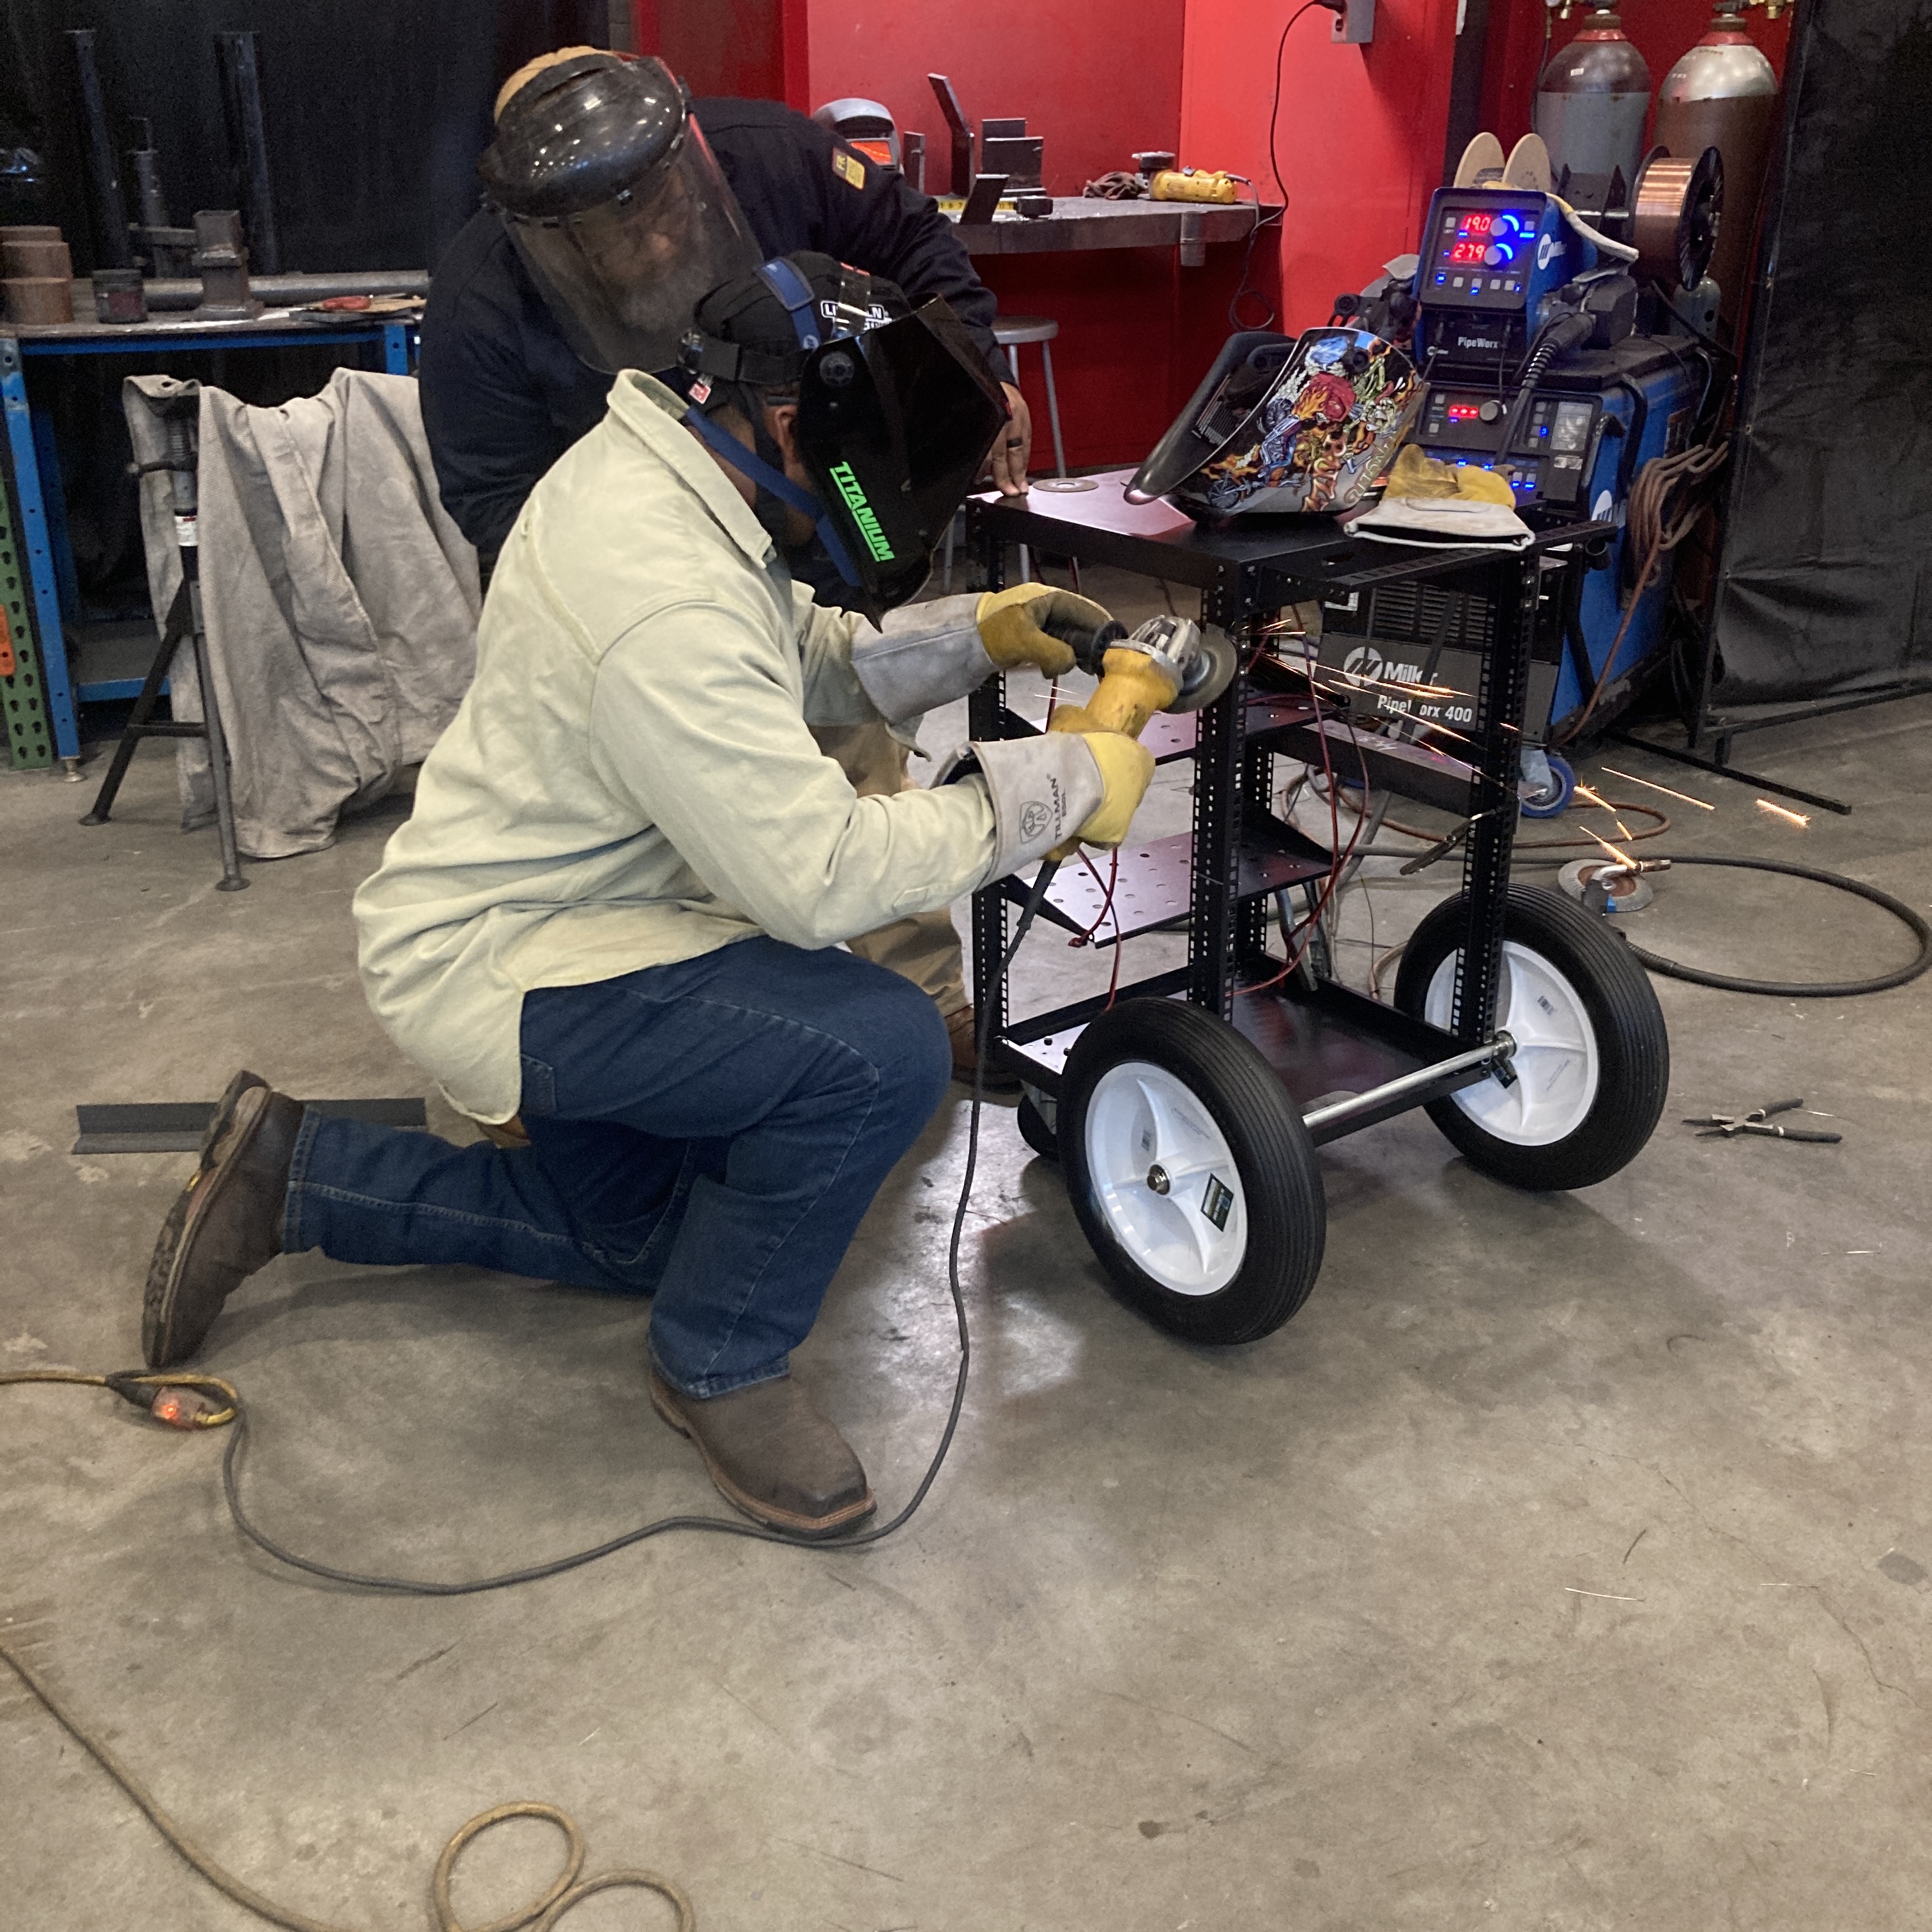
and welded on these solid horizontal supports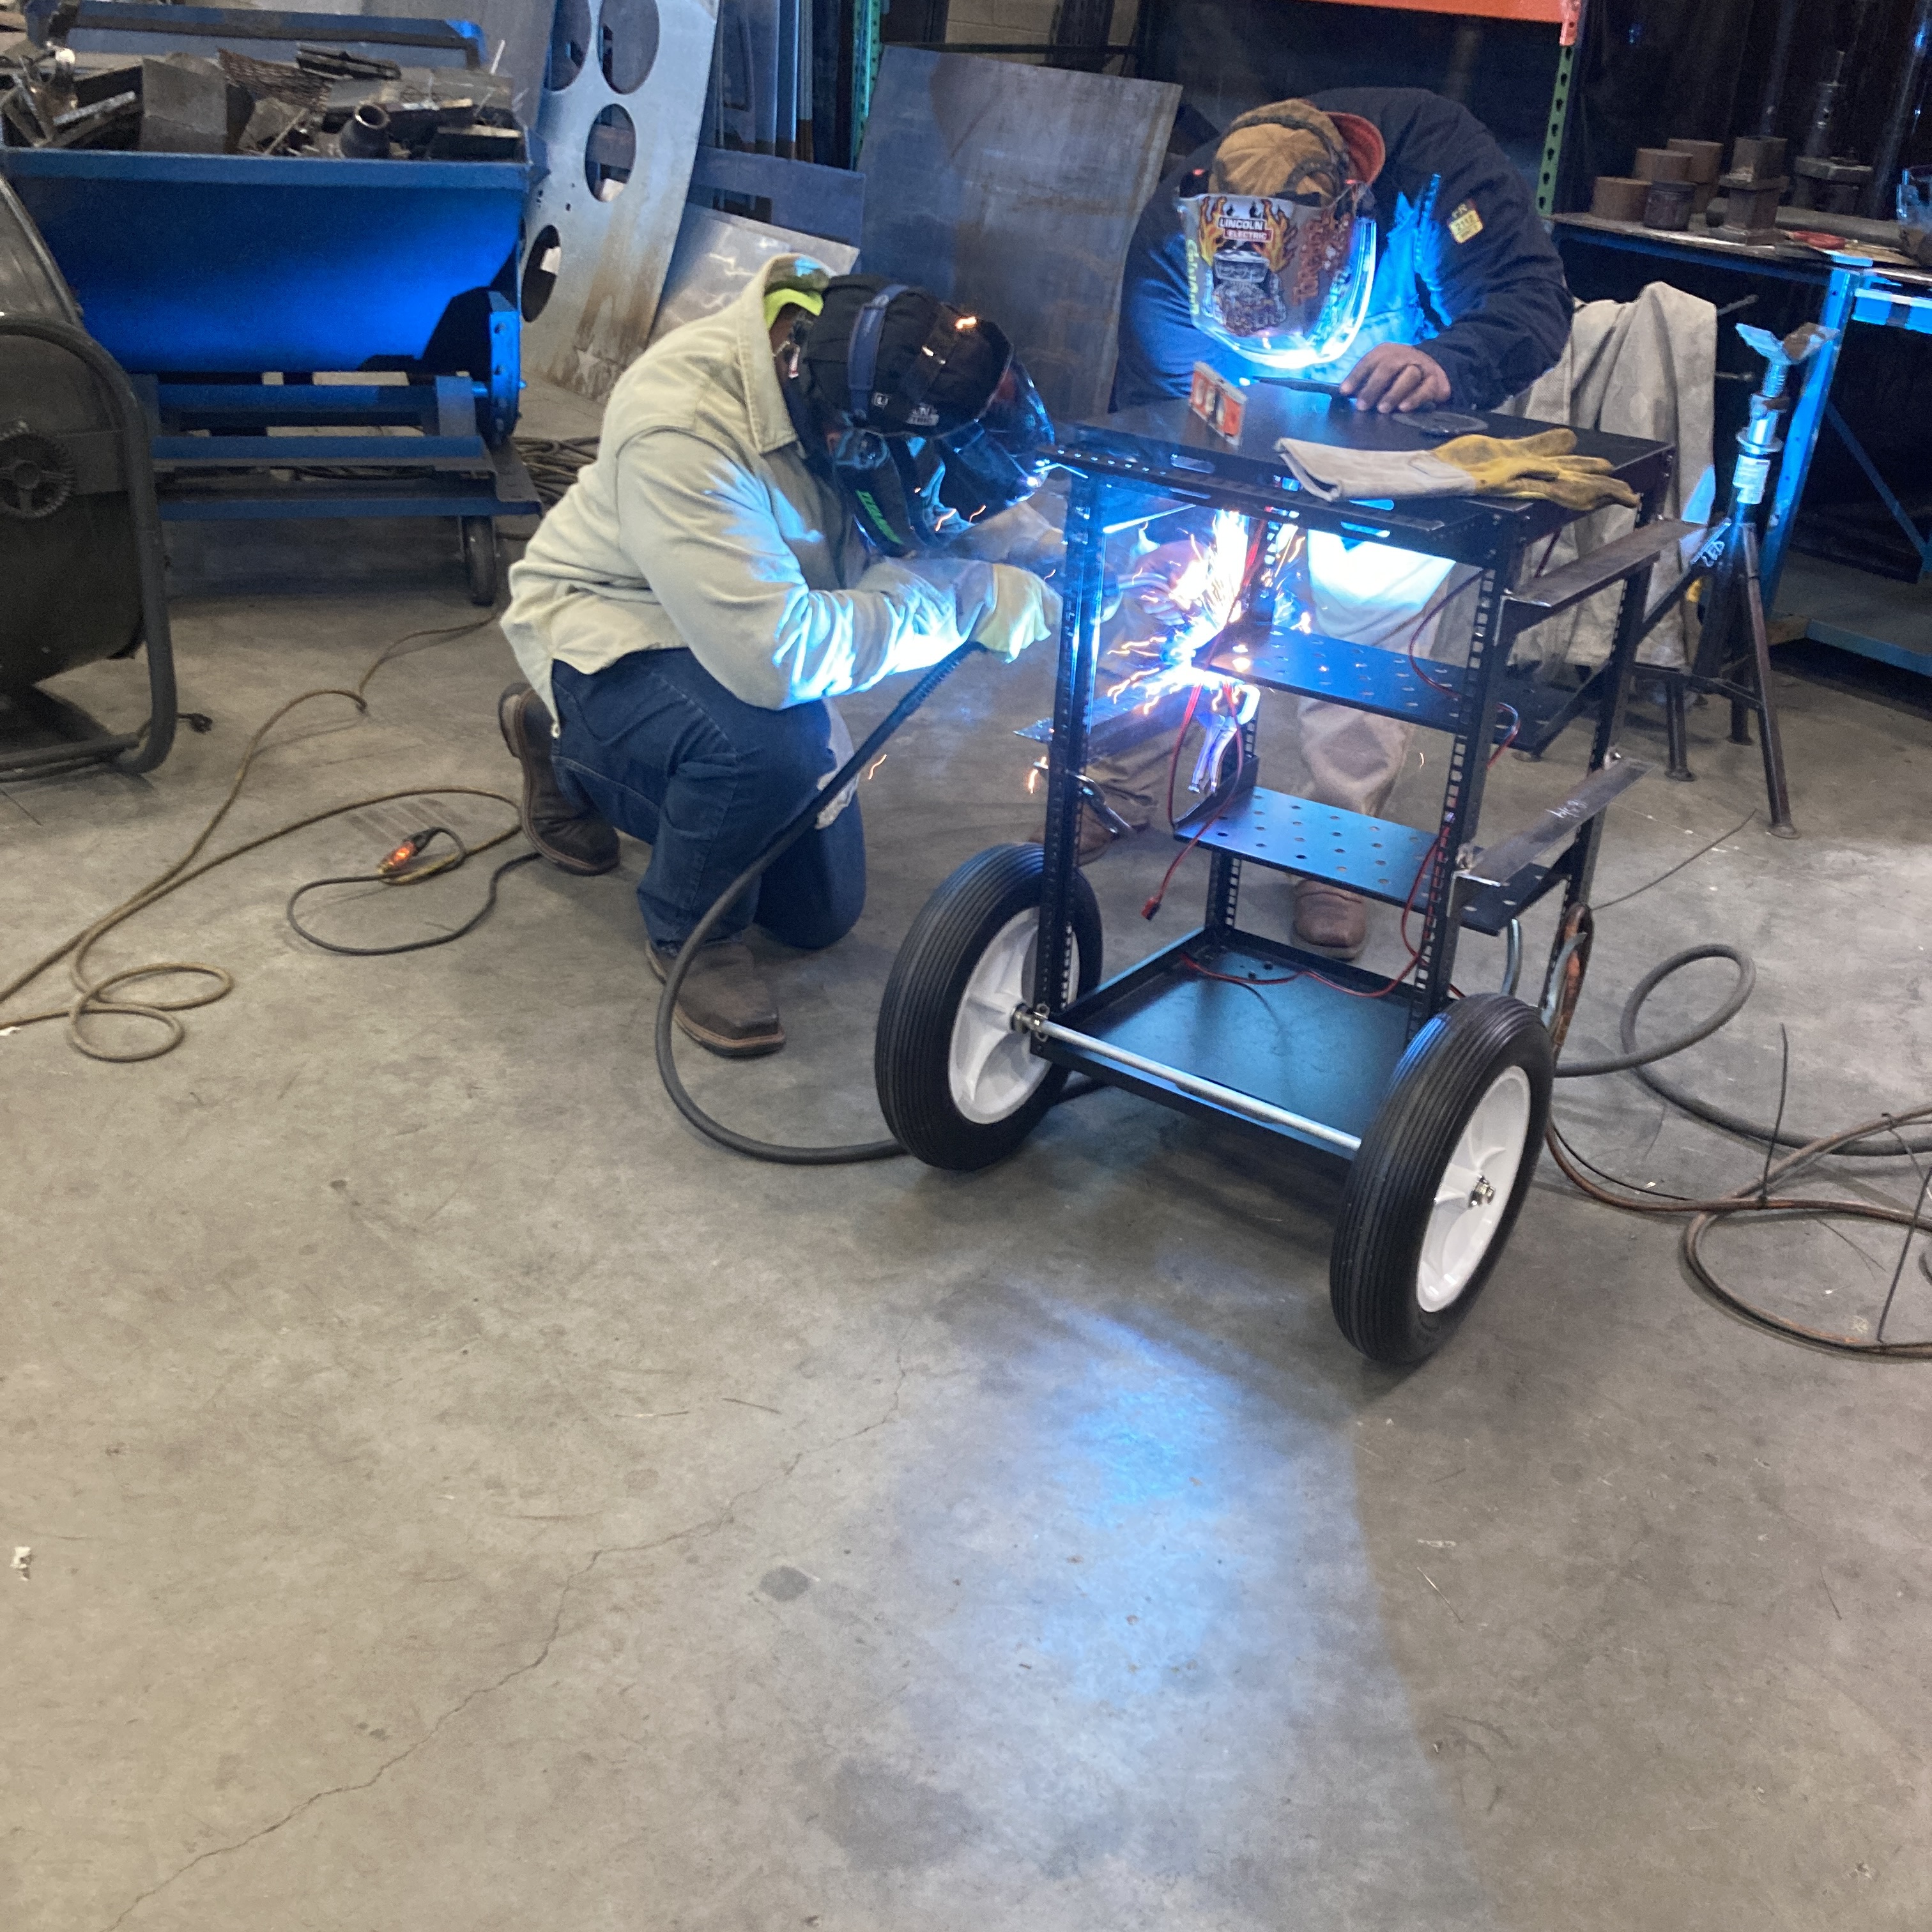
in the end, i had a much sturdier machine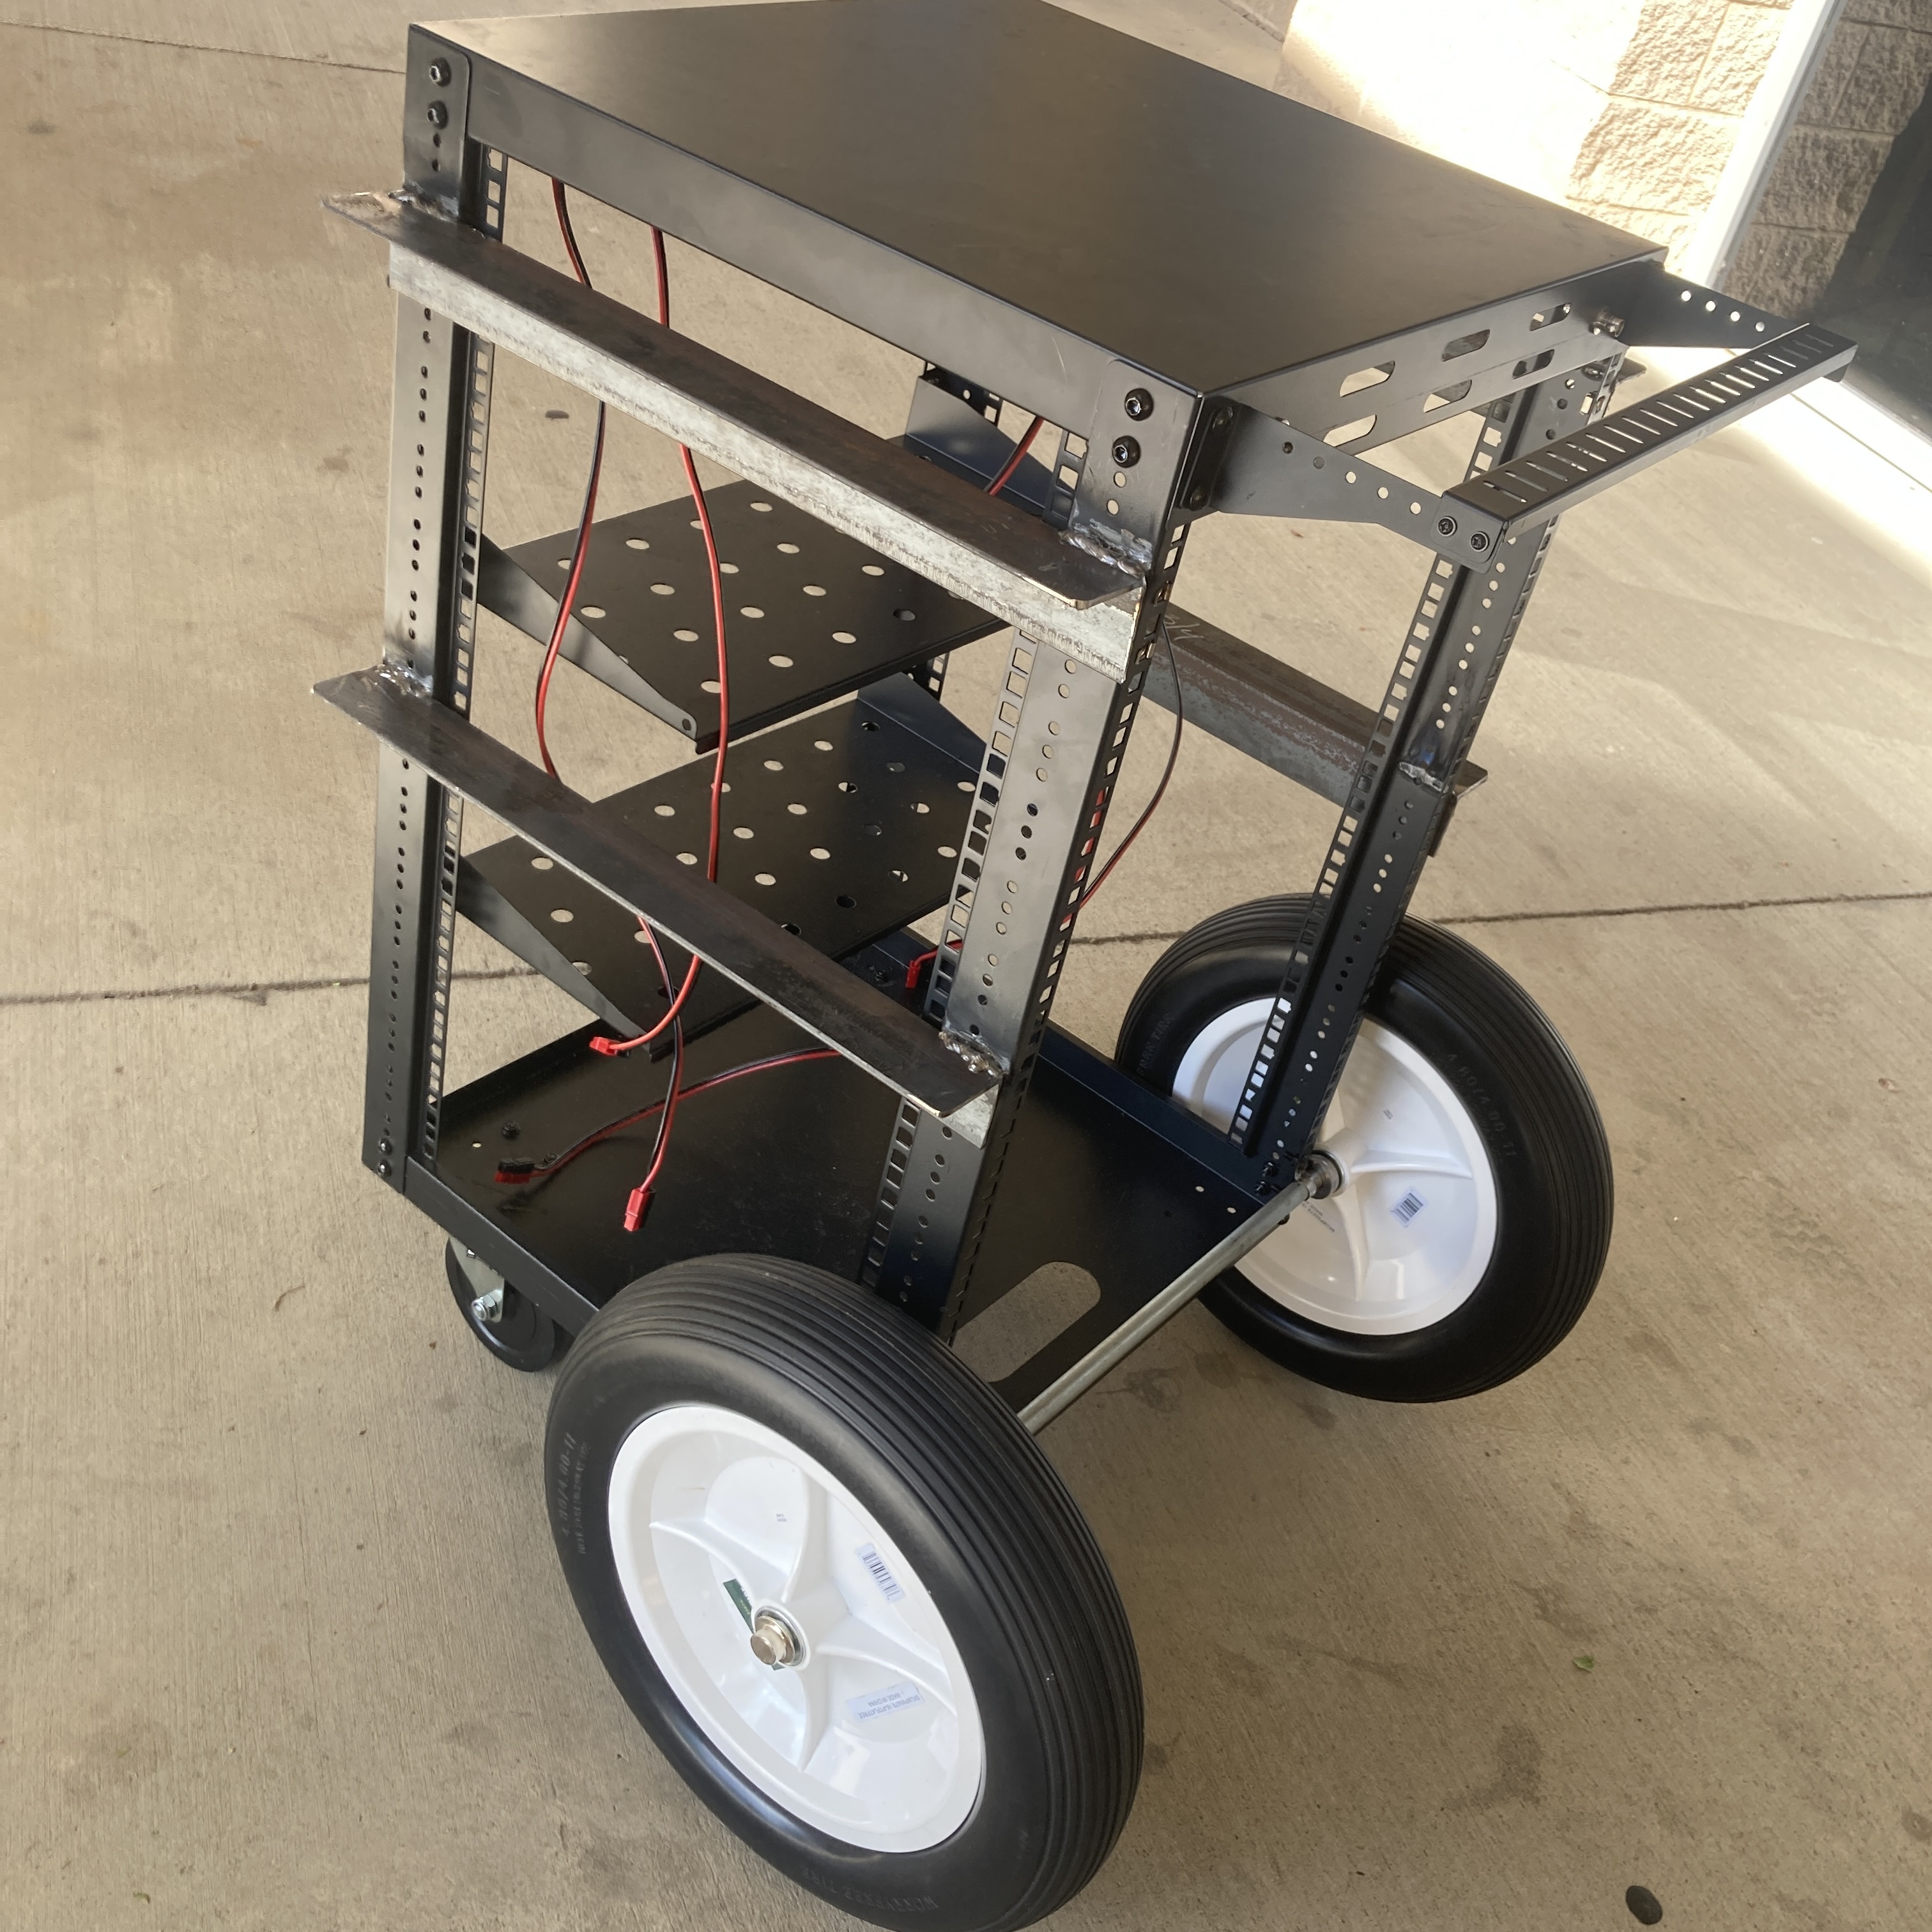
plus, they make convenient spots to clamp equipment to, or to hang my multimeter off of. big thanks to industrial helping out communications, i hope to see so much more of it in the future.
20th October, 2026
connecting everything back together and printing out a mix ahead of my next class.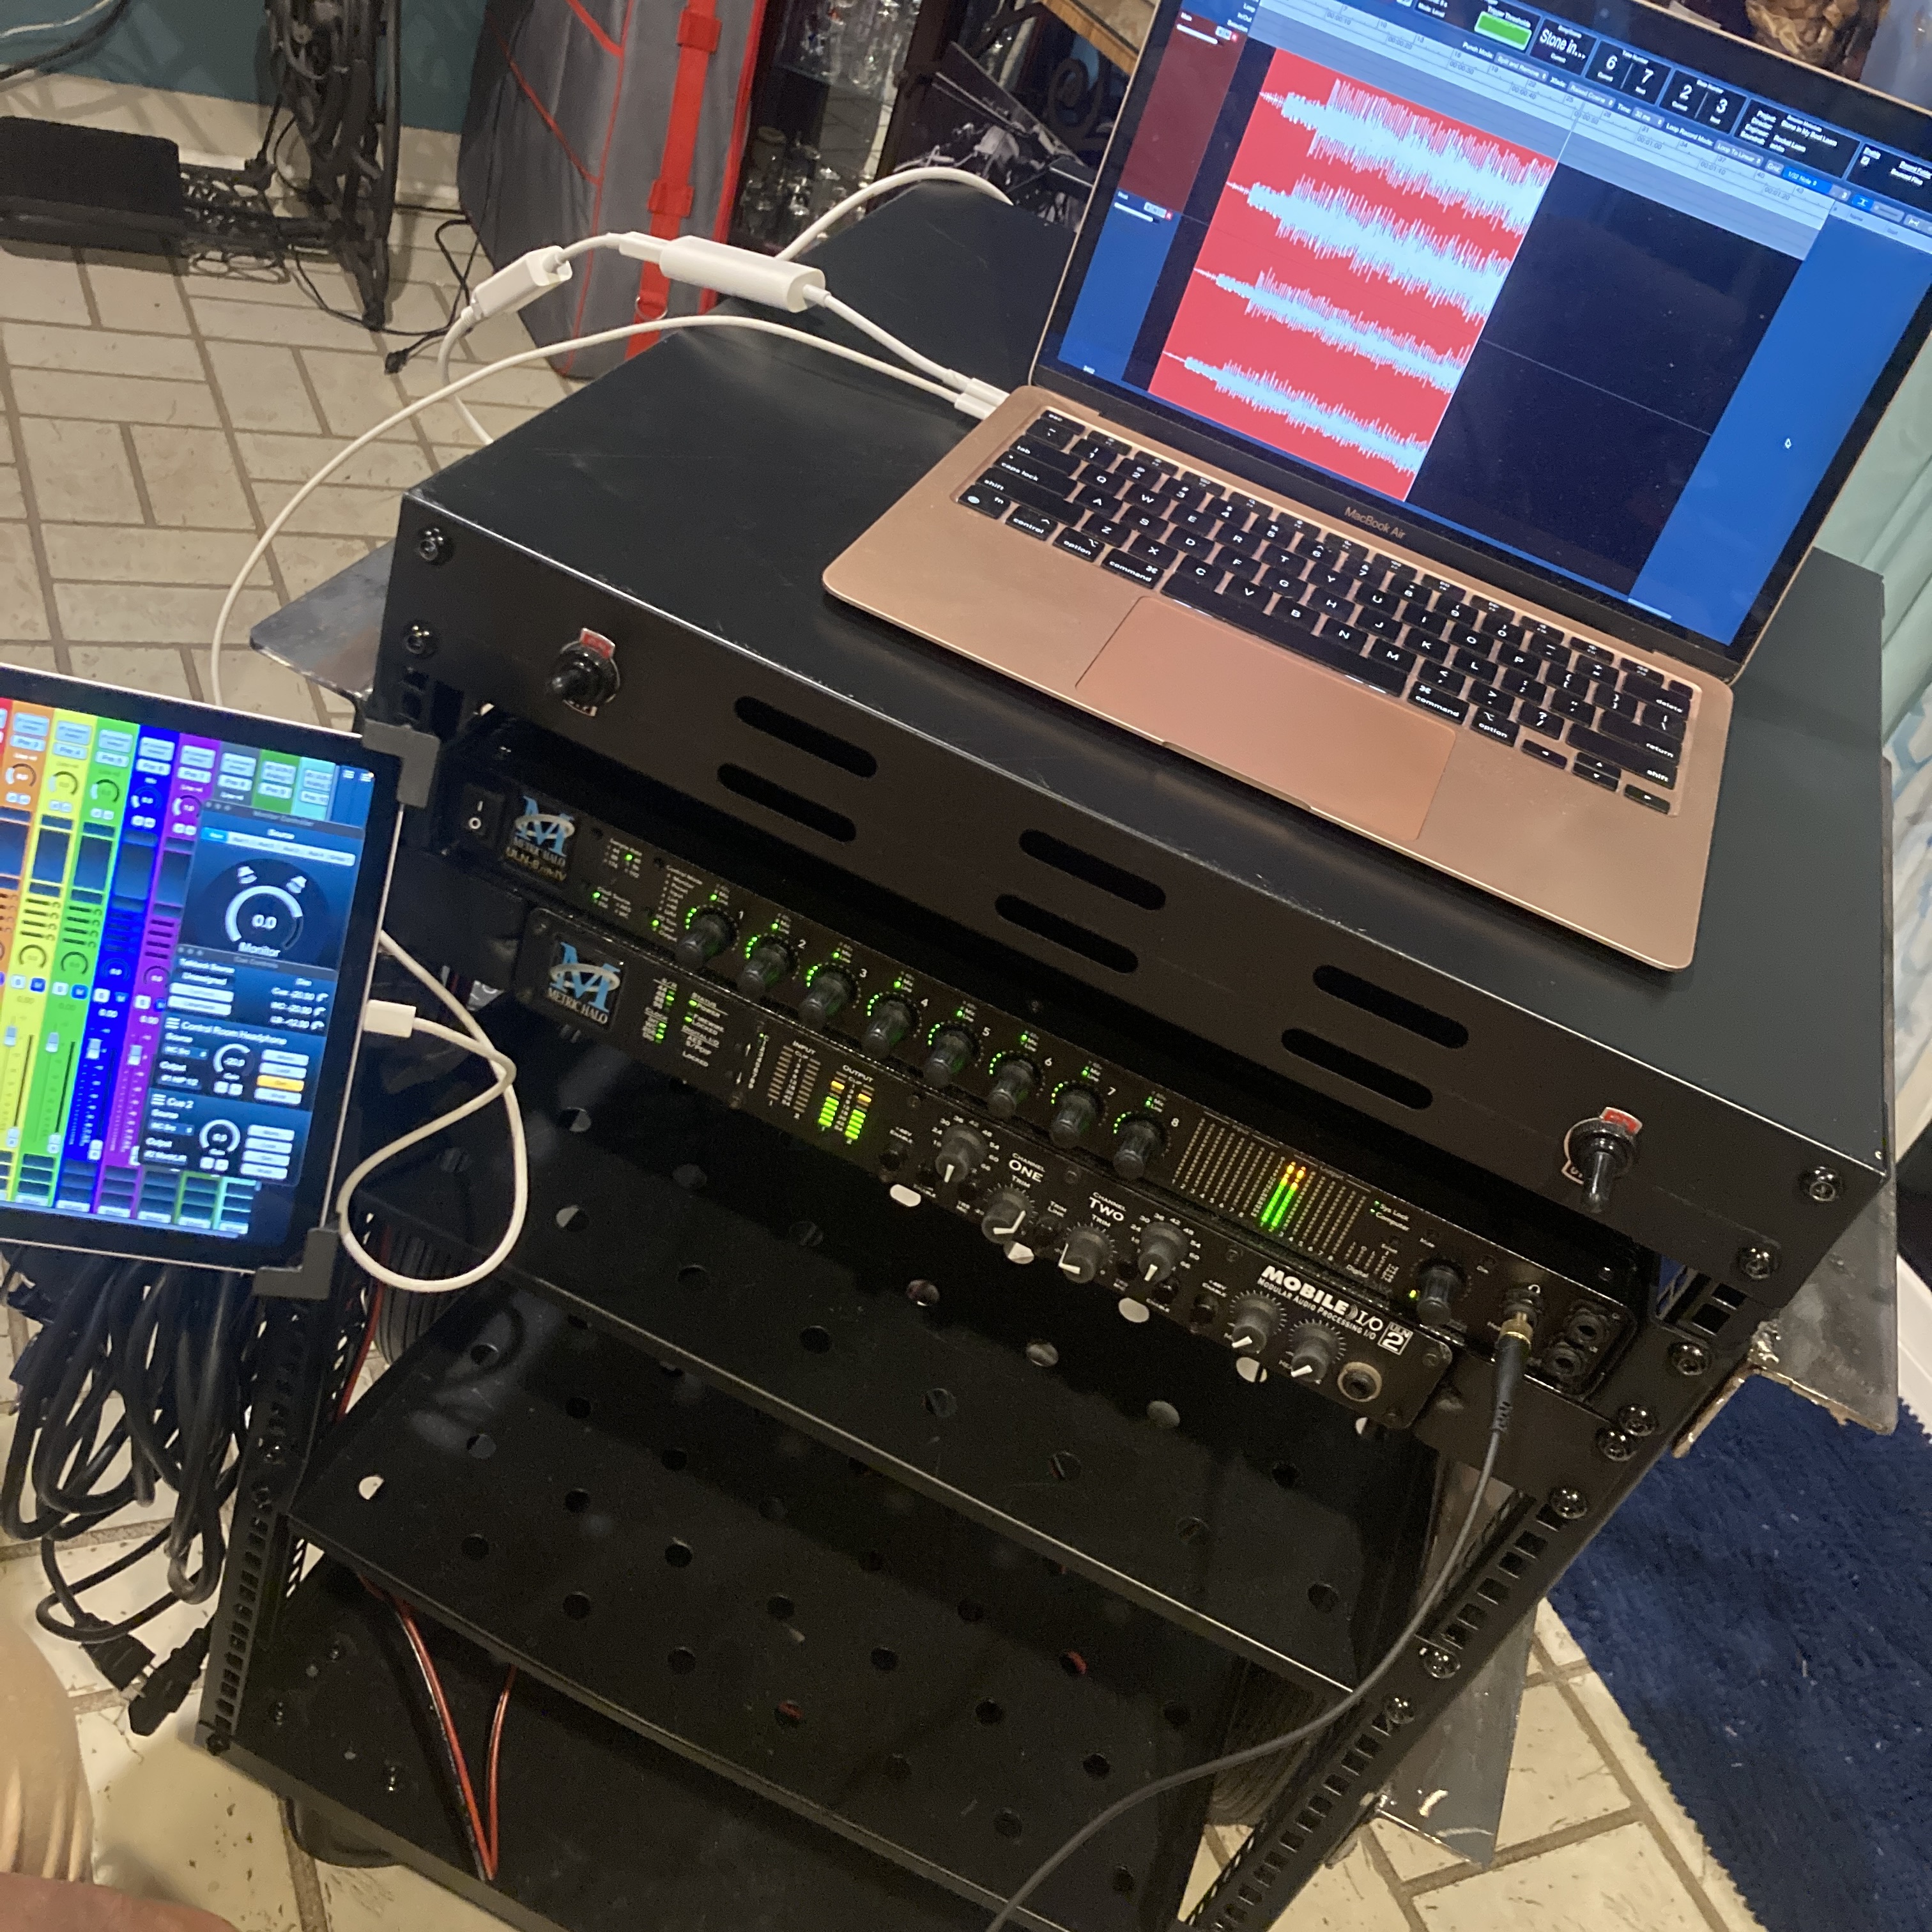
22nd October, 2026
the full assemblage makes its campus debut. sadly, this is also when i would learn my power supply is not charging my damn battery! ordered something in a little higher voltage that’ll hopefully do the job, along with an MPPT controller for my solar panel. We’ll see in a few days whether that did the trick. but look at her go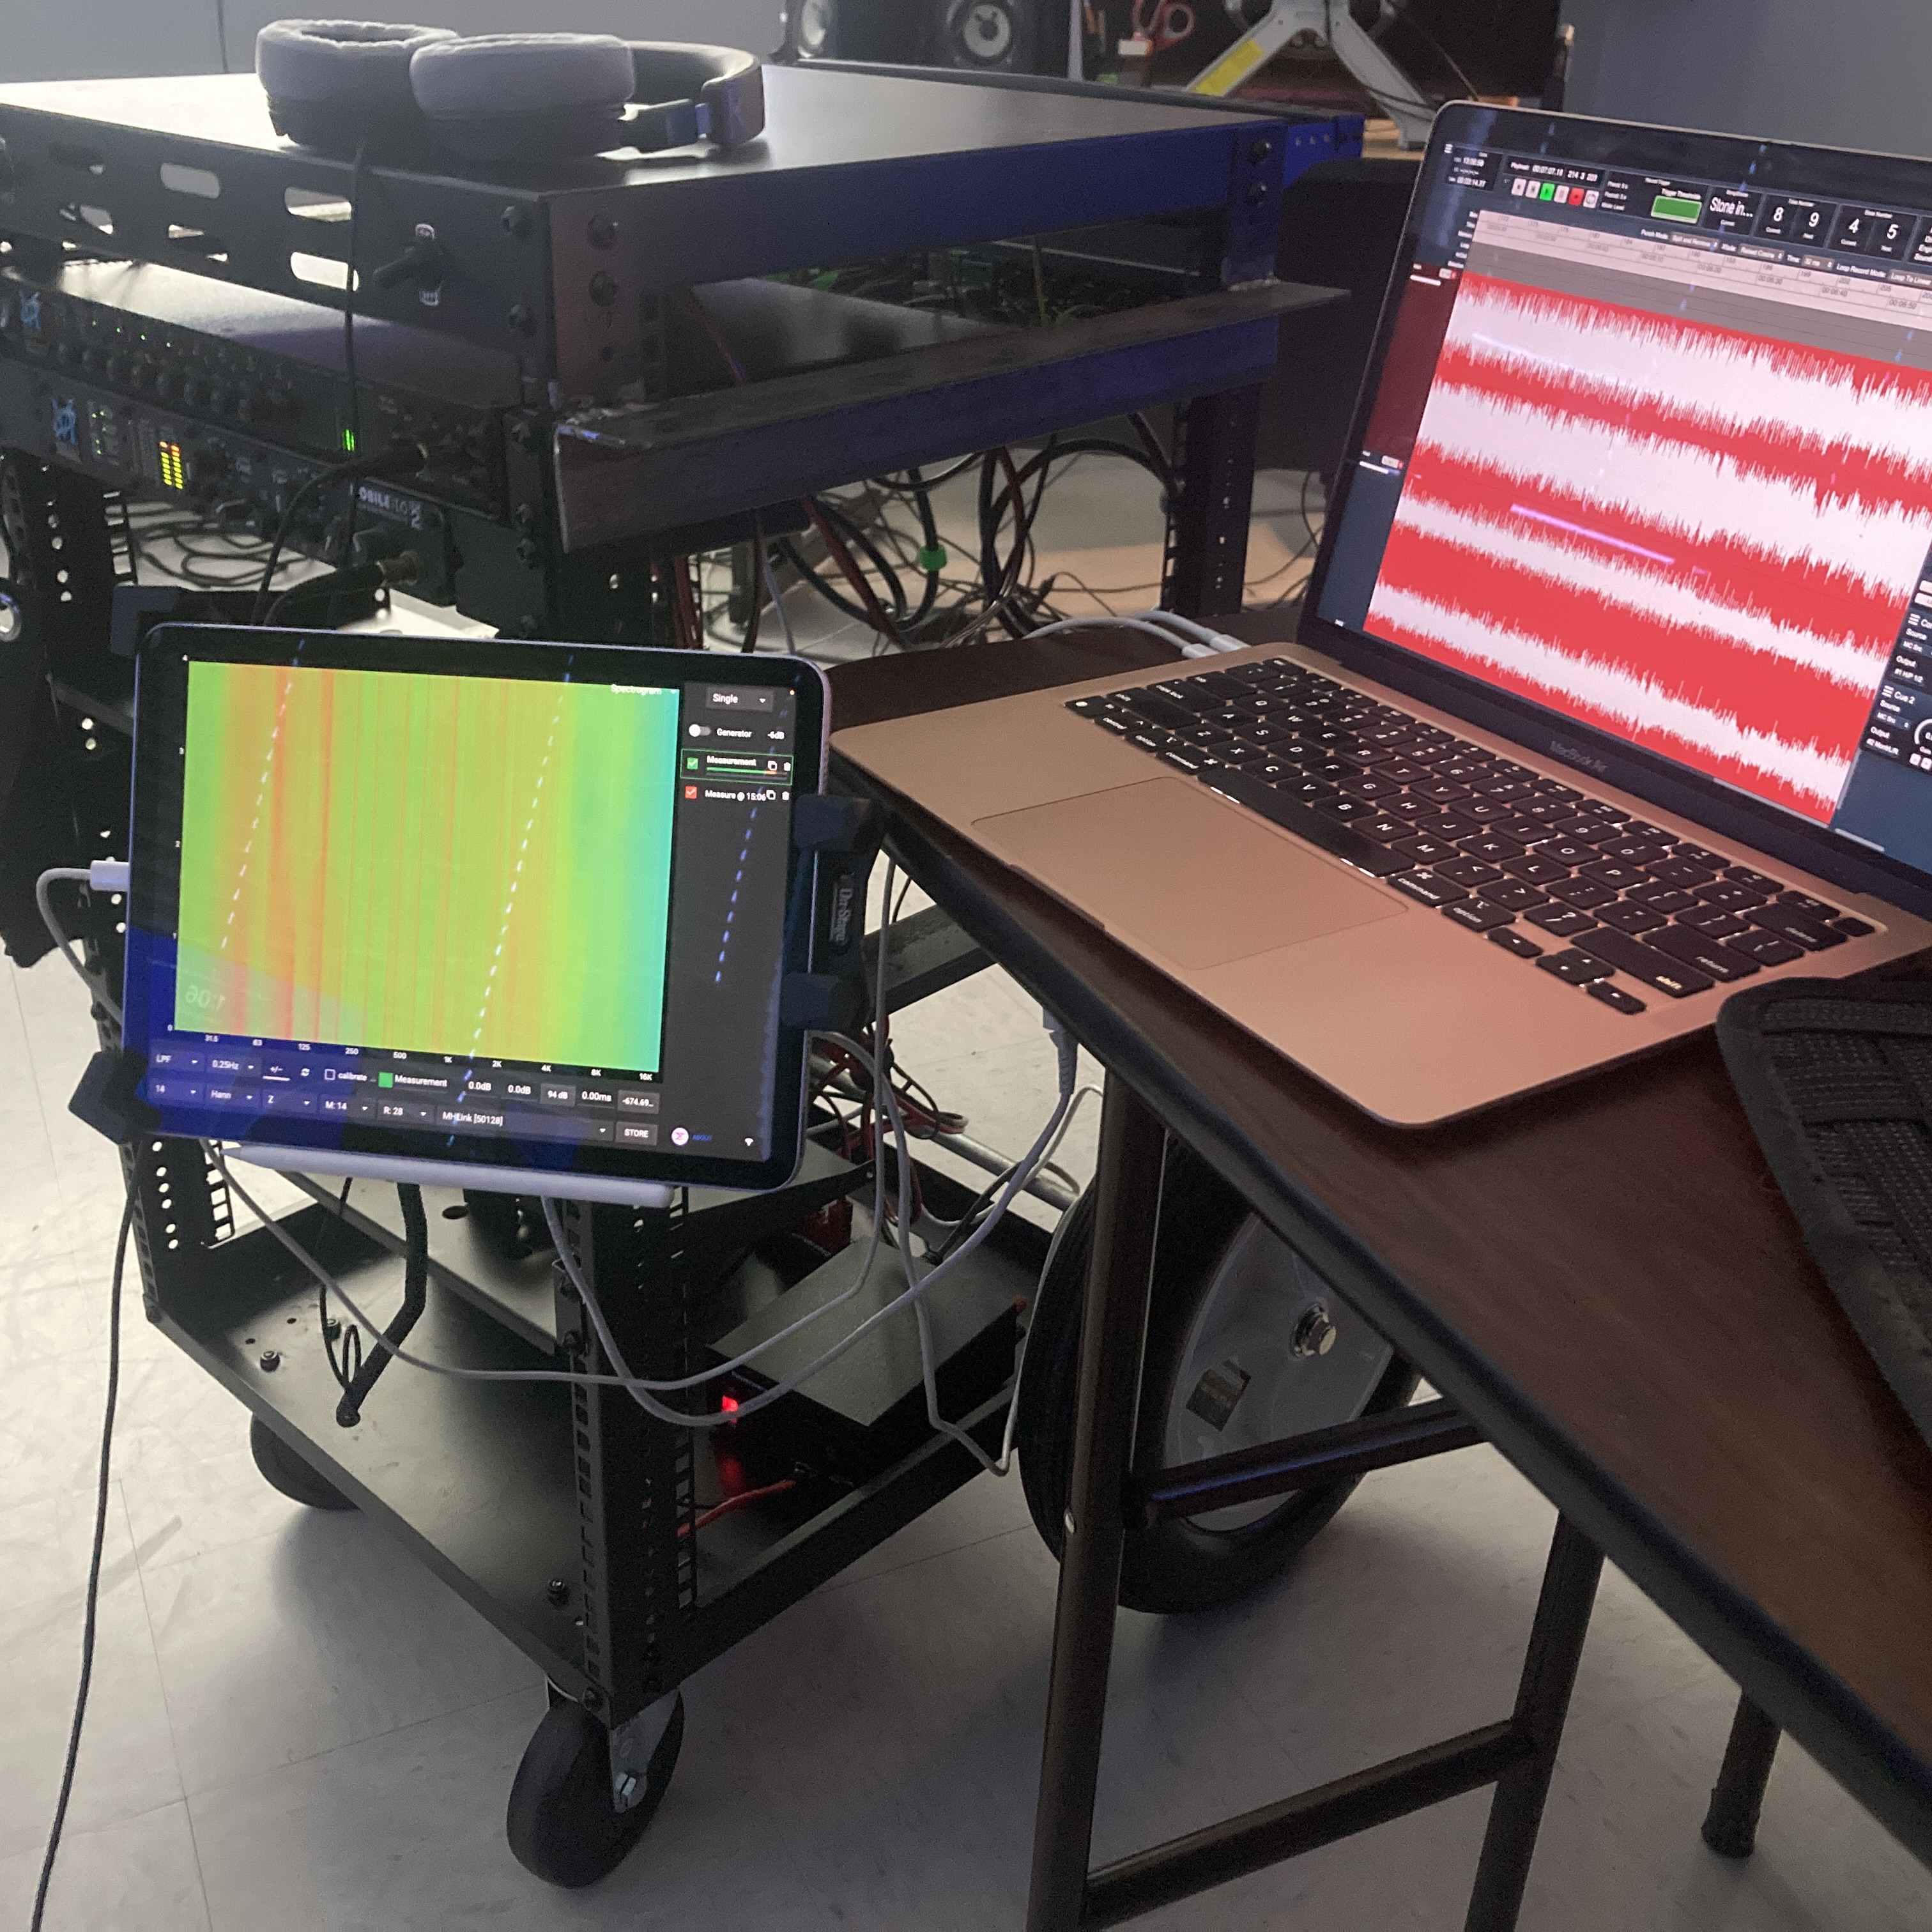
25th October, 2026
cable management is my passion.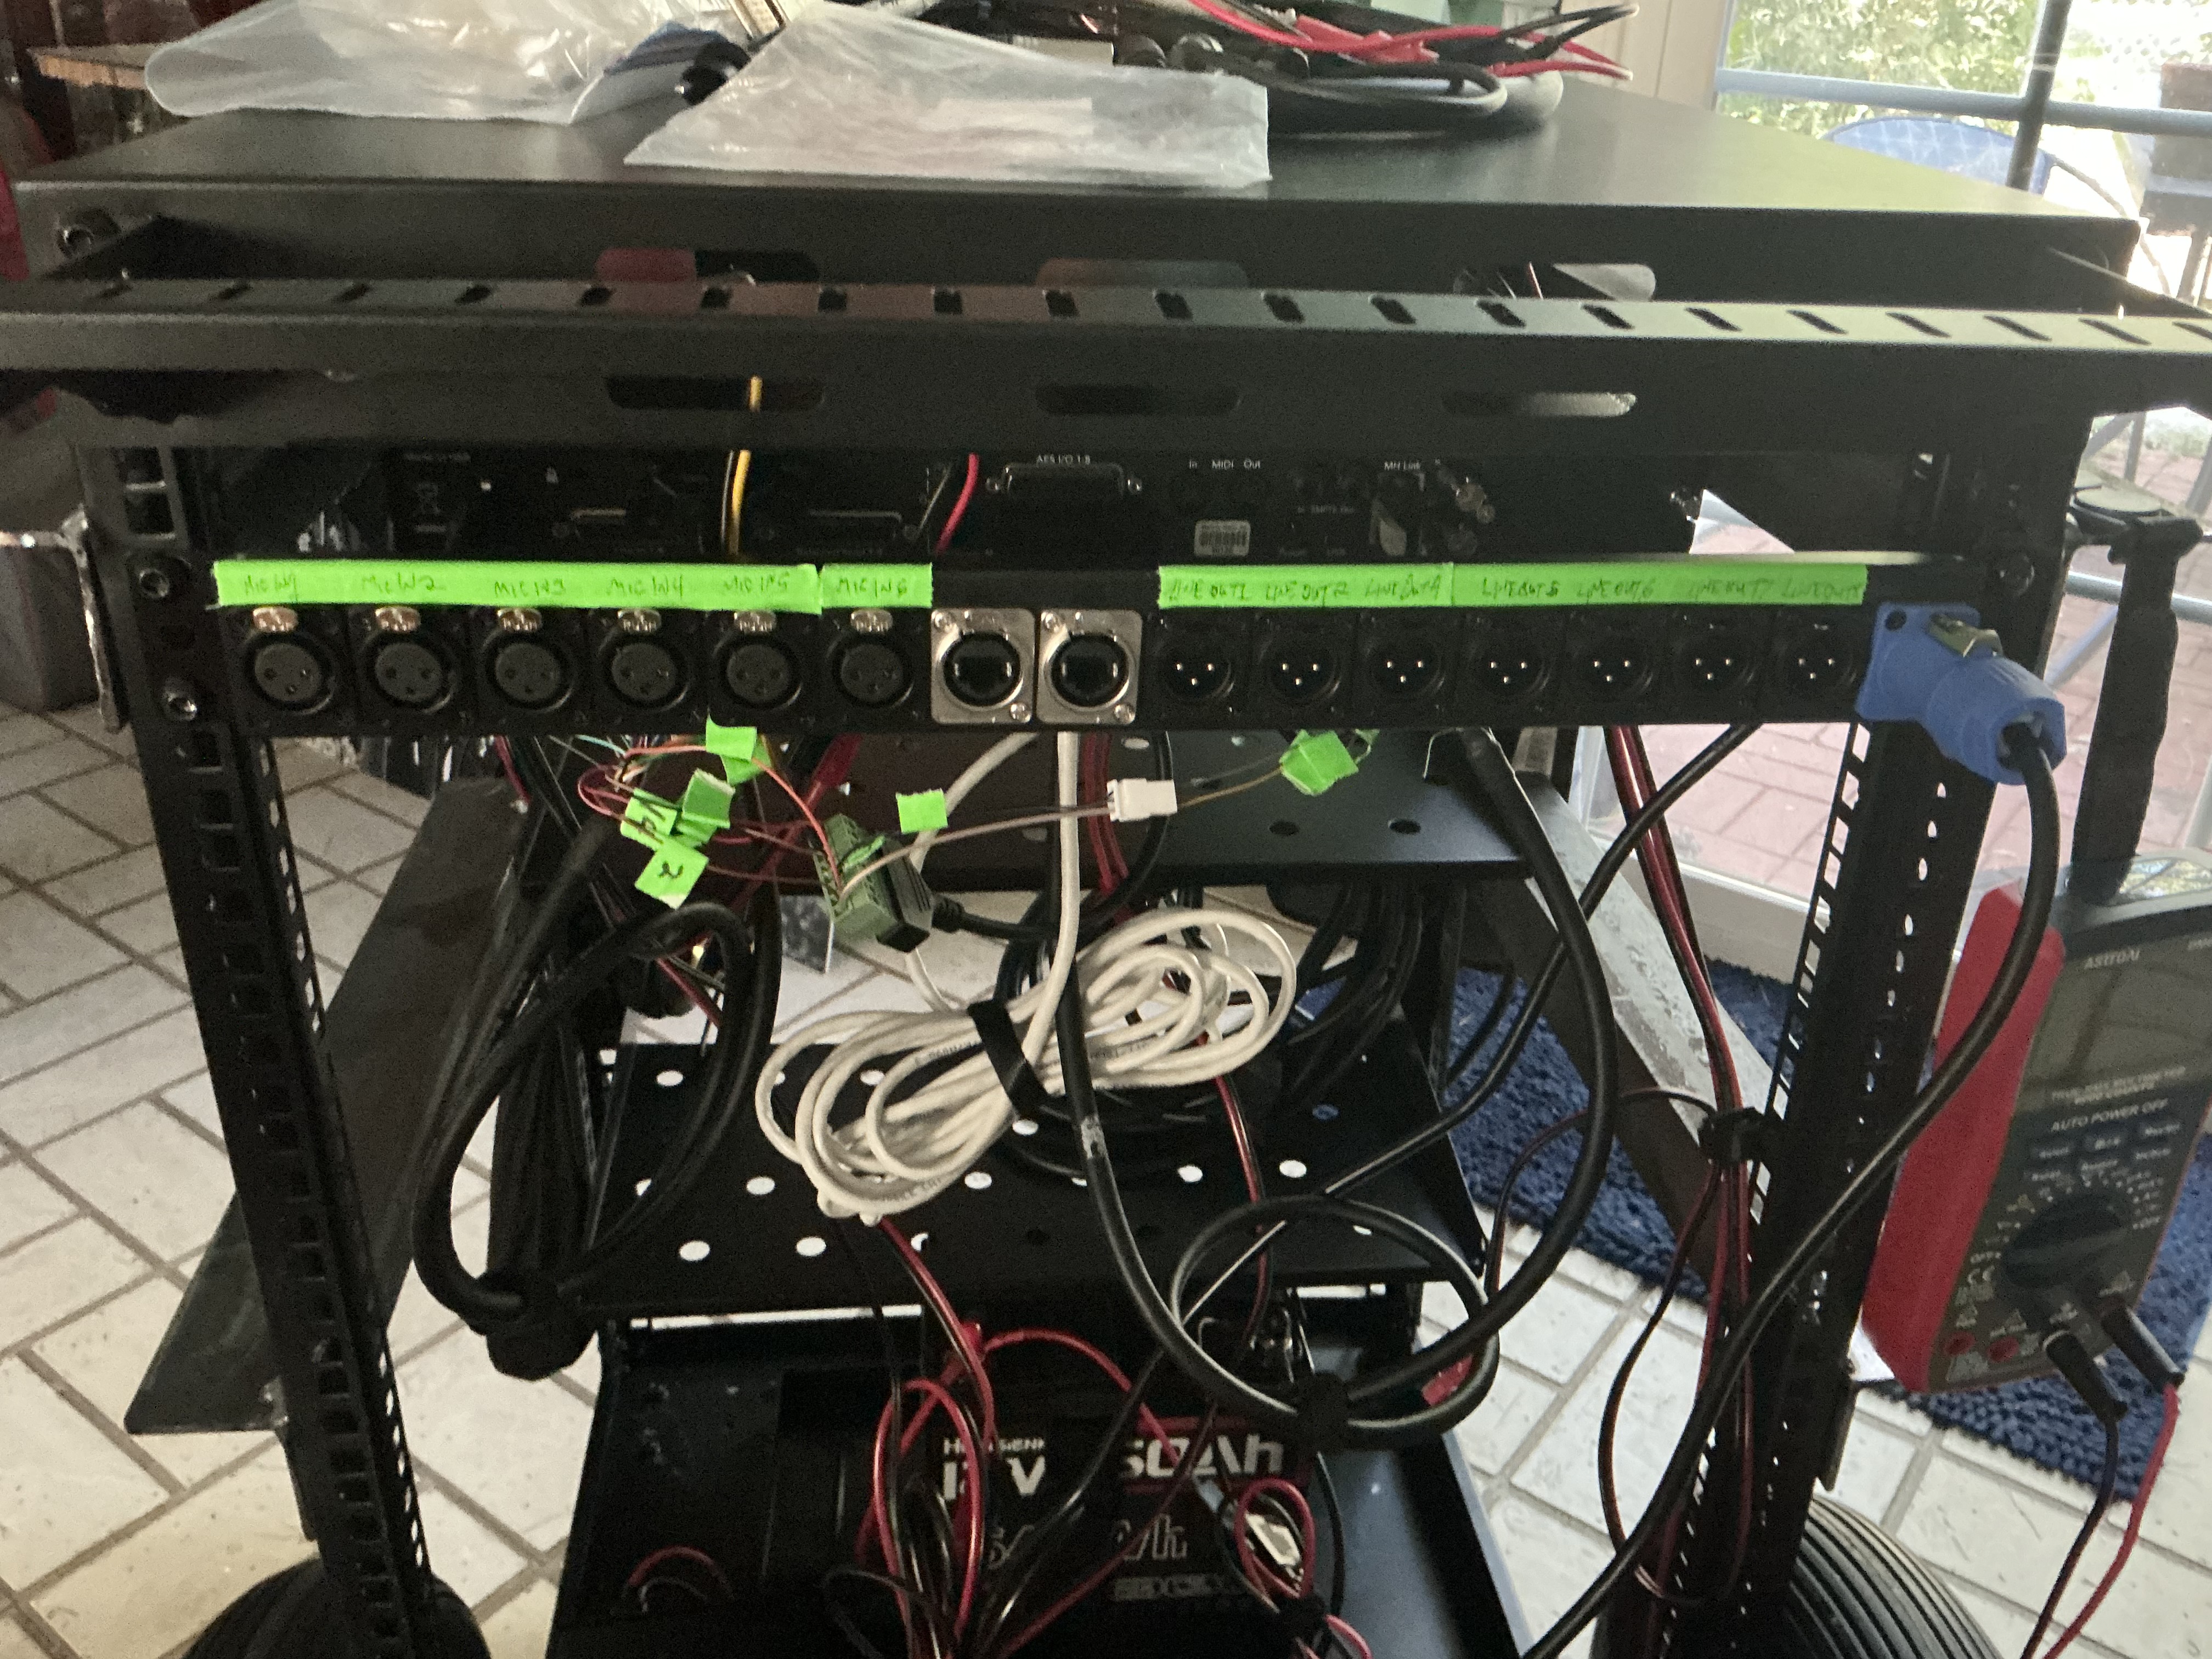
labeled connections till i ran out of tape, wired up a powercon connector, made a few tap points to test with my multimeter (conveniently hanging by a magnet from those wonderful welded supports), and after a few hours continued to despair: this power supply is definitely incapable of charging this battery, and i have no idea how one adds about 0.5V to a circuit in hopes of talking a battery into charging. it draws nothing for current, just sits there, chillin, reminding me i’m only pretending to know what i’m doing, y’know, the usual. meanwhile everything at least runs just fine when i plug into the mains, but that’s not what it’s all for, is it? we’ll find our way.
anyway, you might remember the intercom system mentioned above? this is the day i’d built my first version of most of it. behold, the boom box: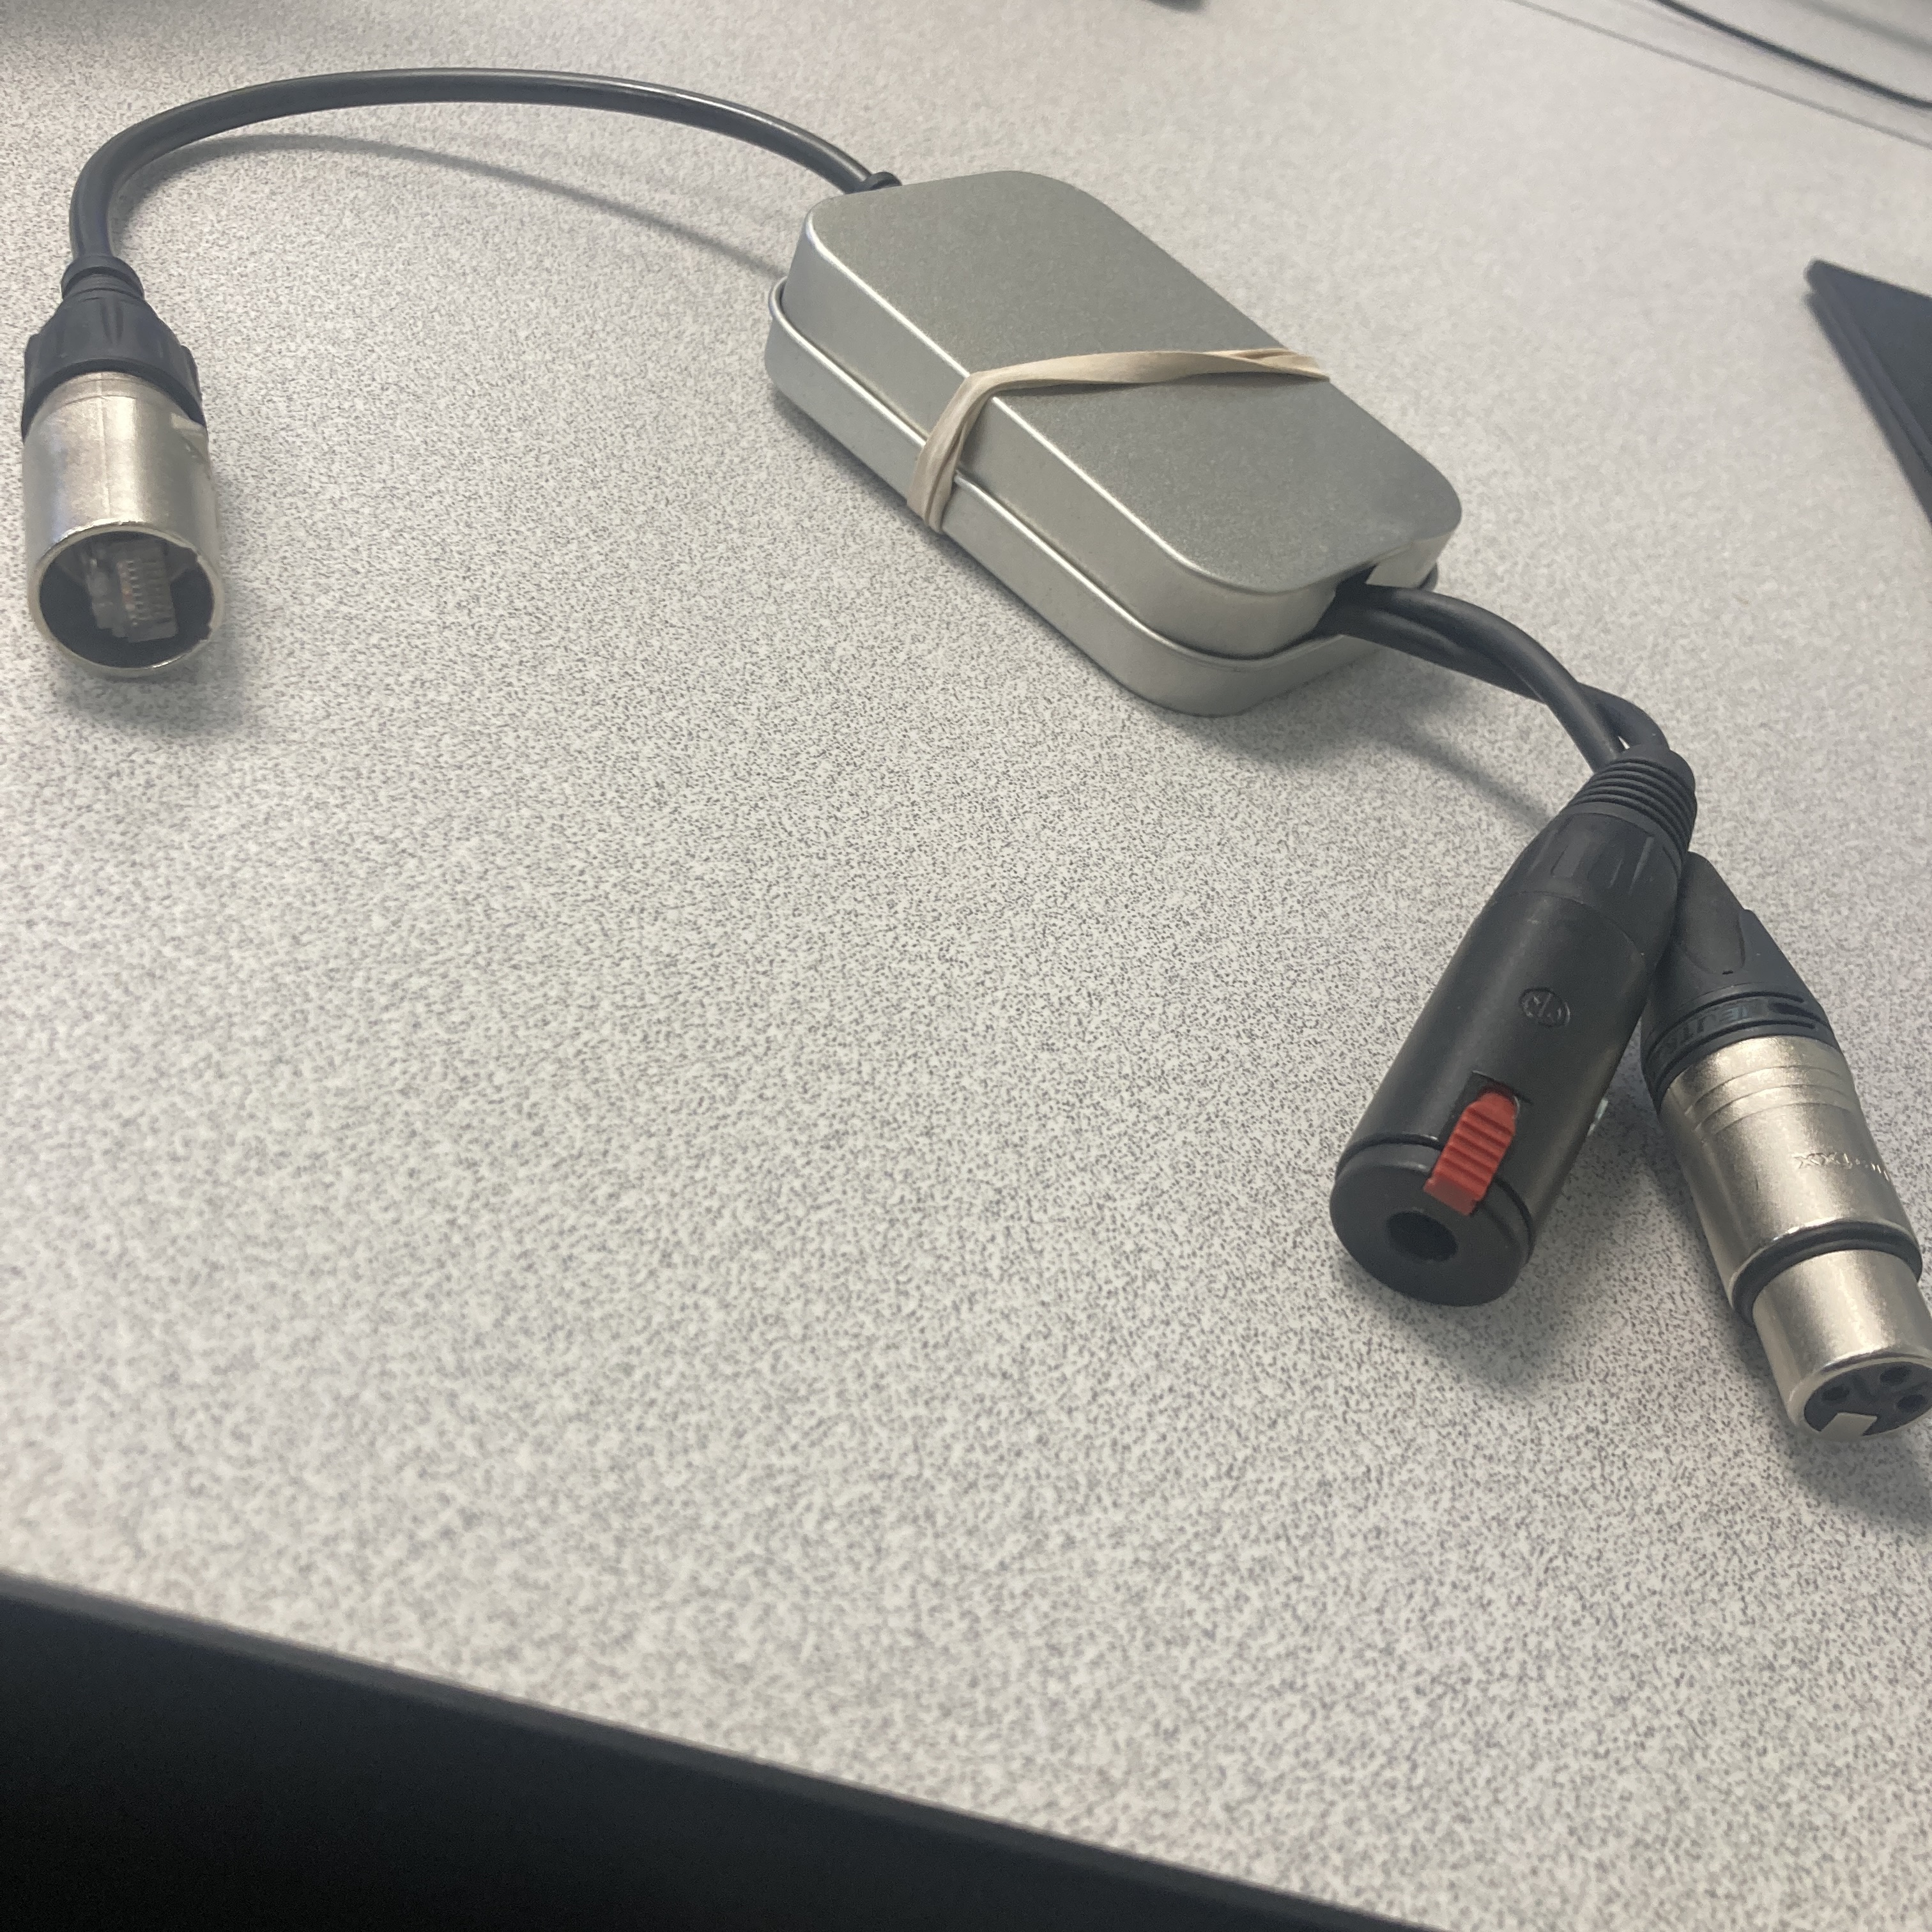
there’ll be another channel there later this week, for the boom operator to communicate with the mixer. so far, what we have are one input for the boom mic and one mono output for a mix of the boom mic and the mixer’s talkback mic. what will also be there are a push to talk button for the boom operator’s communication mic (that mic will be dynamic, so that hopefully there’ll be no pop as they break and make connection) and a volume control knob for the headphone. i’ll also figure out some kind of belt clip situation so this whole thing is sitting comfortably at a boom op’s hip. look at it!
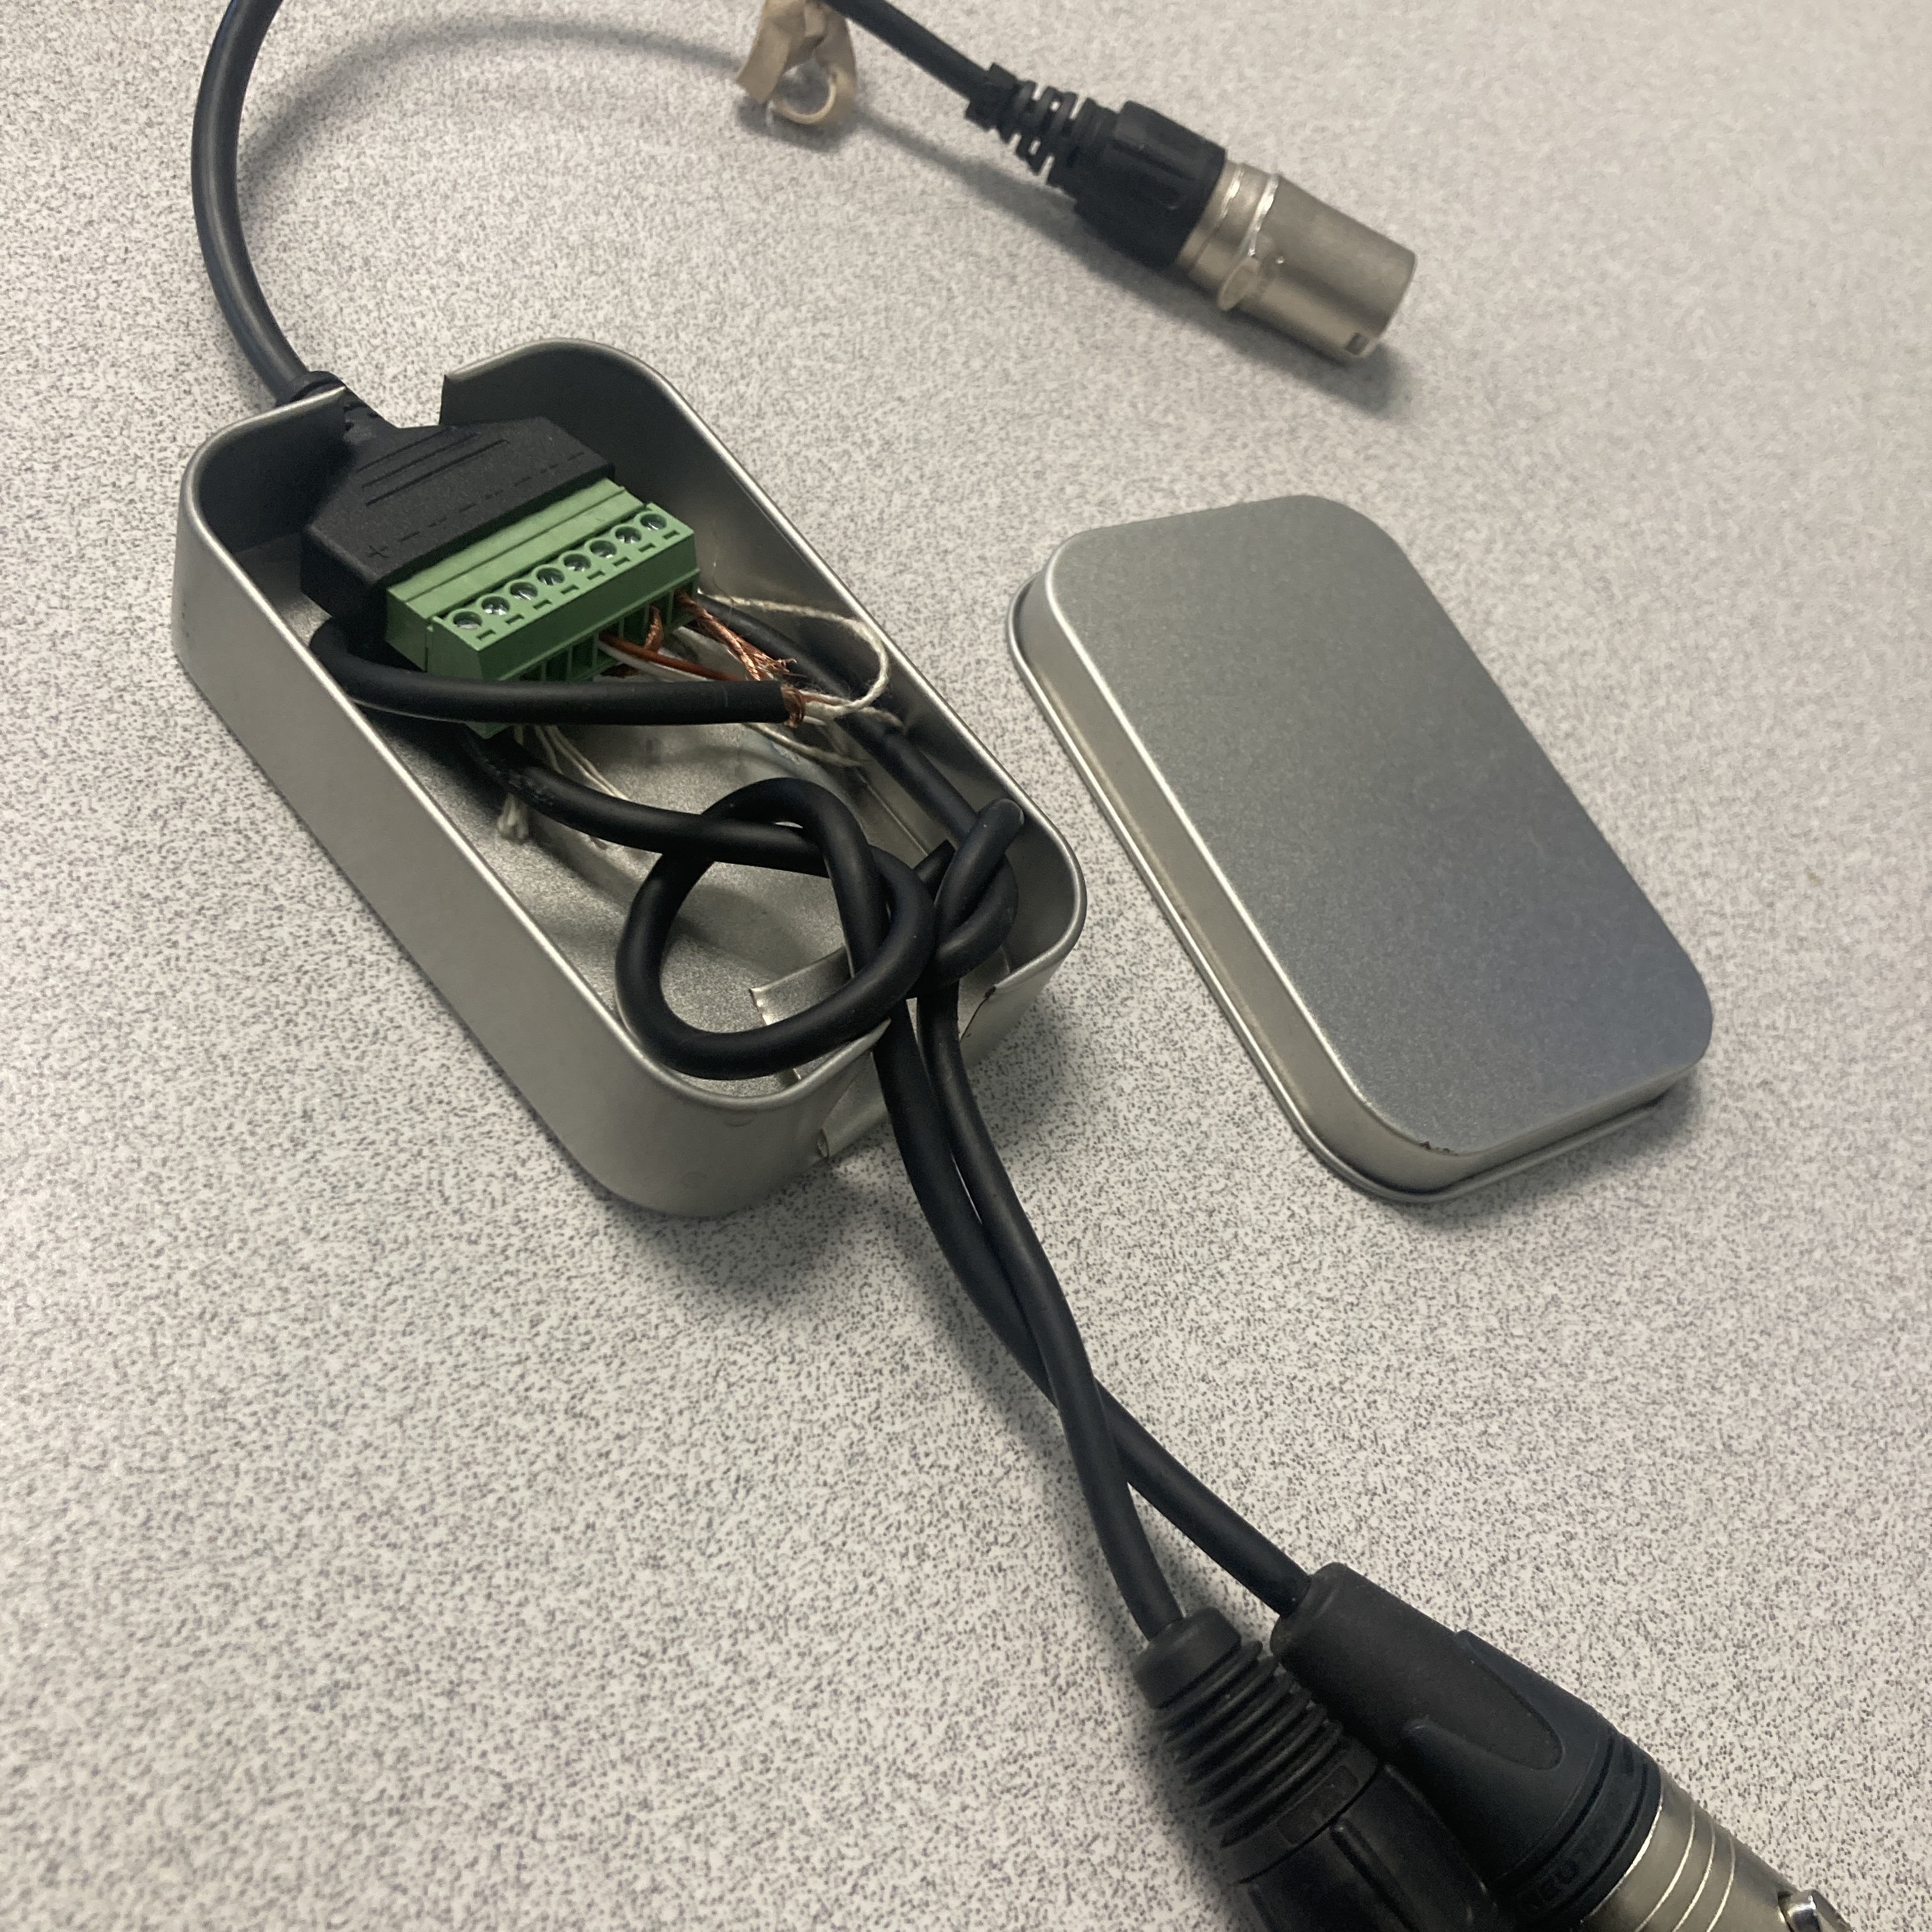
so that mic power switch on the front of the cart? it’s running to this box, to power my old T-power mics that can’t take regular fantom power. what i found in testing is, the regulator i was using to stay locked at 12V passed a lot of noise into the circuit that was showing up as audio. can’t have that on a sound cart! i tested running off battery (bad), running off a floated battery while on mains (bad), running straight from the power supply (bad), leaving it off and starting it up again an hour later (clear! and then bad again after thirty seconds), and finally after a closer read of the manual, found that the two 180ohm resistors at the end of that 12VDC chain already do what i wanted the regulator to do, which was drop the voltage from around 14V to around 12V, so i cut out the regulator, hooked up the resistors to some anderson connectors and connected them straight up to my 12V rail. the result: this shit clean.
about an hour after all this testing rigamarole, i packed it all up and took it out on its first shoot.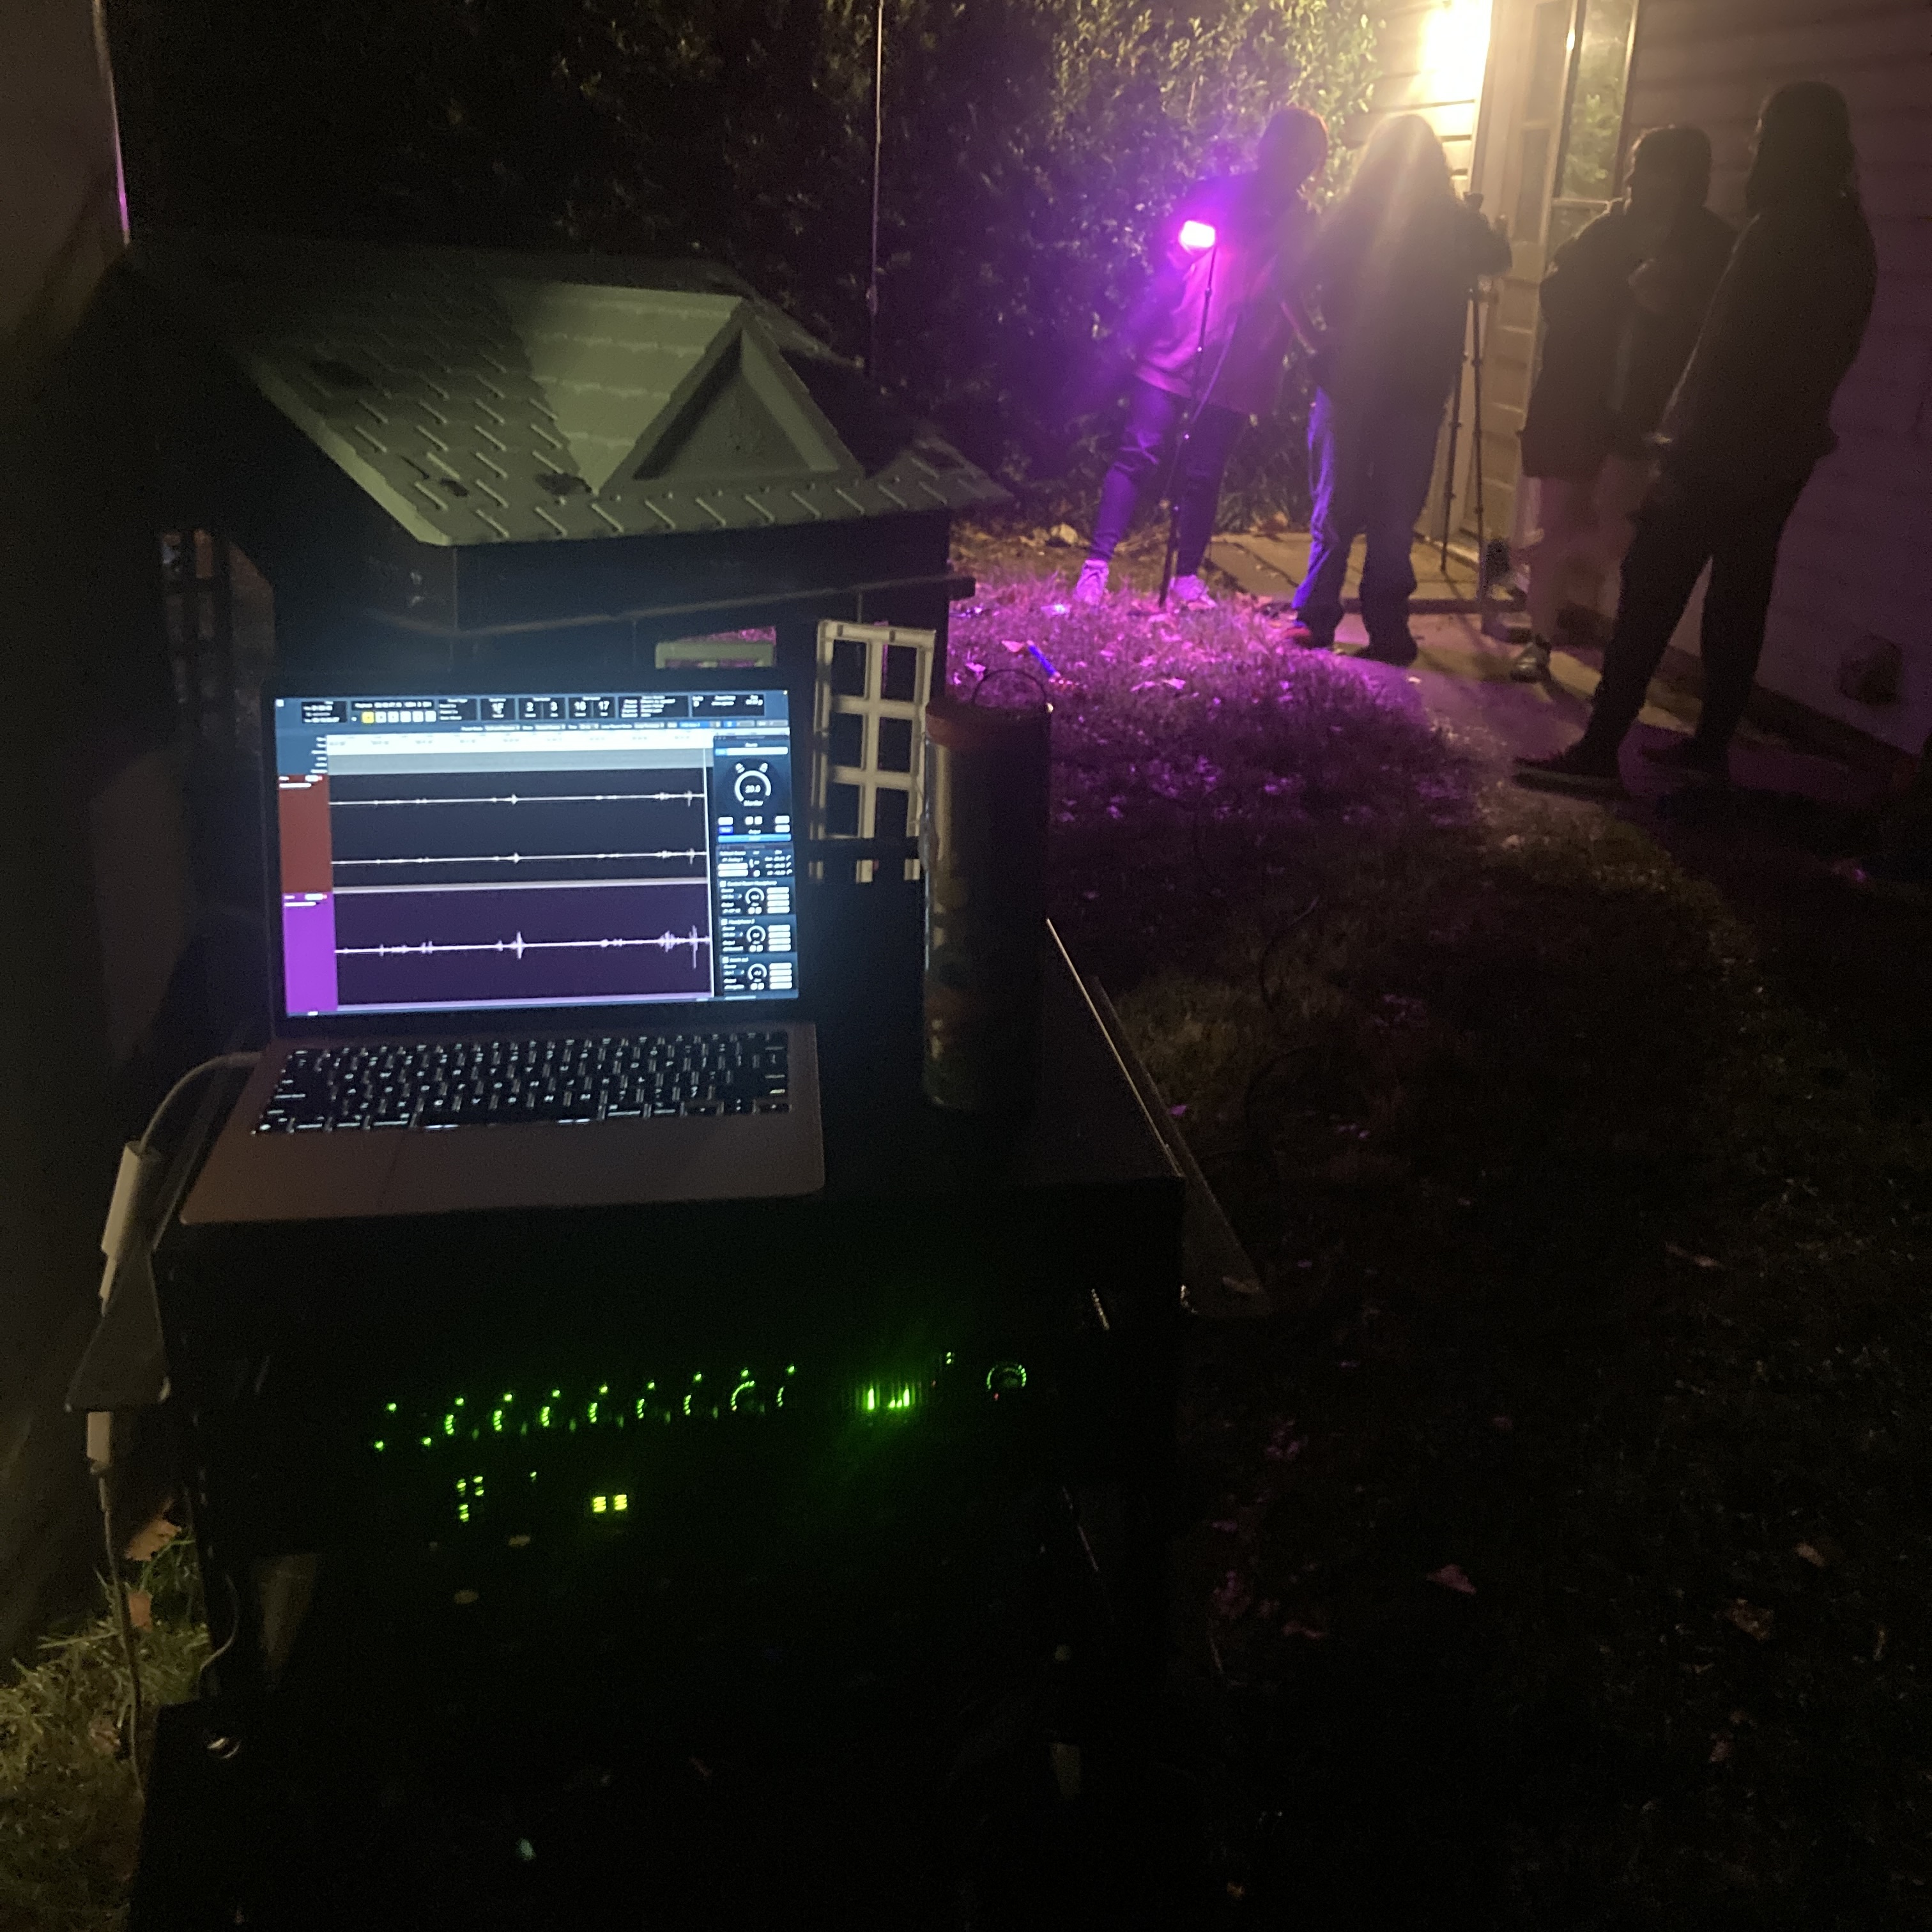
28th October, 2026
Another night on set!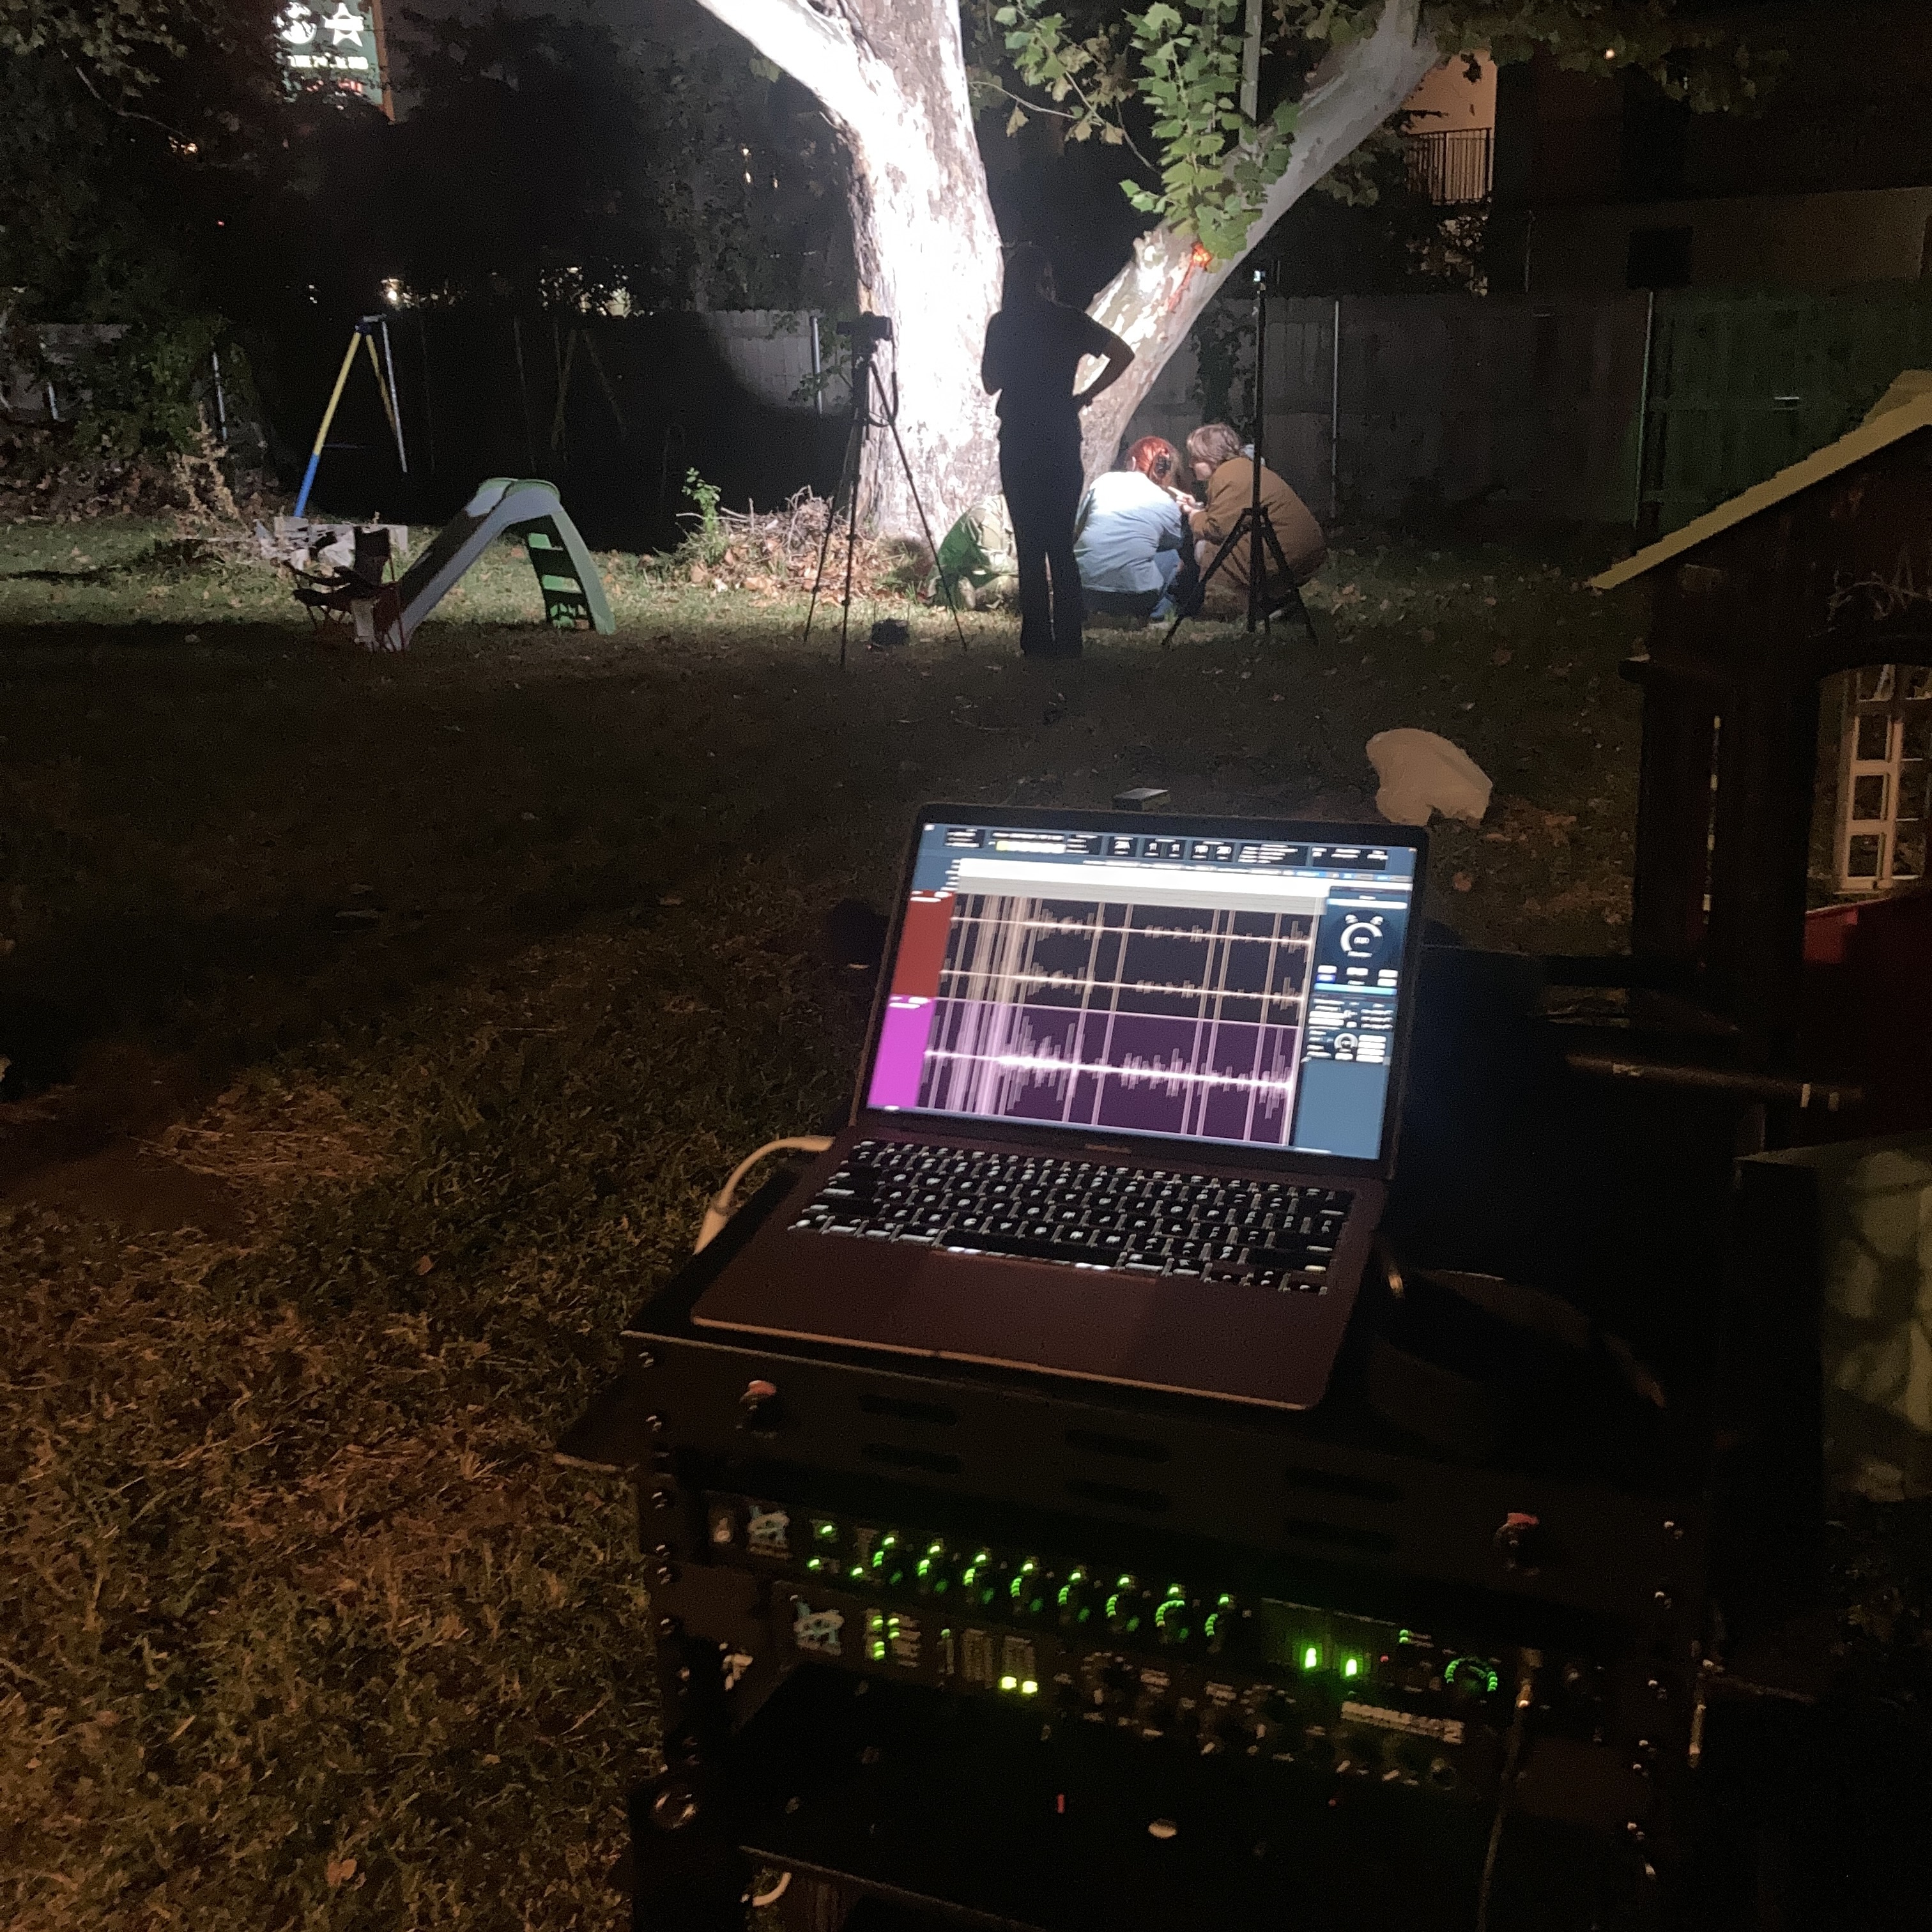
6th November, 2026
added a dedicated charger to the powerplant, though i'm still testing the original powerplant now that i've gotten a full charge again. on the cart now is also an MPPT charge controller for a solar panel that's been on standby, i'll be testing it out this weekend. Added, for now, also, a 12v cigarette lighter socket to charge the macbook on the road while i figure out the final design for data and power delivery.
still to do at this point, is to shave another half inch or so off of the axel to get rid of some slack and give it some extra clearance, add a POE regulator/injector for the ipad so it's connecting over the cart's LAN and also charging, building a speaker system into a rack unit, adding patch panels for AES/EBU and the line inputs/returns and mic sends, adding a sturdier handle to the back and possibly a couple of cabinet handles to the front or sides for loading into and out of my trunk, adding an antenna mast and figuring out and installing a wireless system (probably sony hybrid analog/digital).
weekend things ahead (maybe this weekend, maybe a less packed weekend) to come are: adding JST joints to the patch panels for some more slack and strain relief (as well as ease in changing things), adding the comm mic to the boom box (and color coding it to cut down the chances of destroying the dynamic comm mic with 12V AB power), adding the PTT and volume control to the boom box and scooting that all over to an altoids tin that should hopefully be sturdier than the tin i started with. things for the five minutes that could turn into two hours i've been putting off: fastening down the battery tray to the cart, screwing down the power distro block, fastening the power supply in place with some L-brackets and wire.
her first show was a screaming success!
7th November, 2026
boom box v2 mostly done: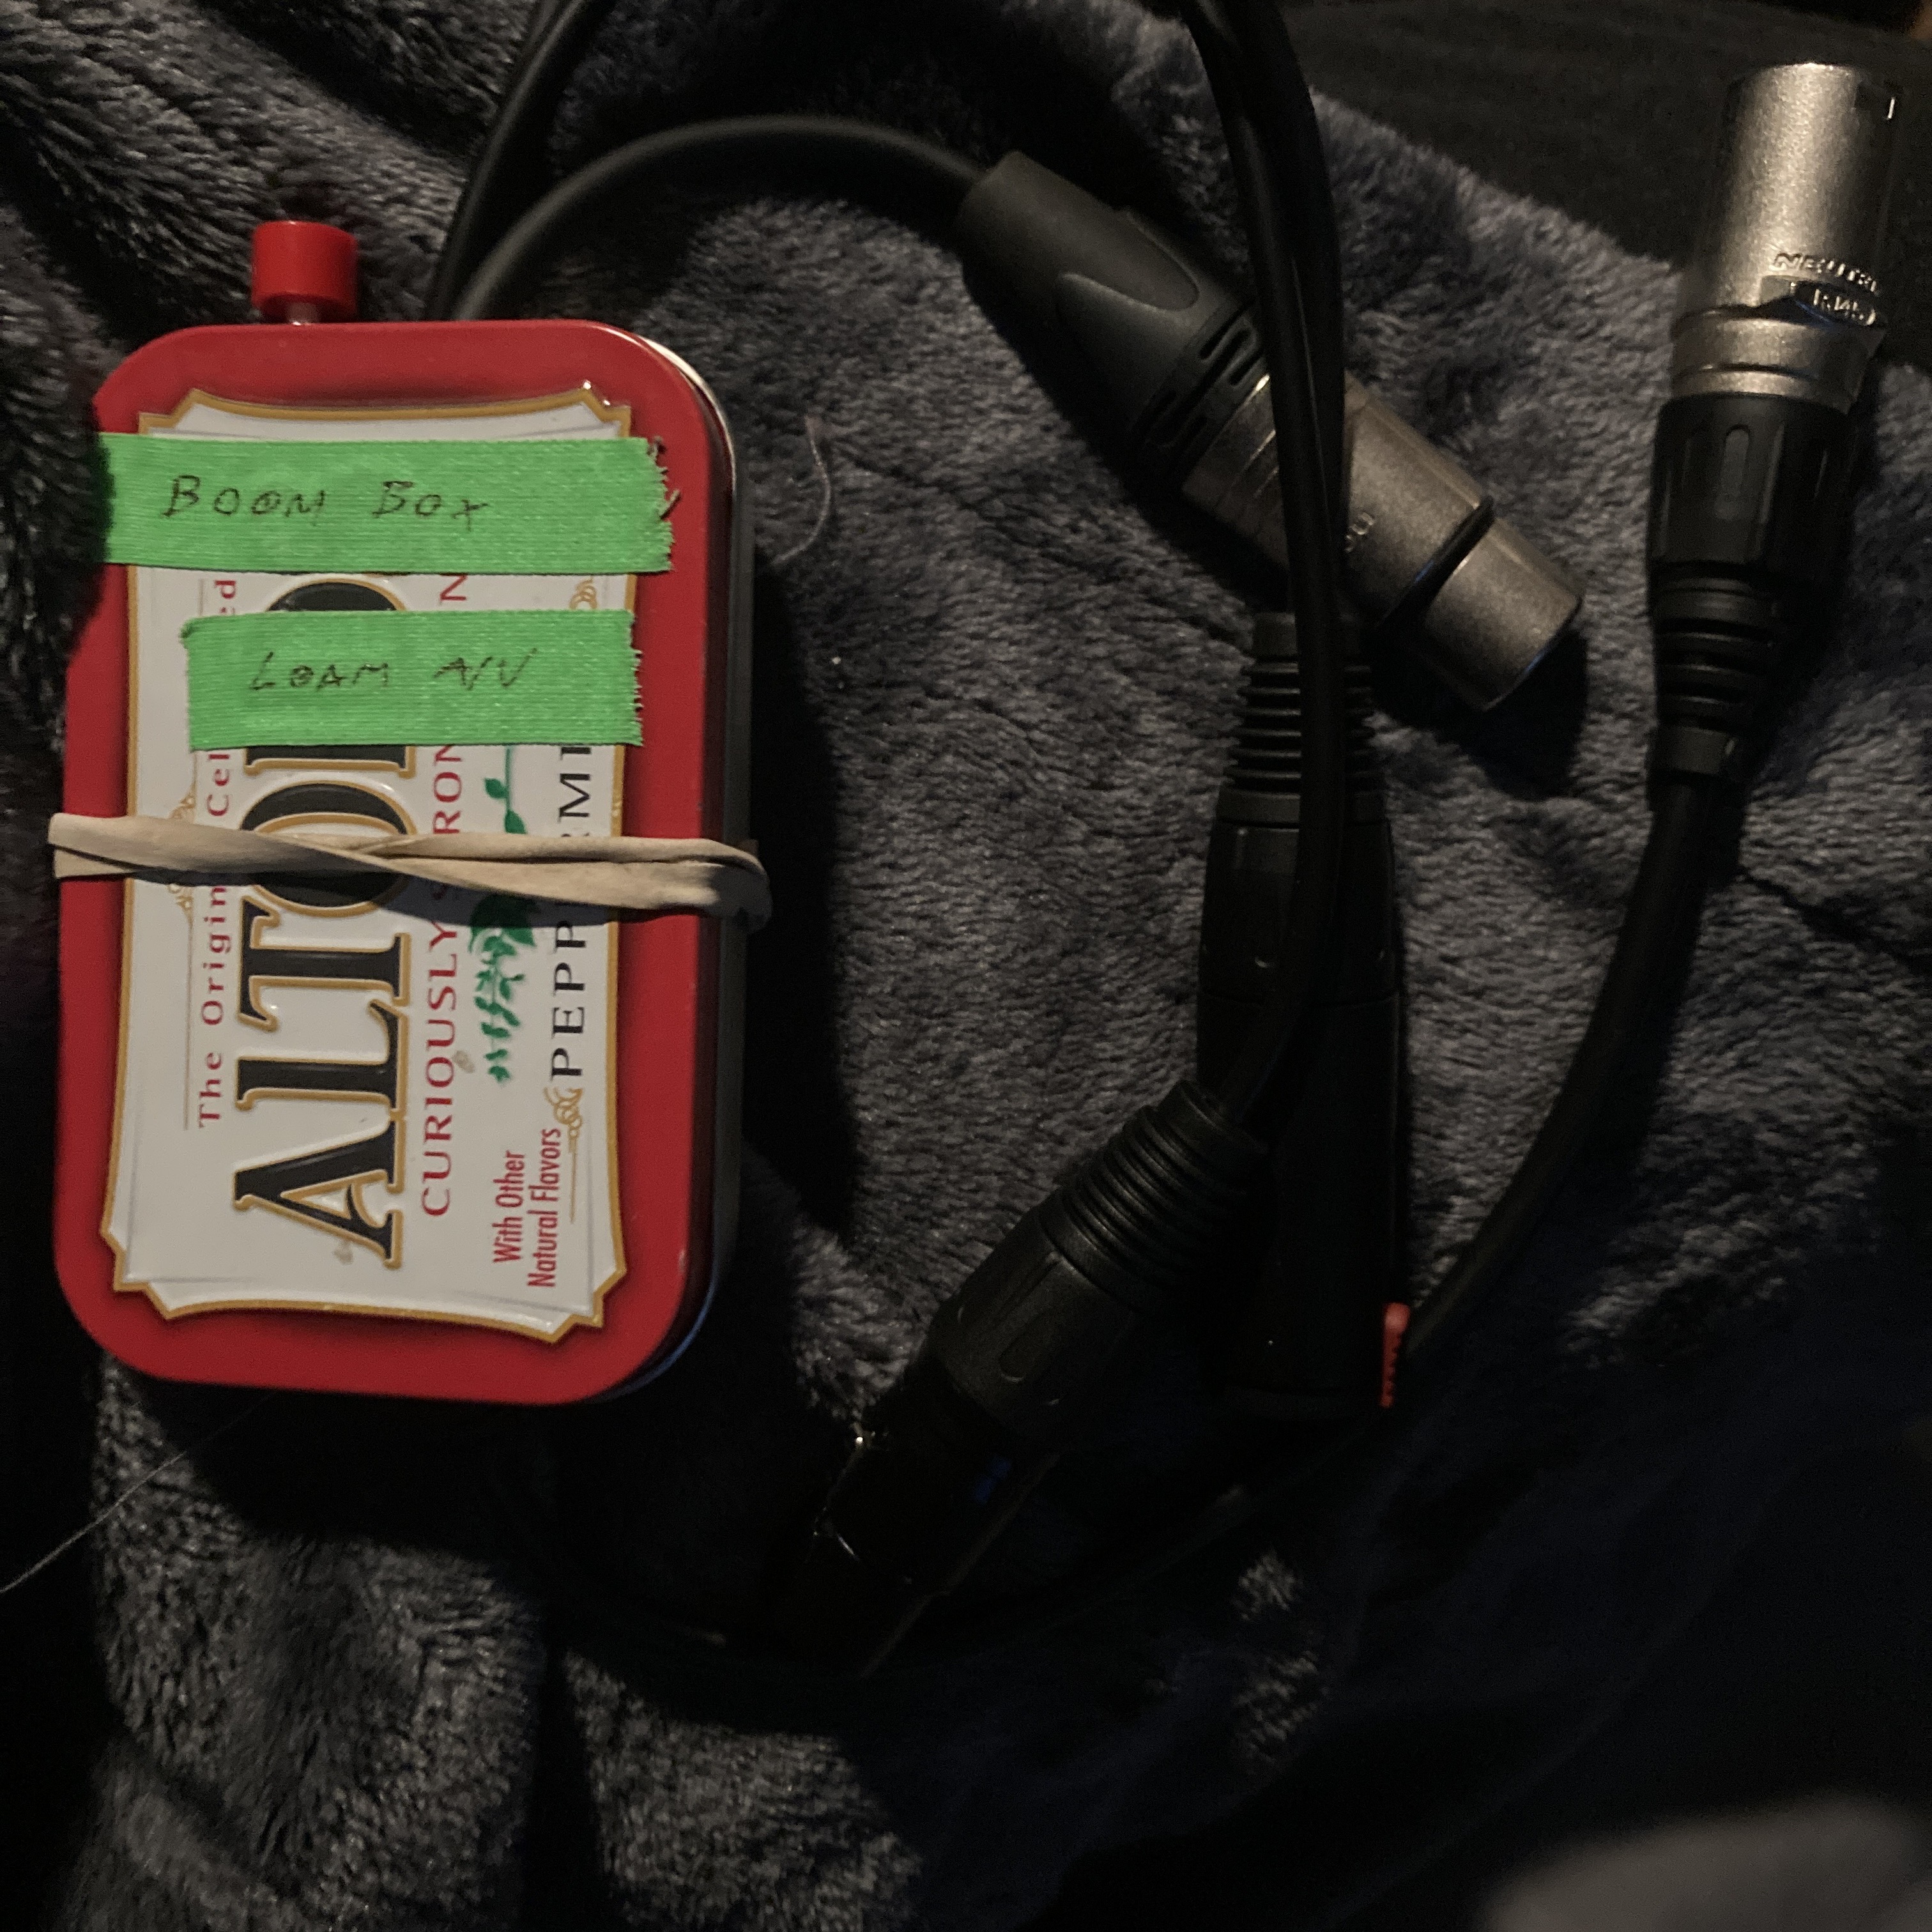
boom and comm channel installed with the PTT button (dpdt switch wired NO) across the comm input. comm is black, boom is silver, so there’s less chance of plugging the dynamic lapel mic into the boom input and killing it with 12V AB power (a mic powering standard predating phantom), lord willing and the creek don’t rise. quick word on PTT.